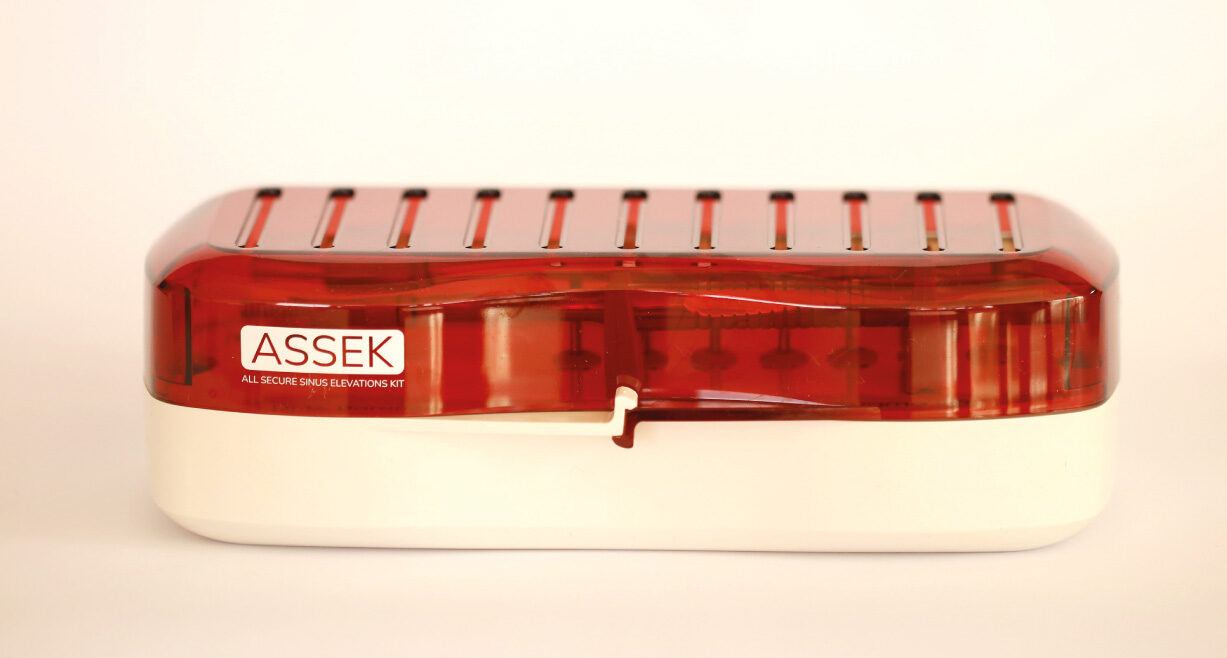
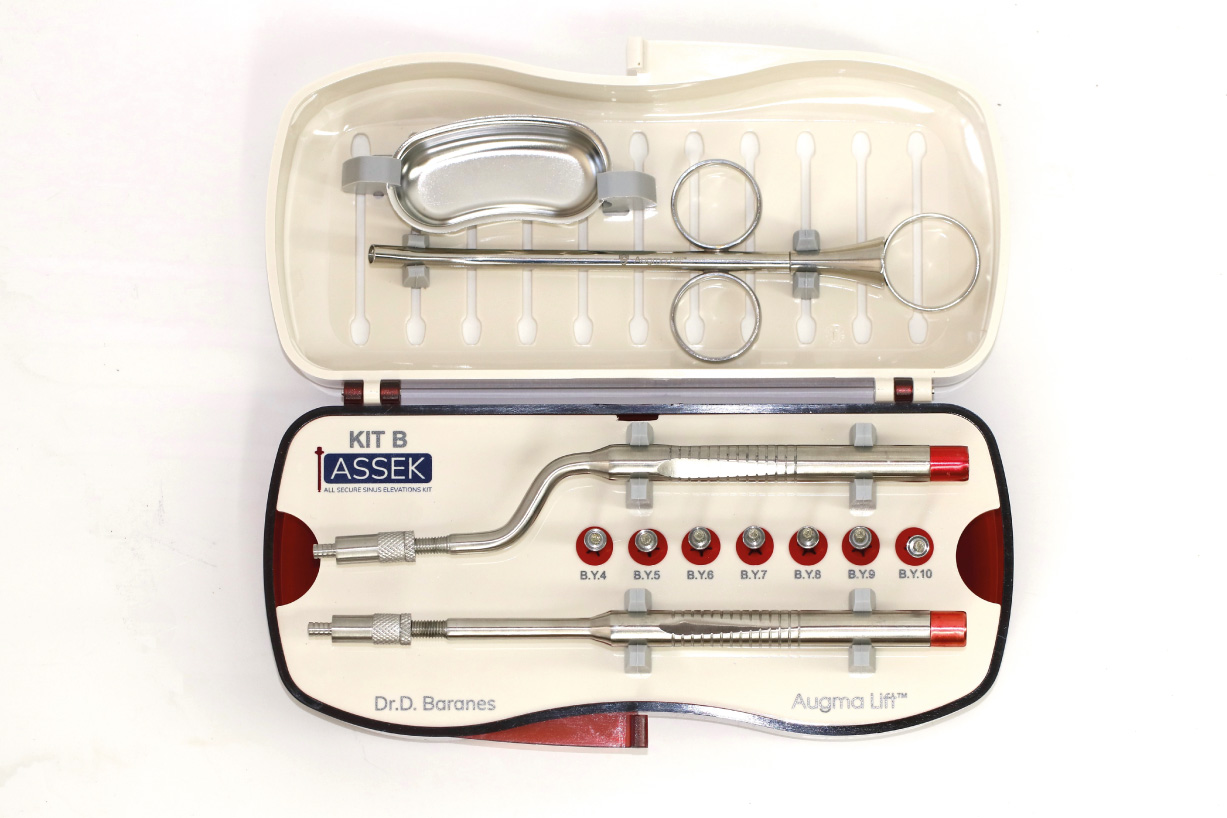
Protocols – kit B
View the protocol and watch a detailed tutorial video to better understand how to use Kit B.
Protocol KIT B
Technique by Dr D. Baranes.
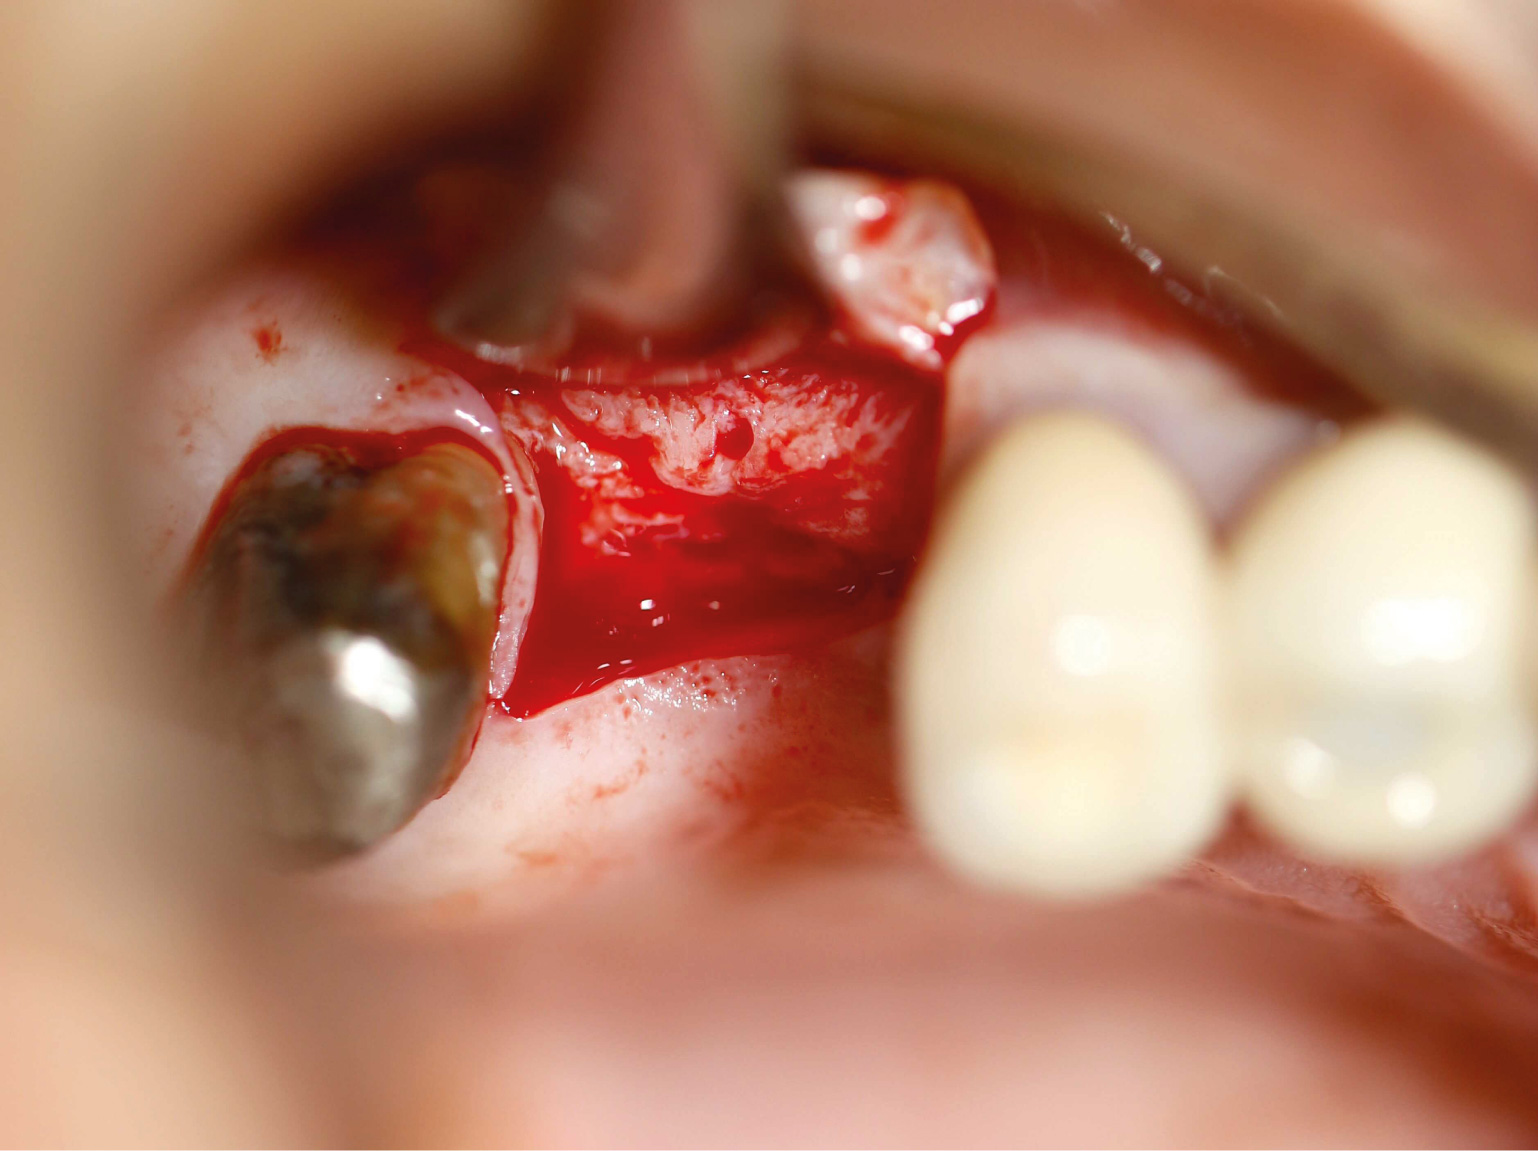
Elevation of the sinus oor when the initial height of the sub-sinus bone is greater than or equal to 4 mm.
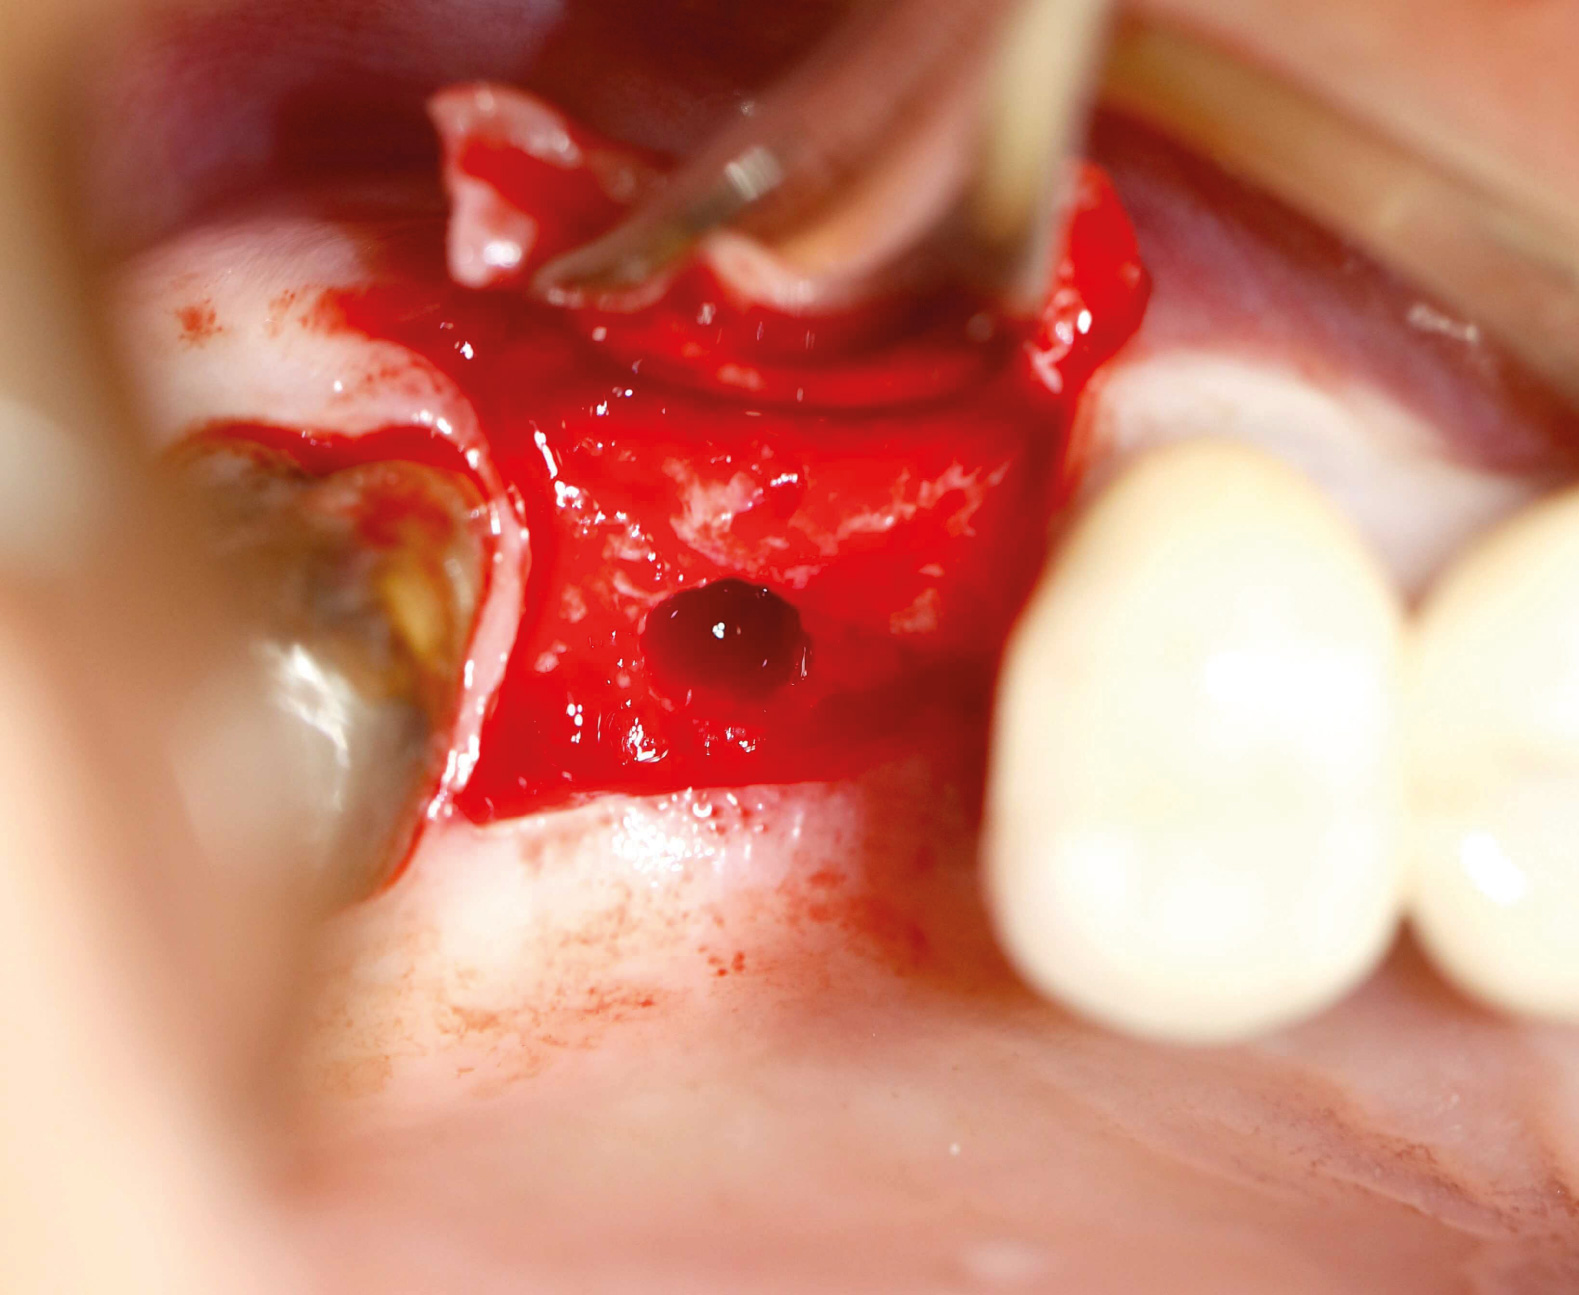
Creation of a ap of total thickness using a crestal incision
slightly displaced in Palatine
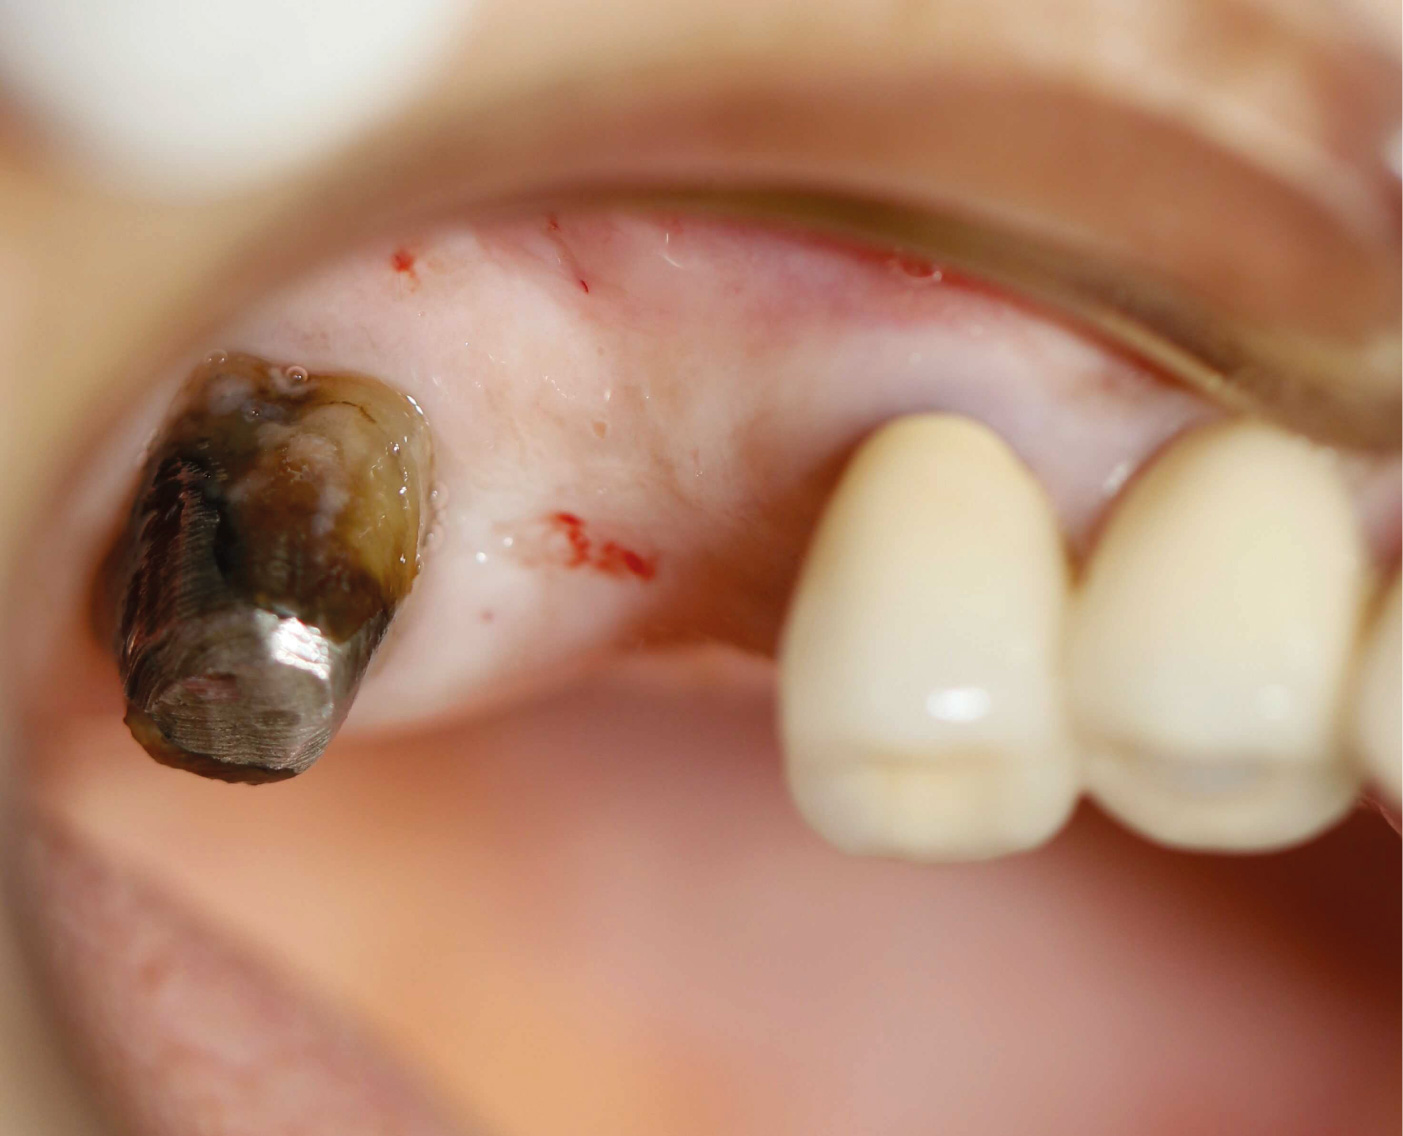
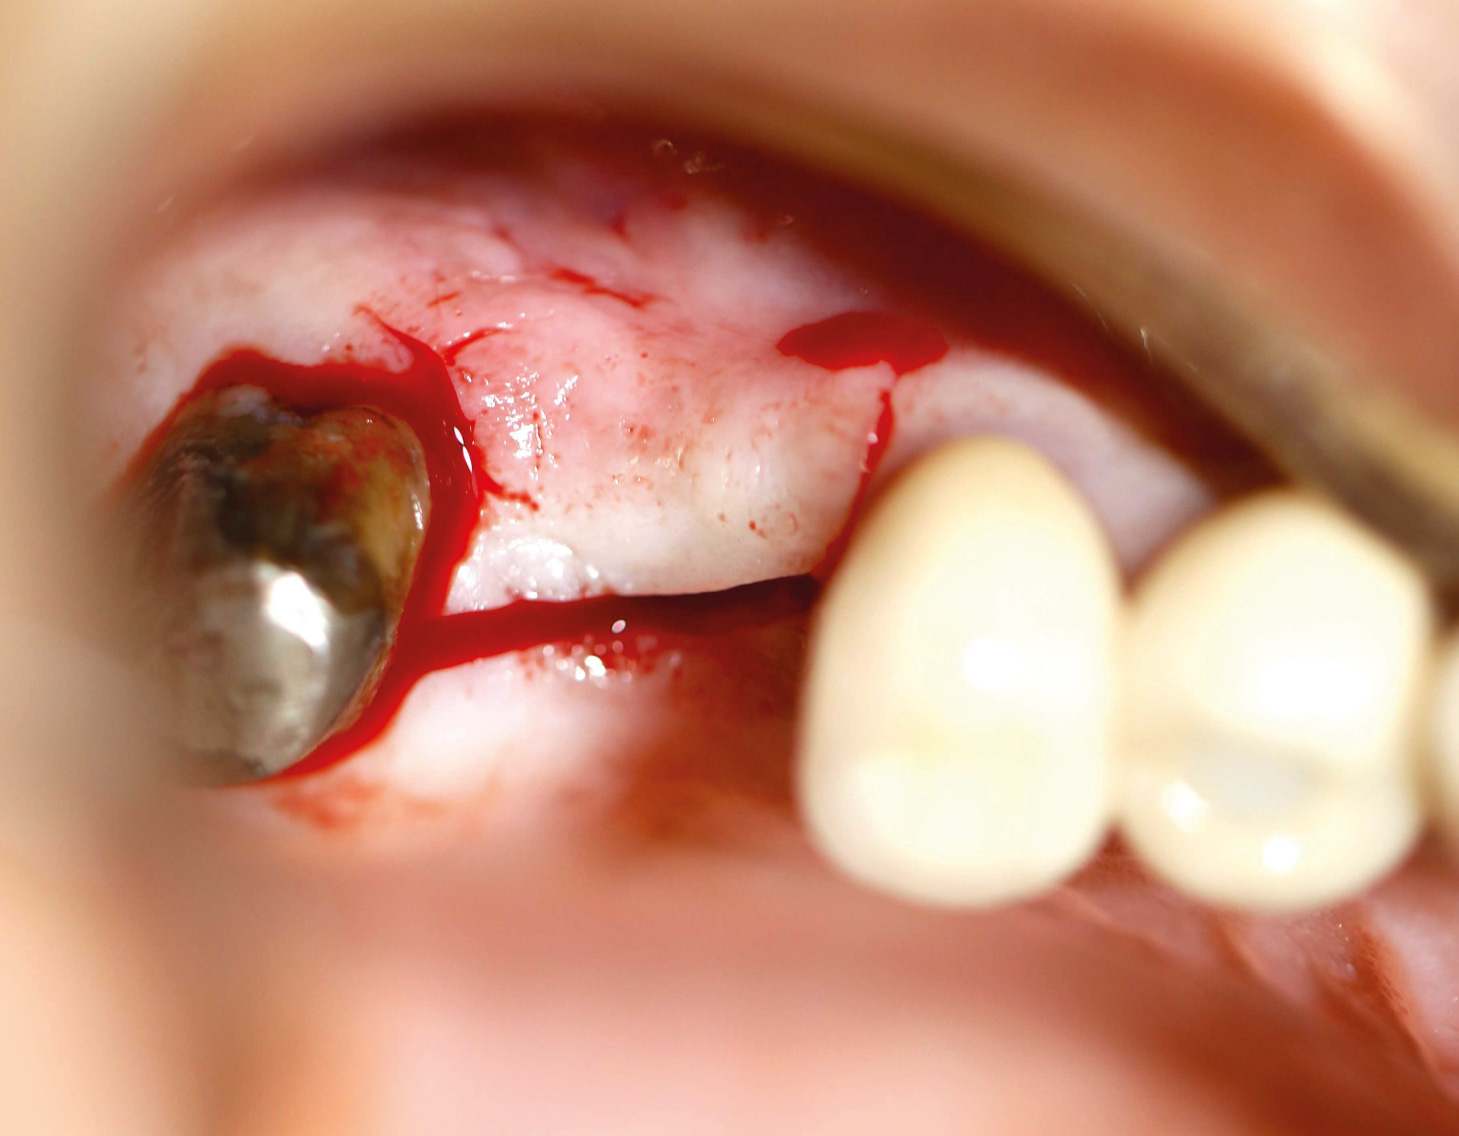
It is necessary to visualize the vestibular bony wall.
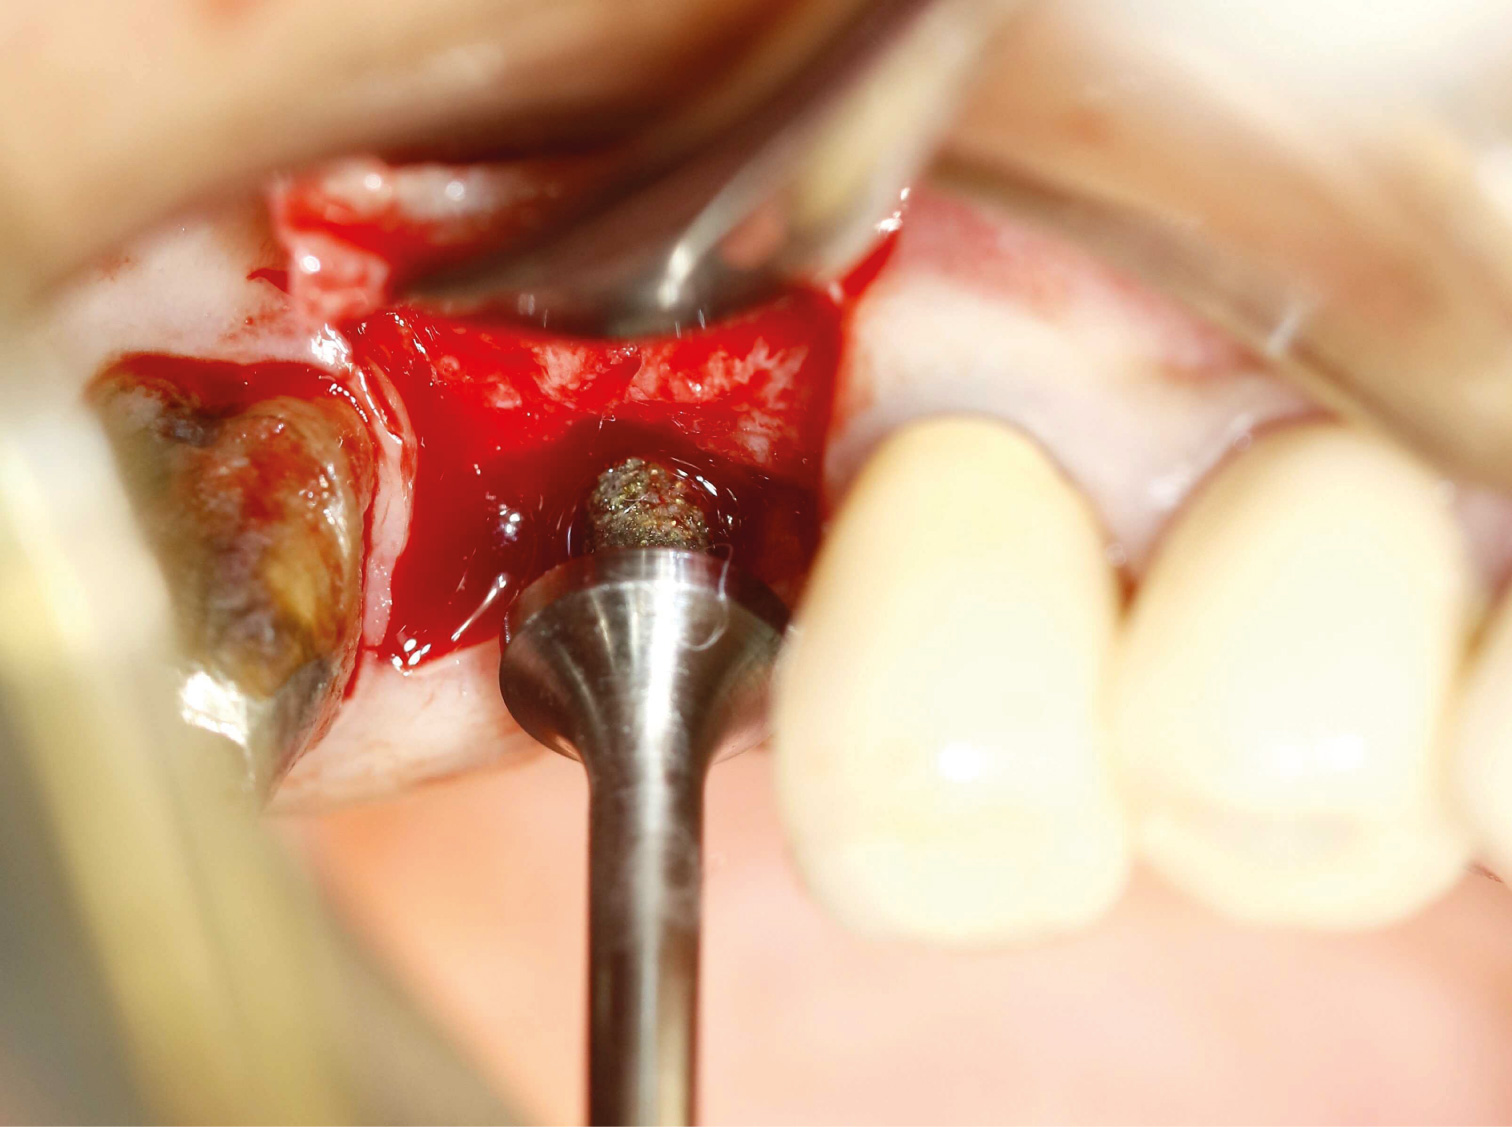
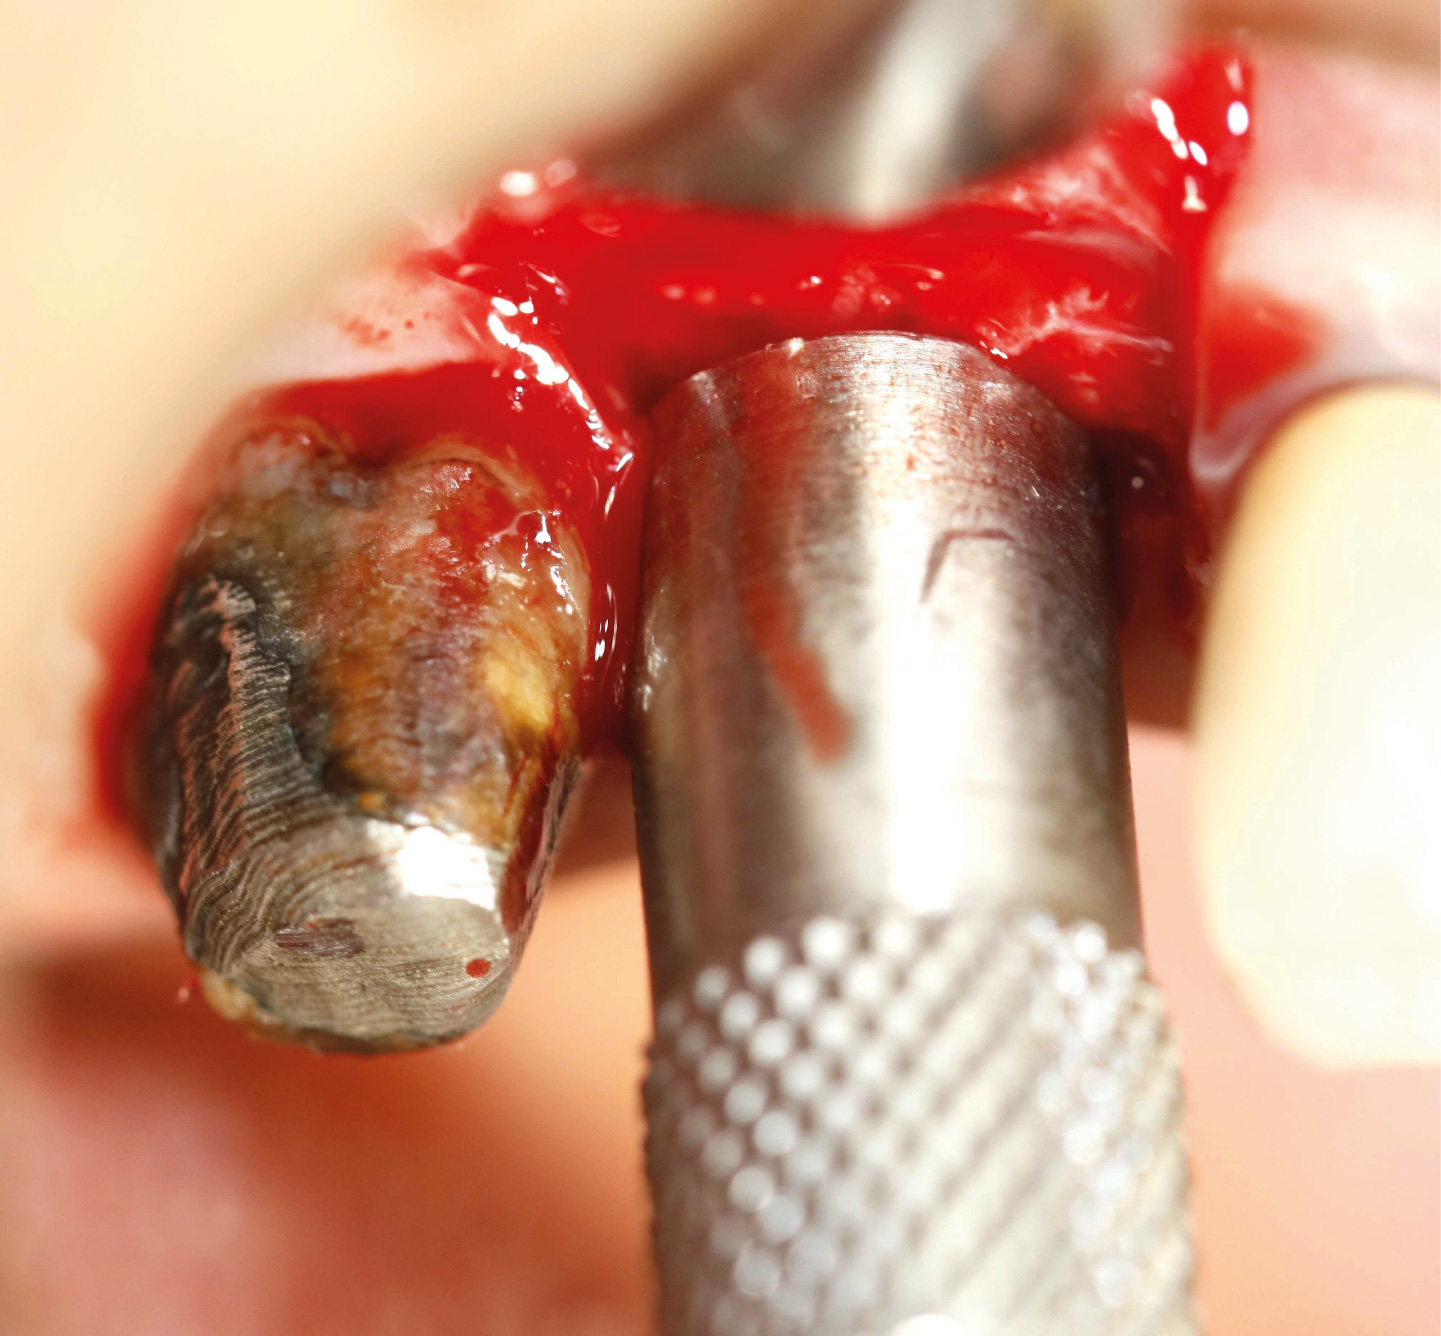
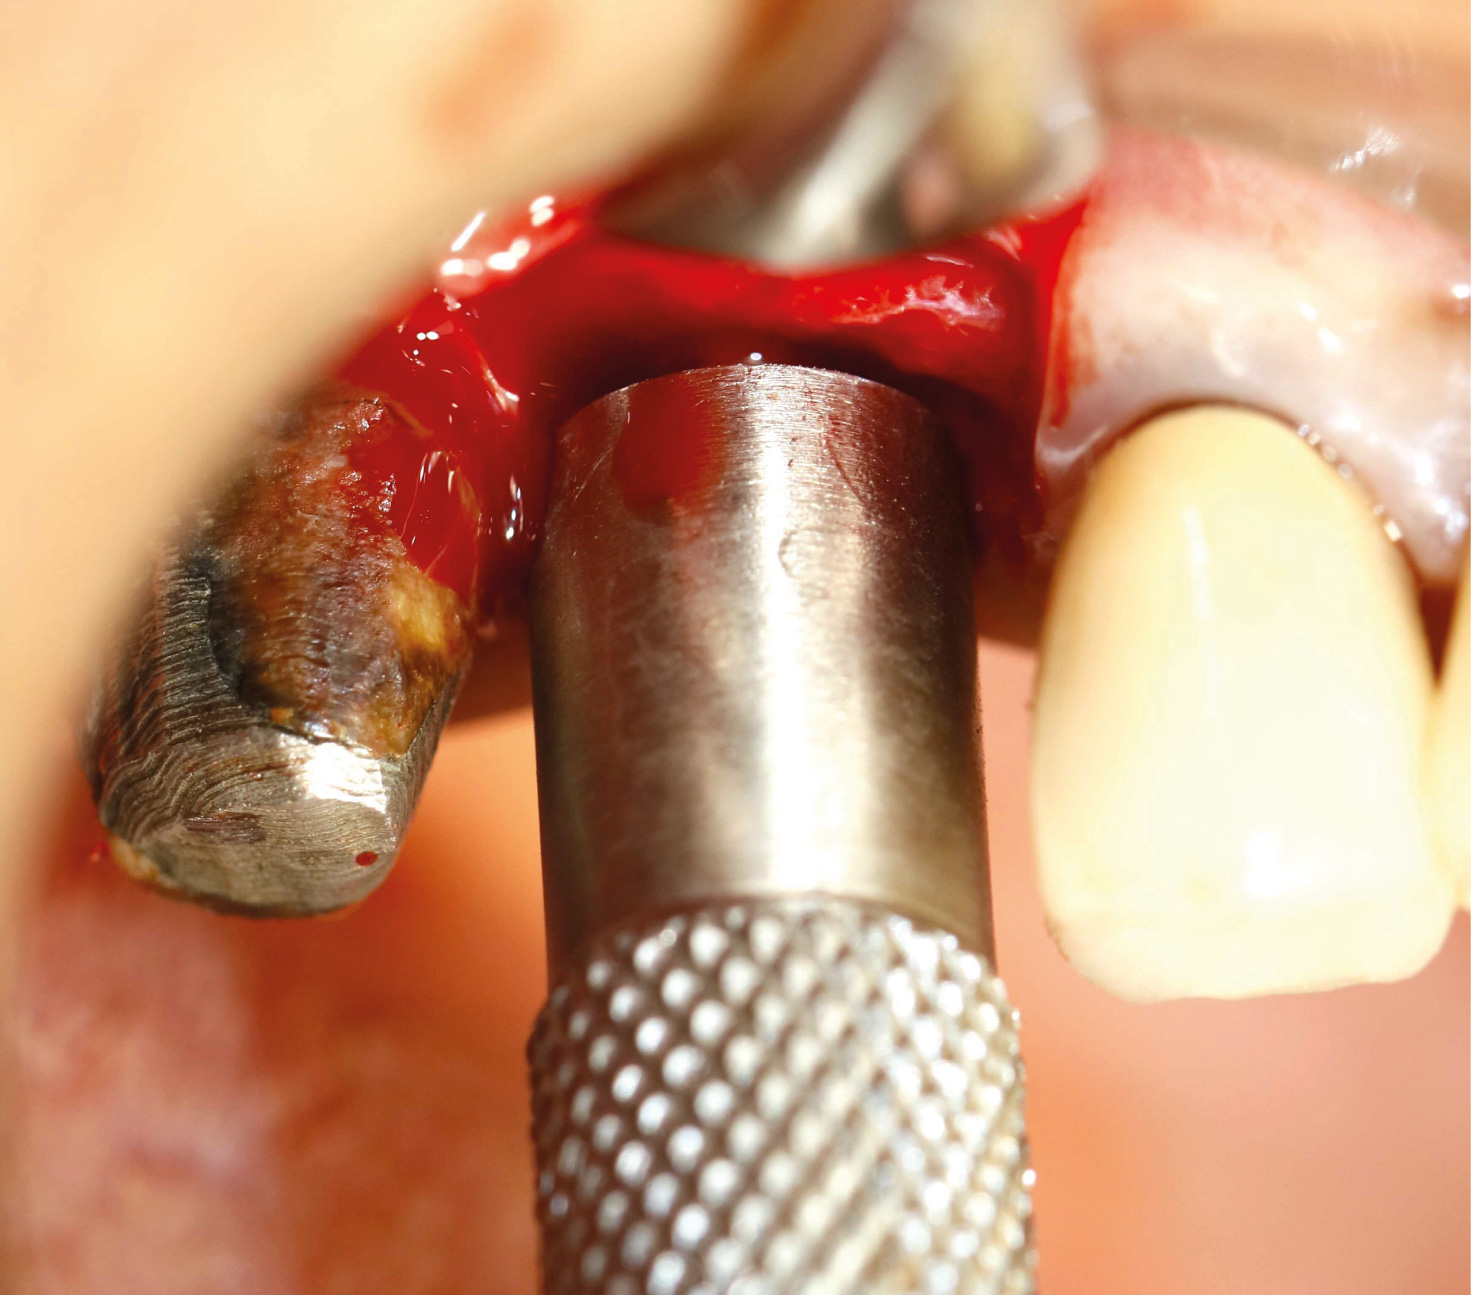
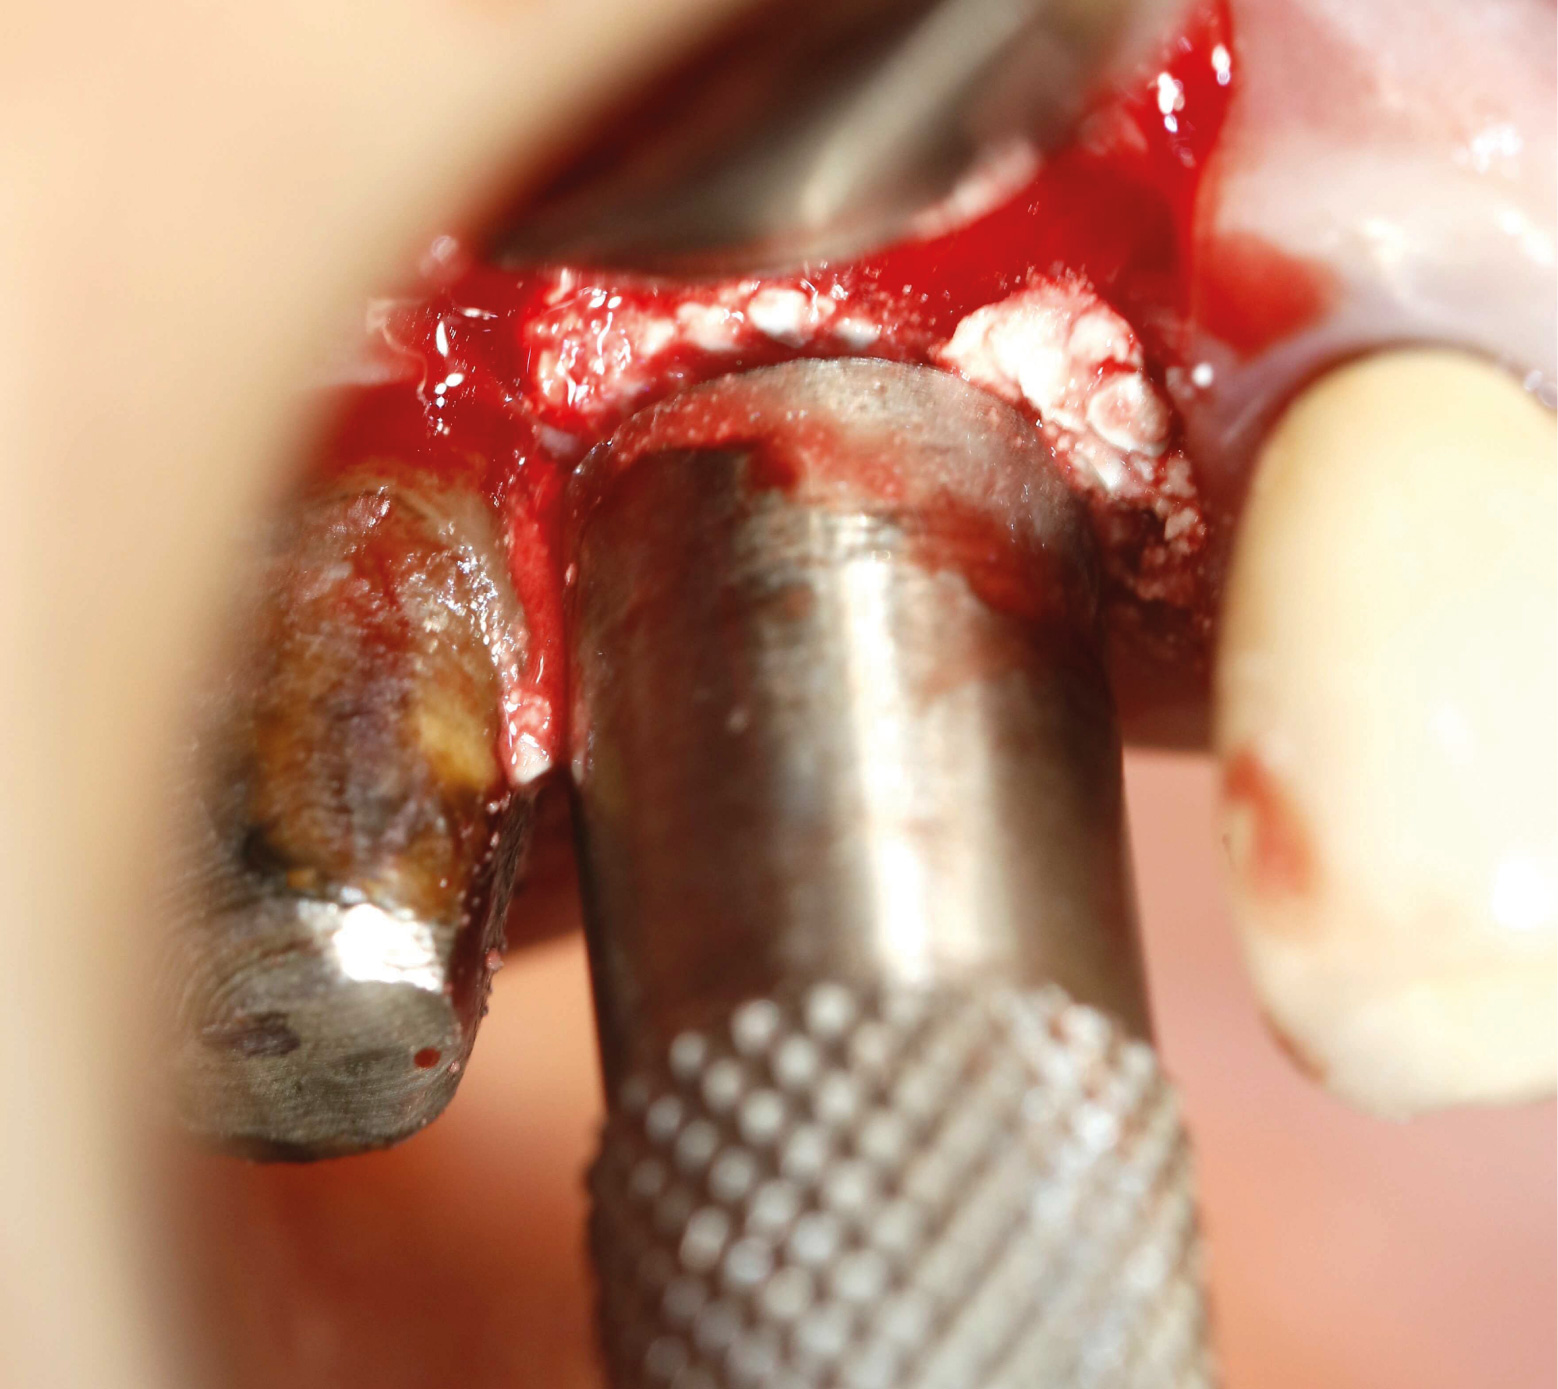
Mount a 4 mm B.Y.S bur on contrangle for micro late of implantology.
Working speed from 600 to 1000 rpm with external irrigation.
Drill a 4 mm long hole.
If the bone is type D1 or D2, drill with a classic drill of 2.8mm diameter and 3 mm in length.
Then nish the hole with the B.Y.S 4
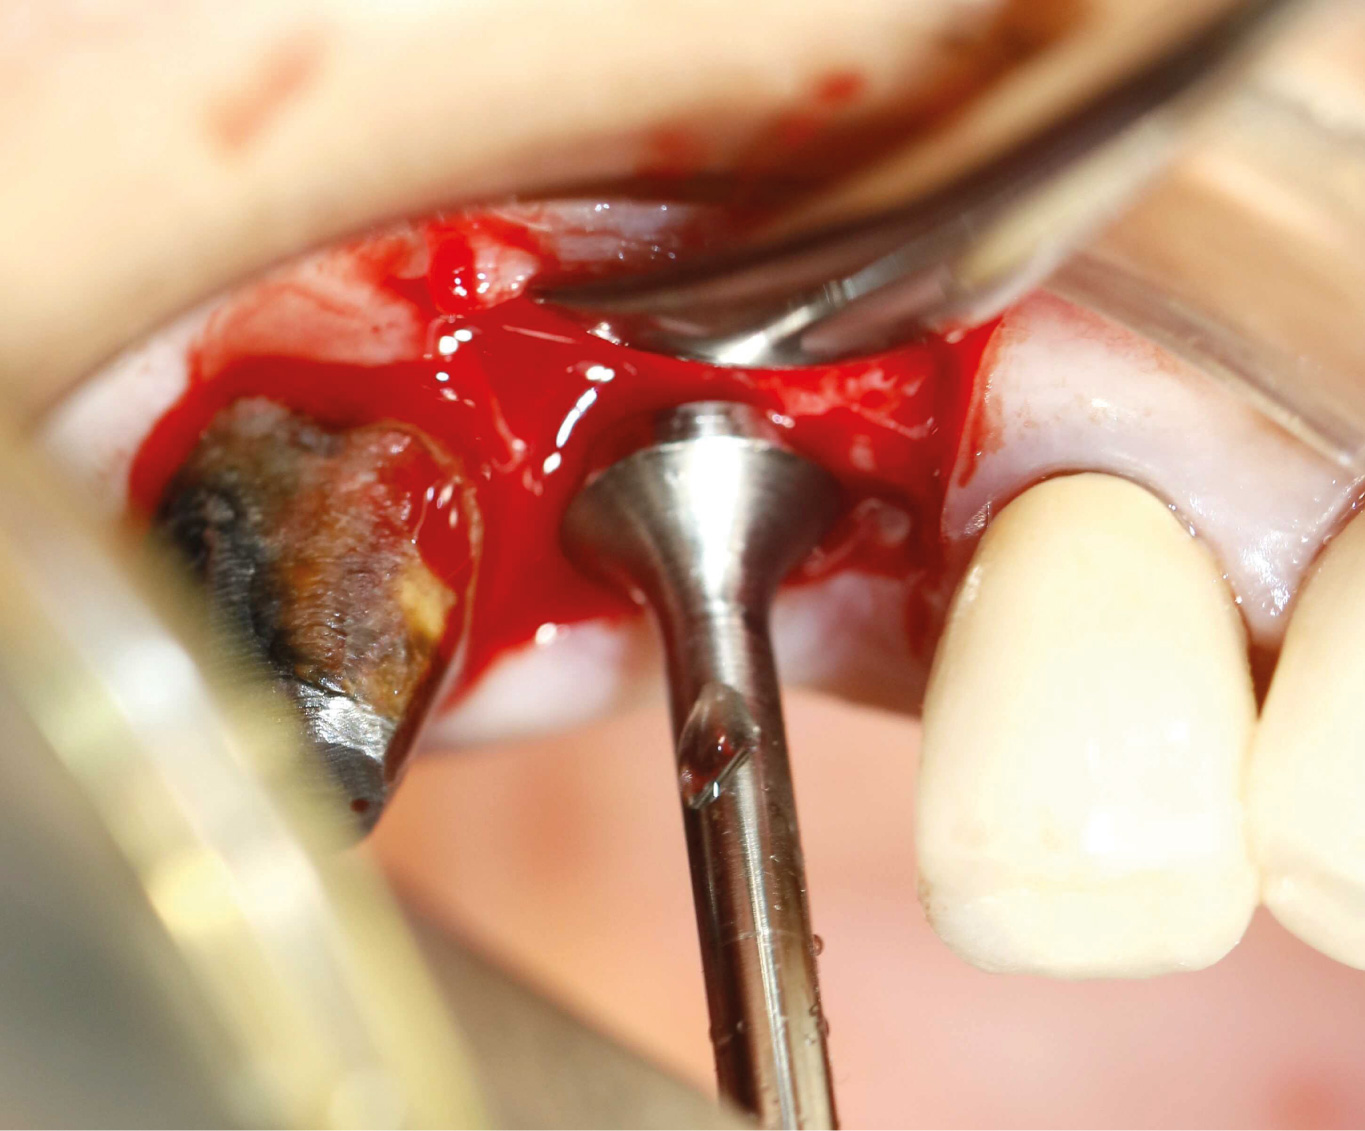
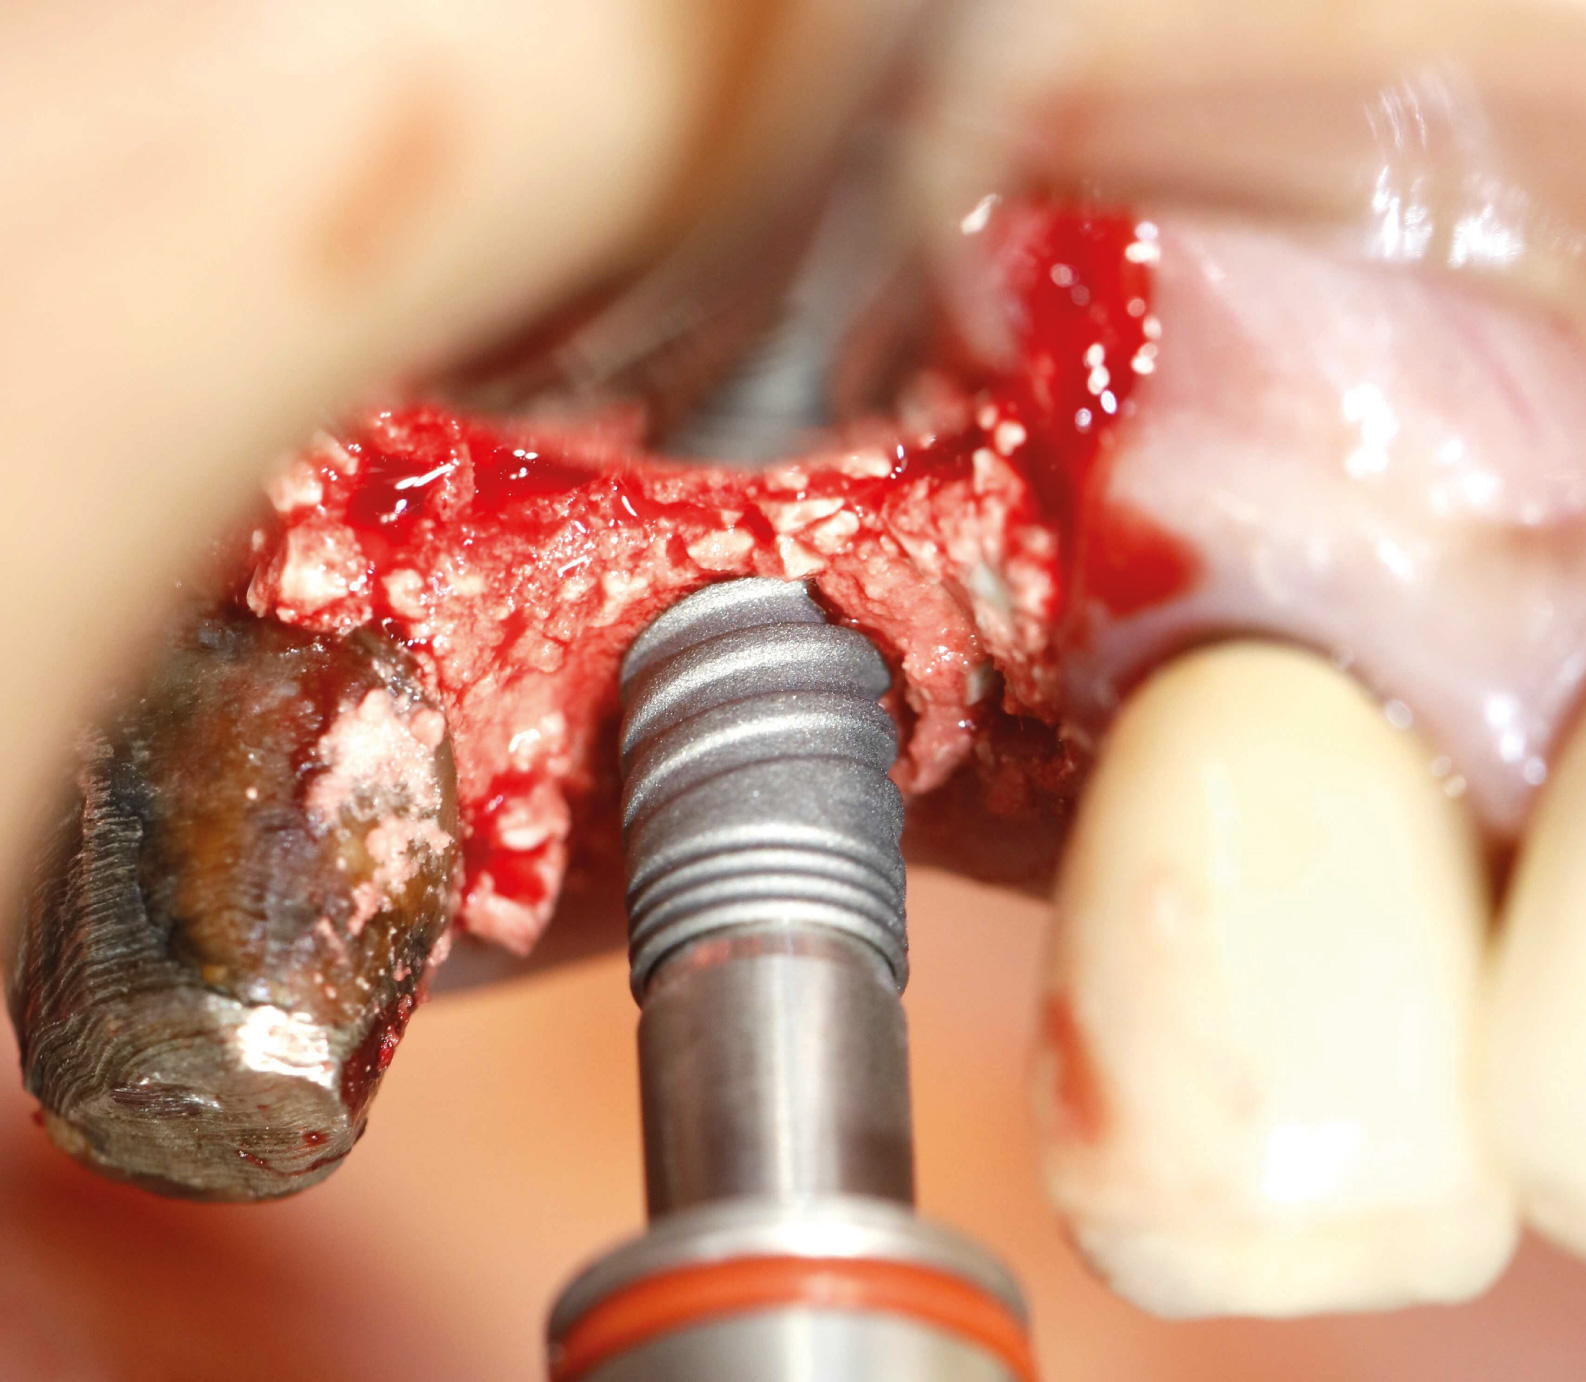
Take a 3.2 mm osteotome diameter adjust the stopper to 5 mm,
If the stopper is in contact with the ridge you already have, pushed the membrane back,
adjust your osteotome at 6 mm then 7 mm then 8,9 and 10 mm

If the stopper of your osteotome remains away from the ridge, take the diamond bur B.Y.S 5, and drill a 5 mm hole length,
take an osteotome of 3.2 mm in diameter and 6 mm in length, etc…

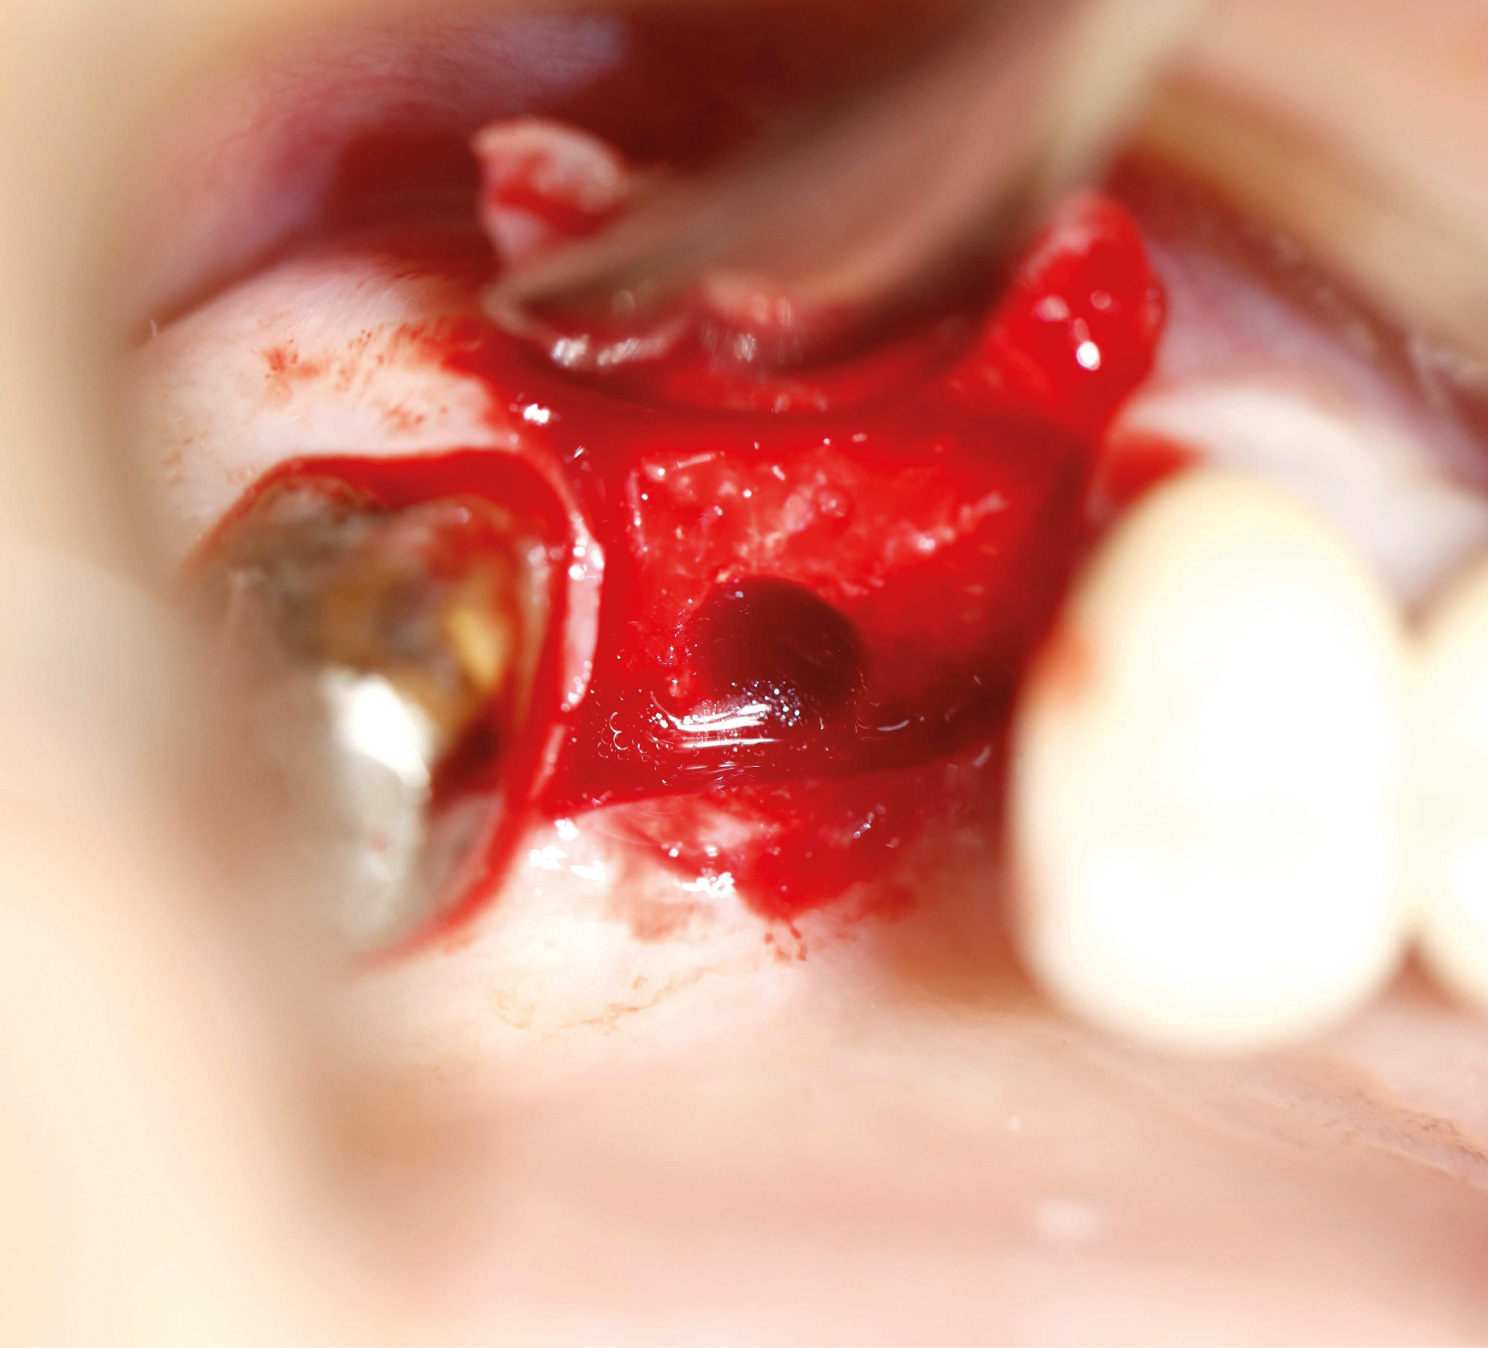
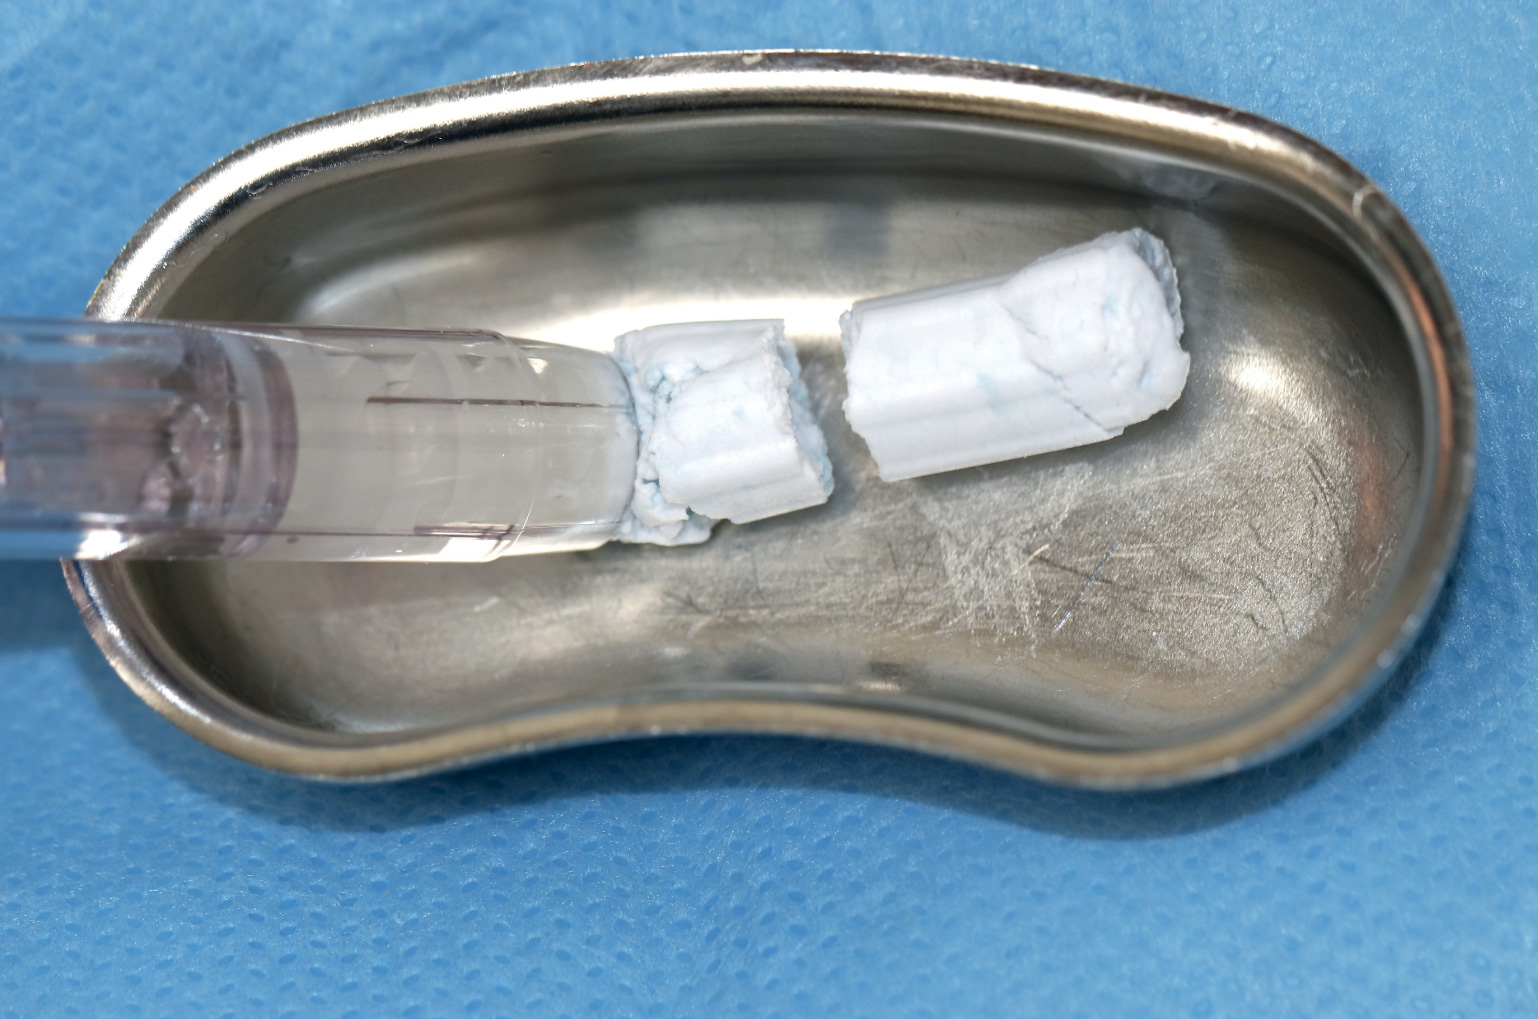
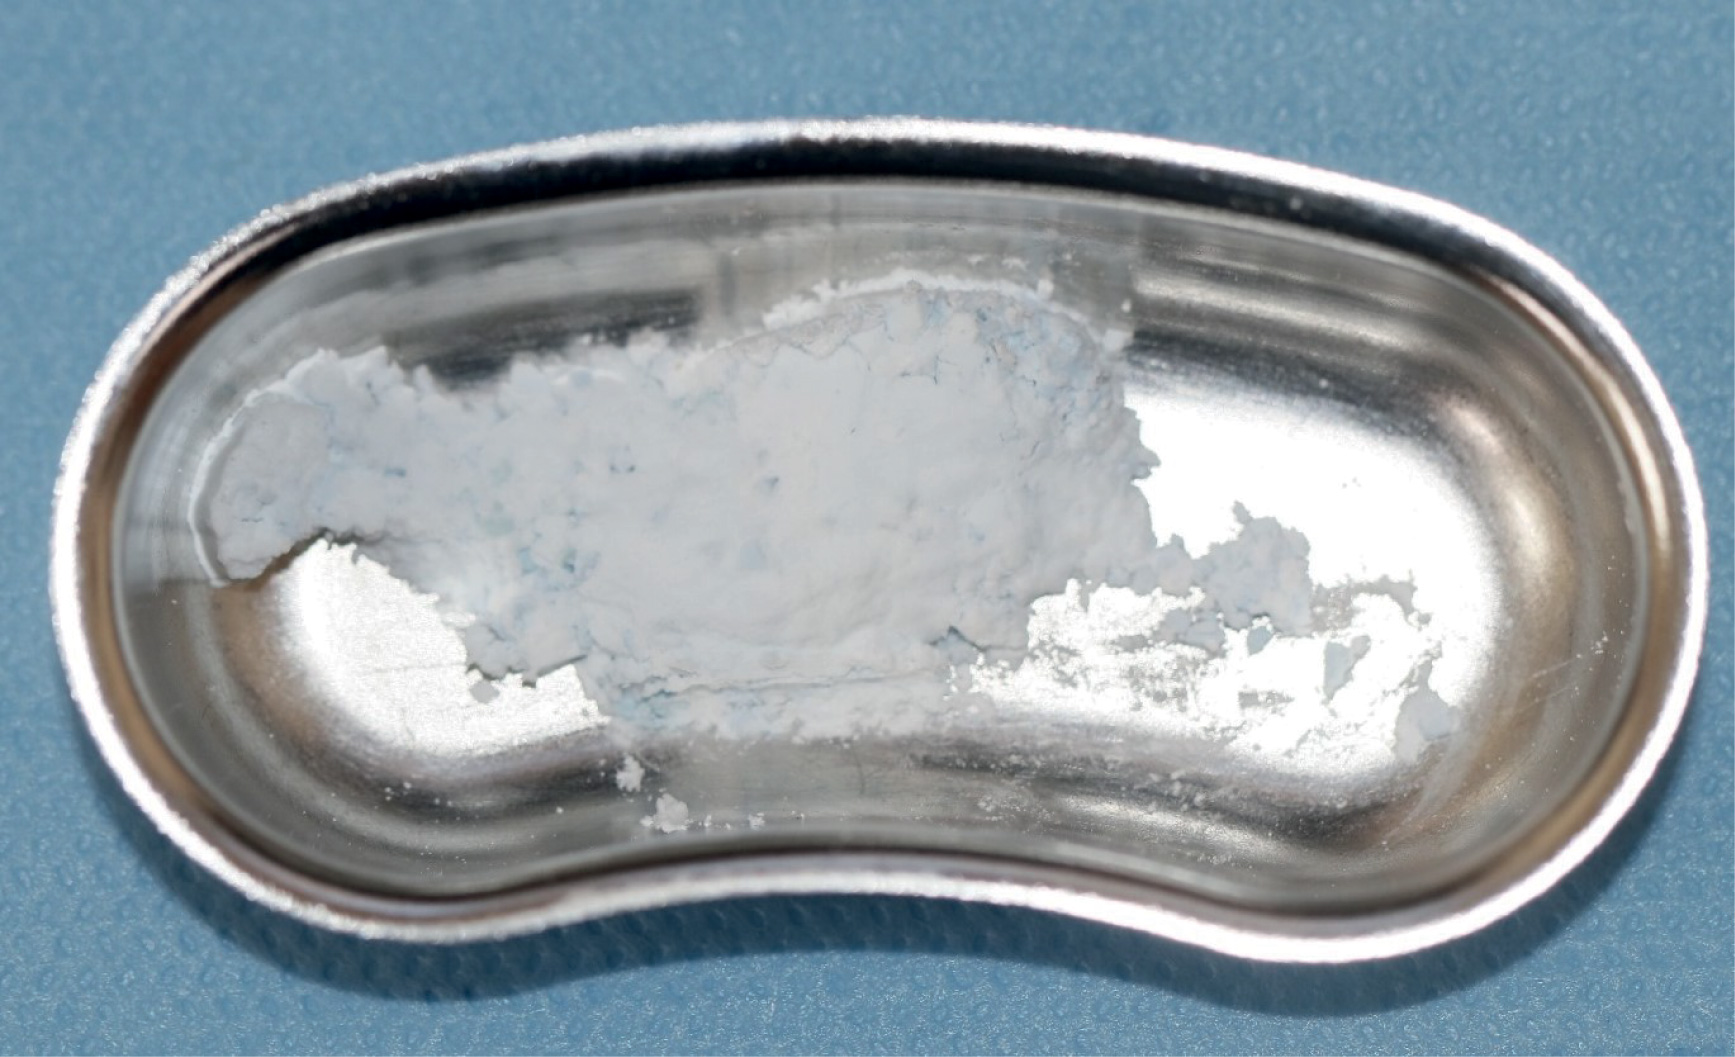
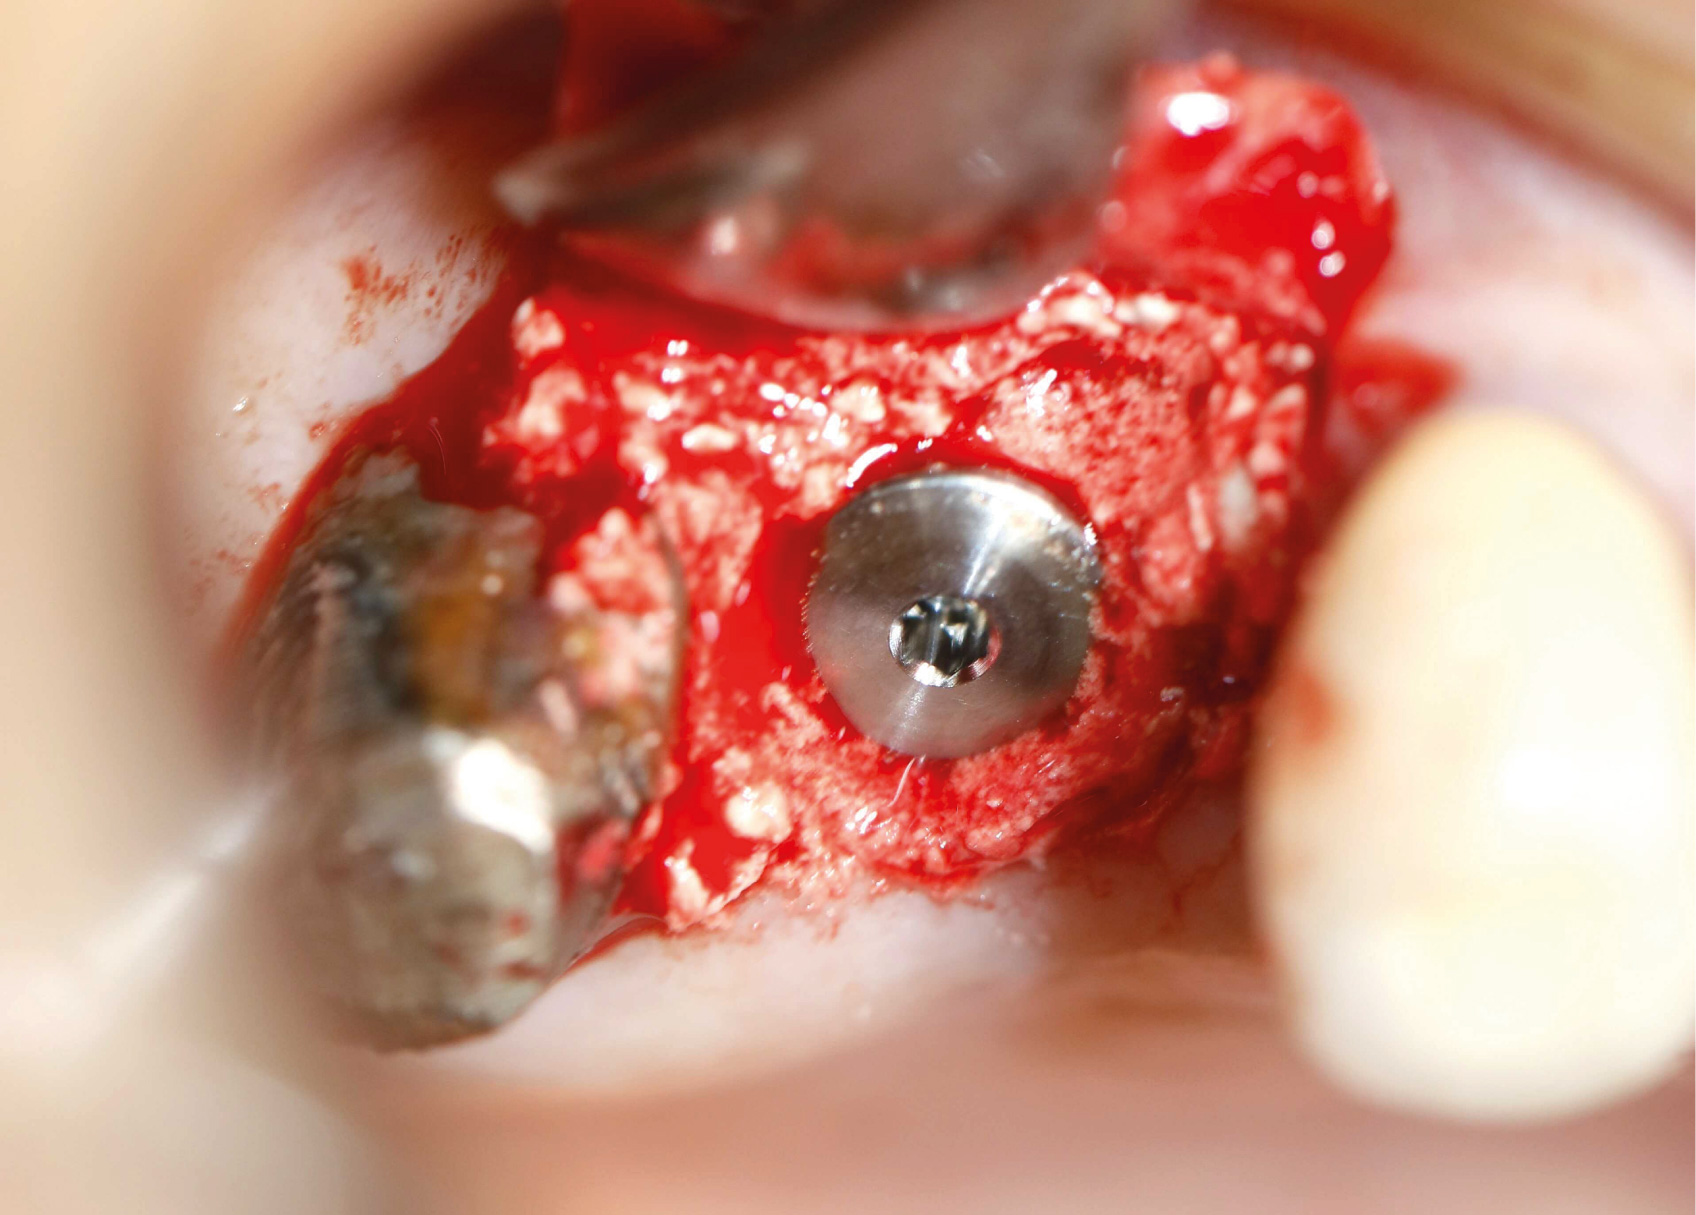
Graft the Bond Apatite.
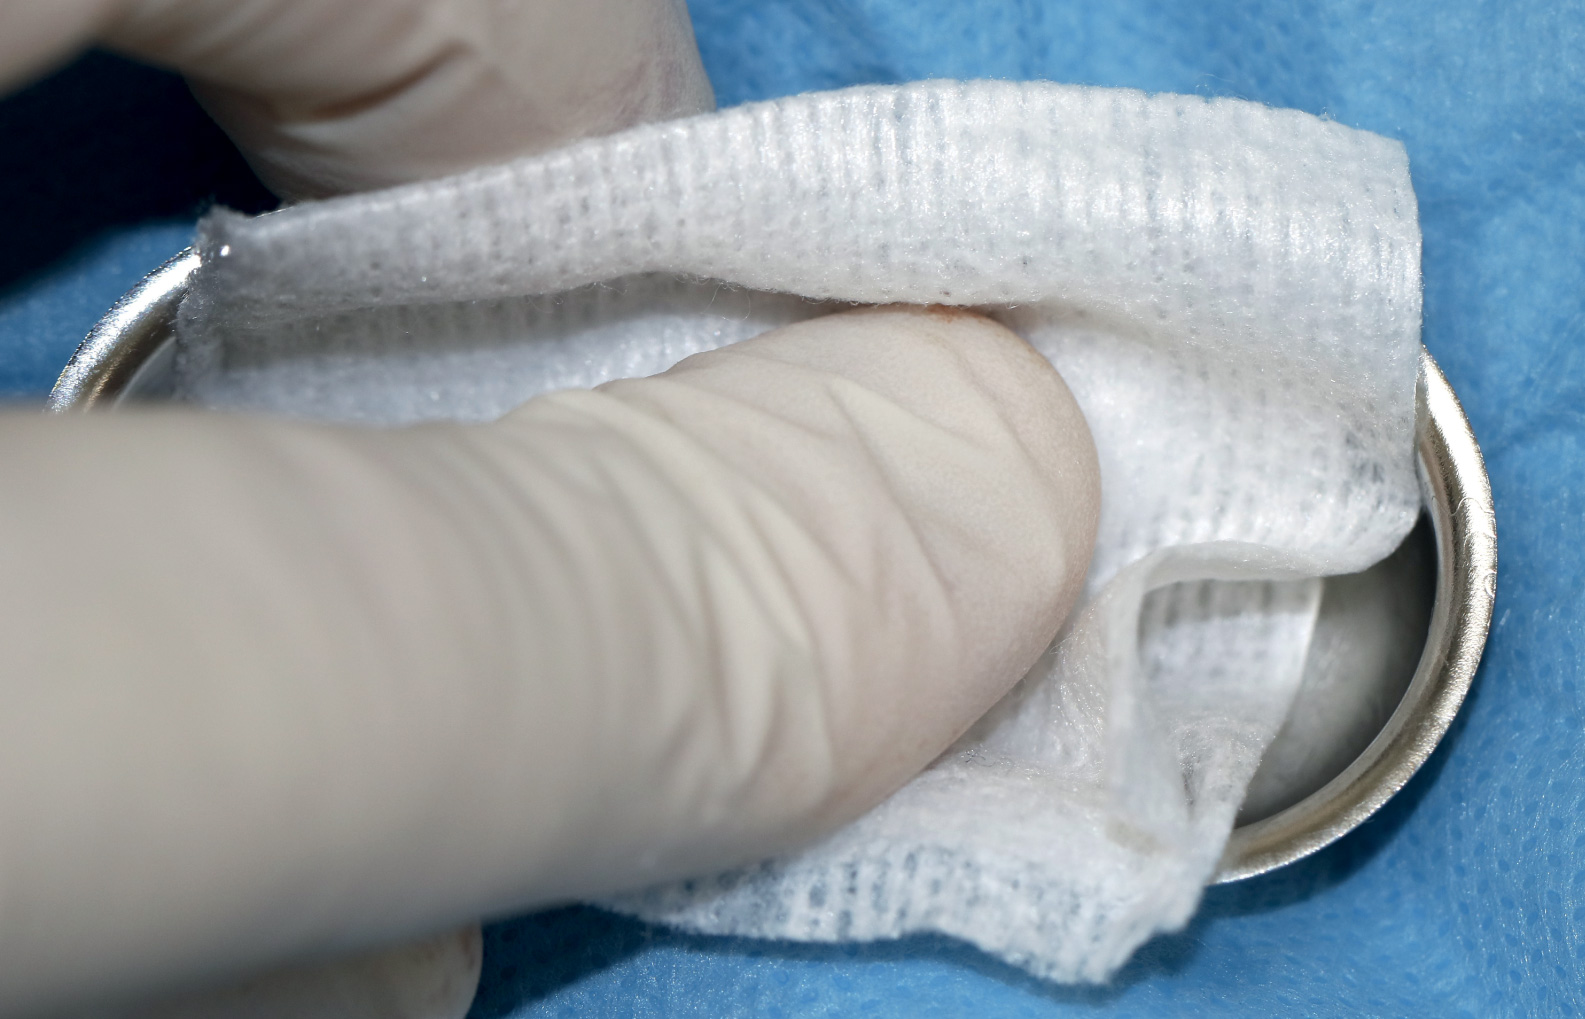
Activate the Bond Apatite syringe and place the material in a sterile cup.
Press with a dry compress on the material to absorb liquid residual.
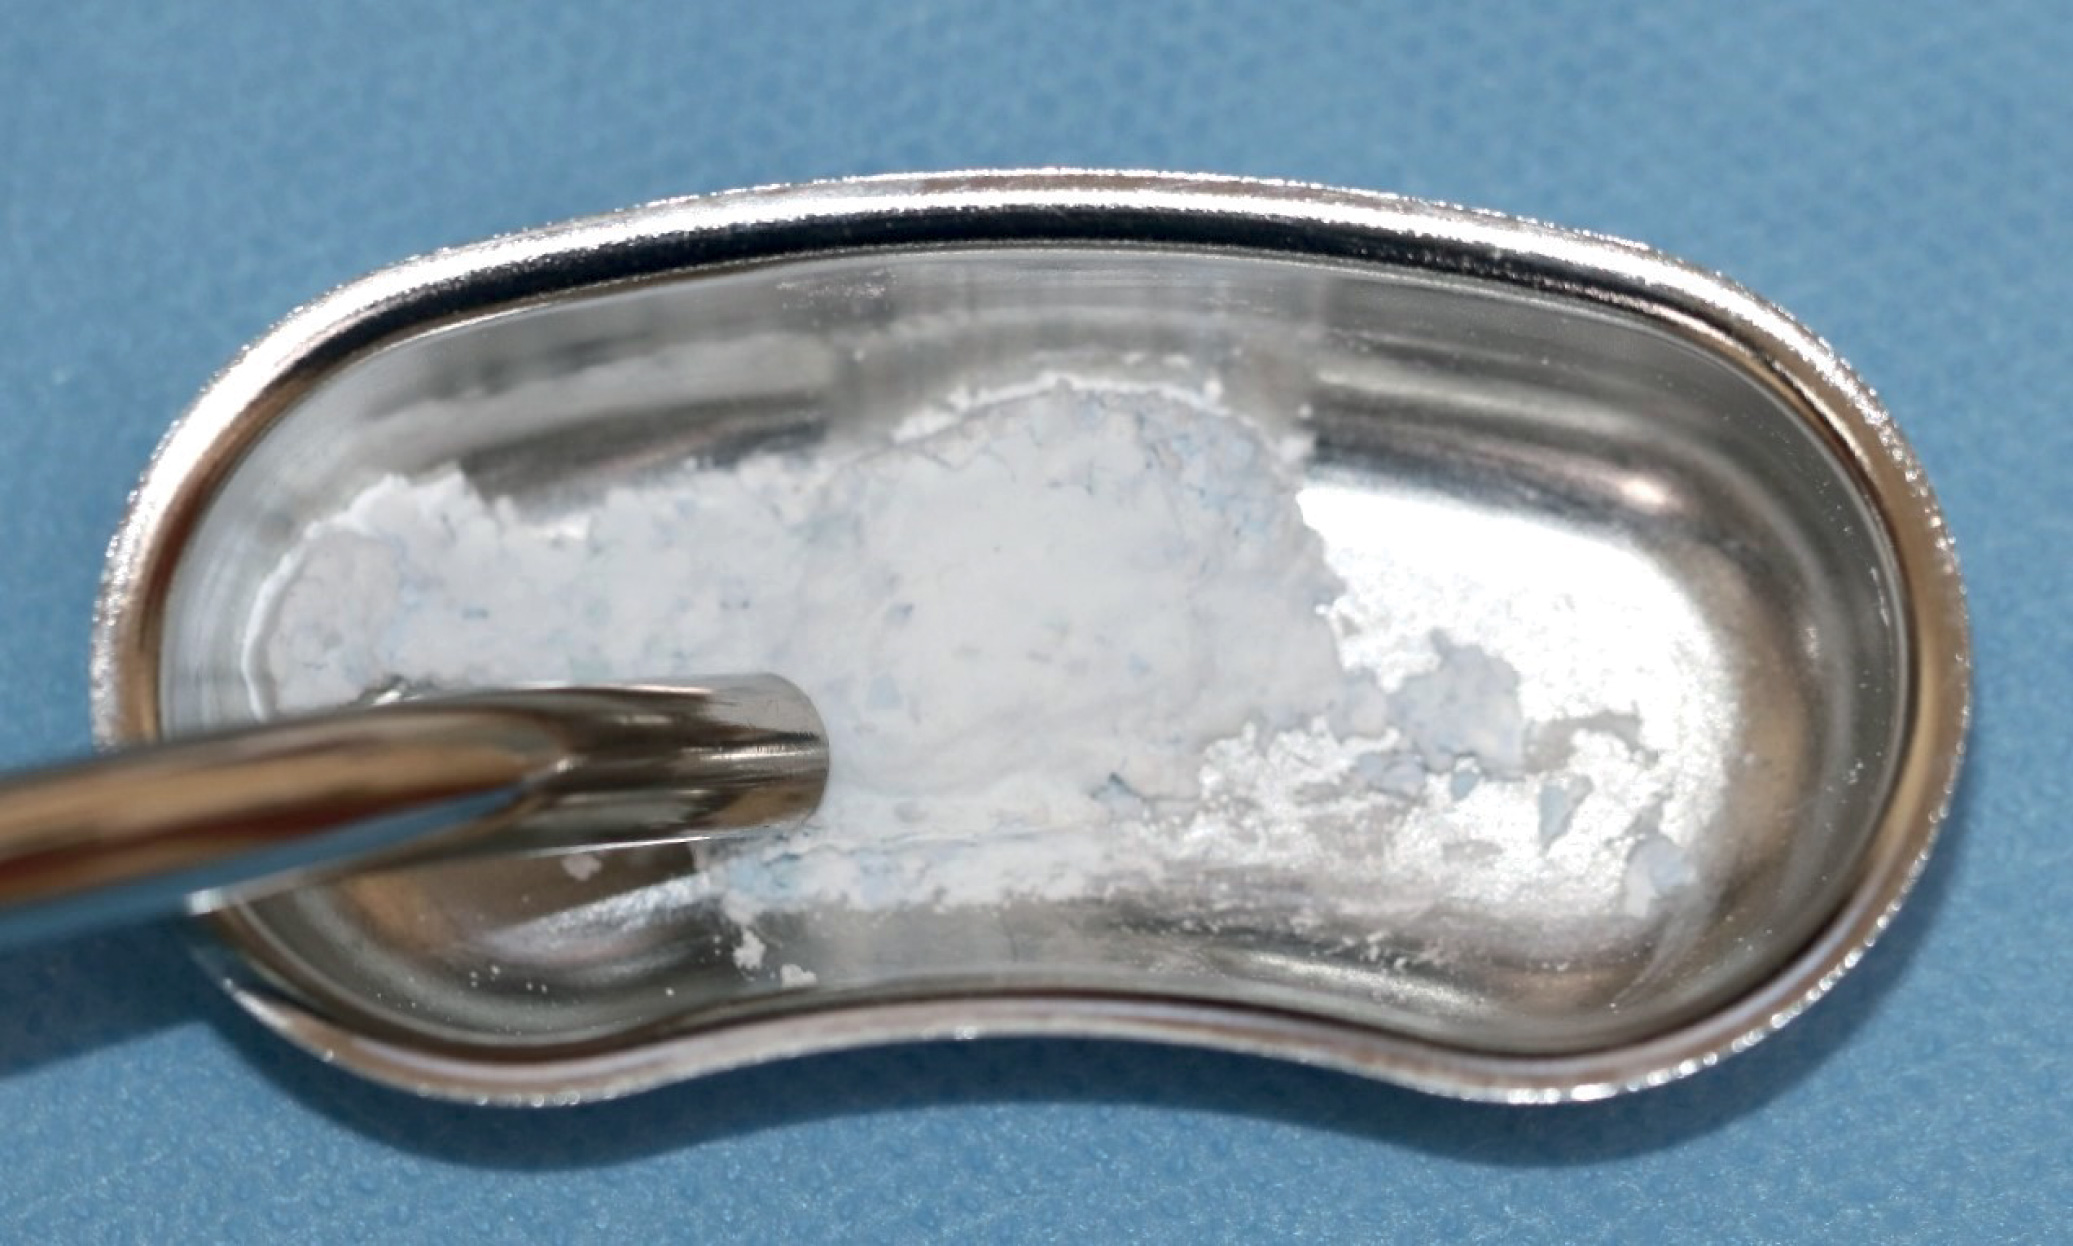
Graft the Bond Apatite by pushing it to using a 3.2 mm osteotome whose stop is set to the height of the last
osteotome used to push back the membrane minus 1 mm.
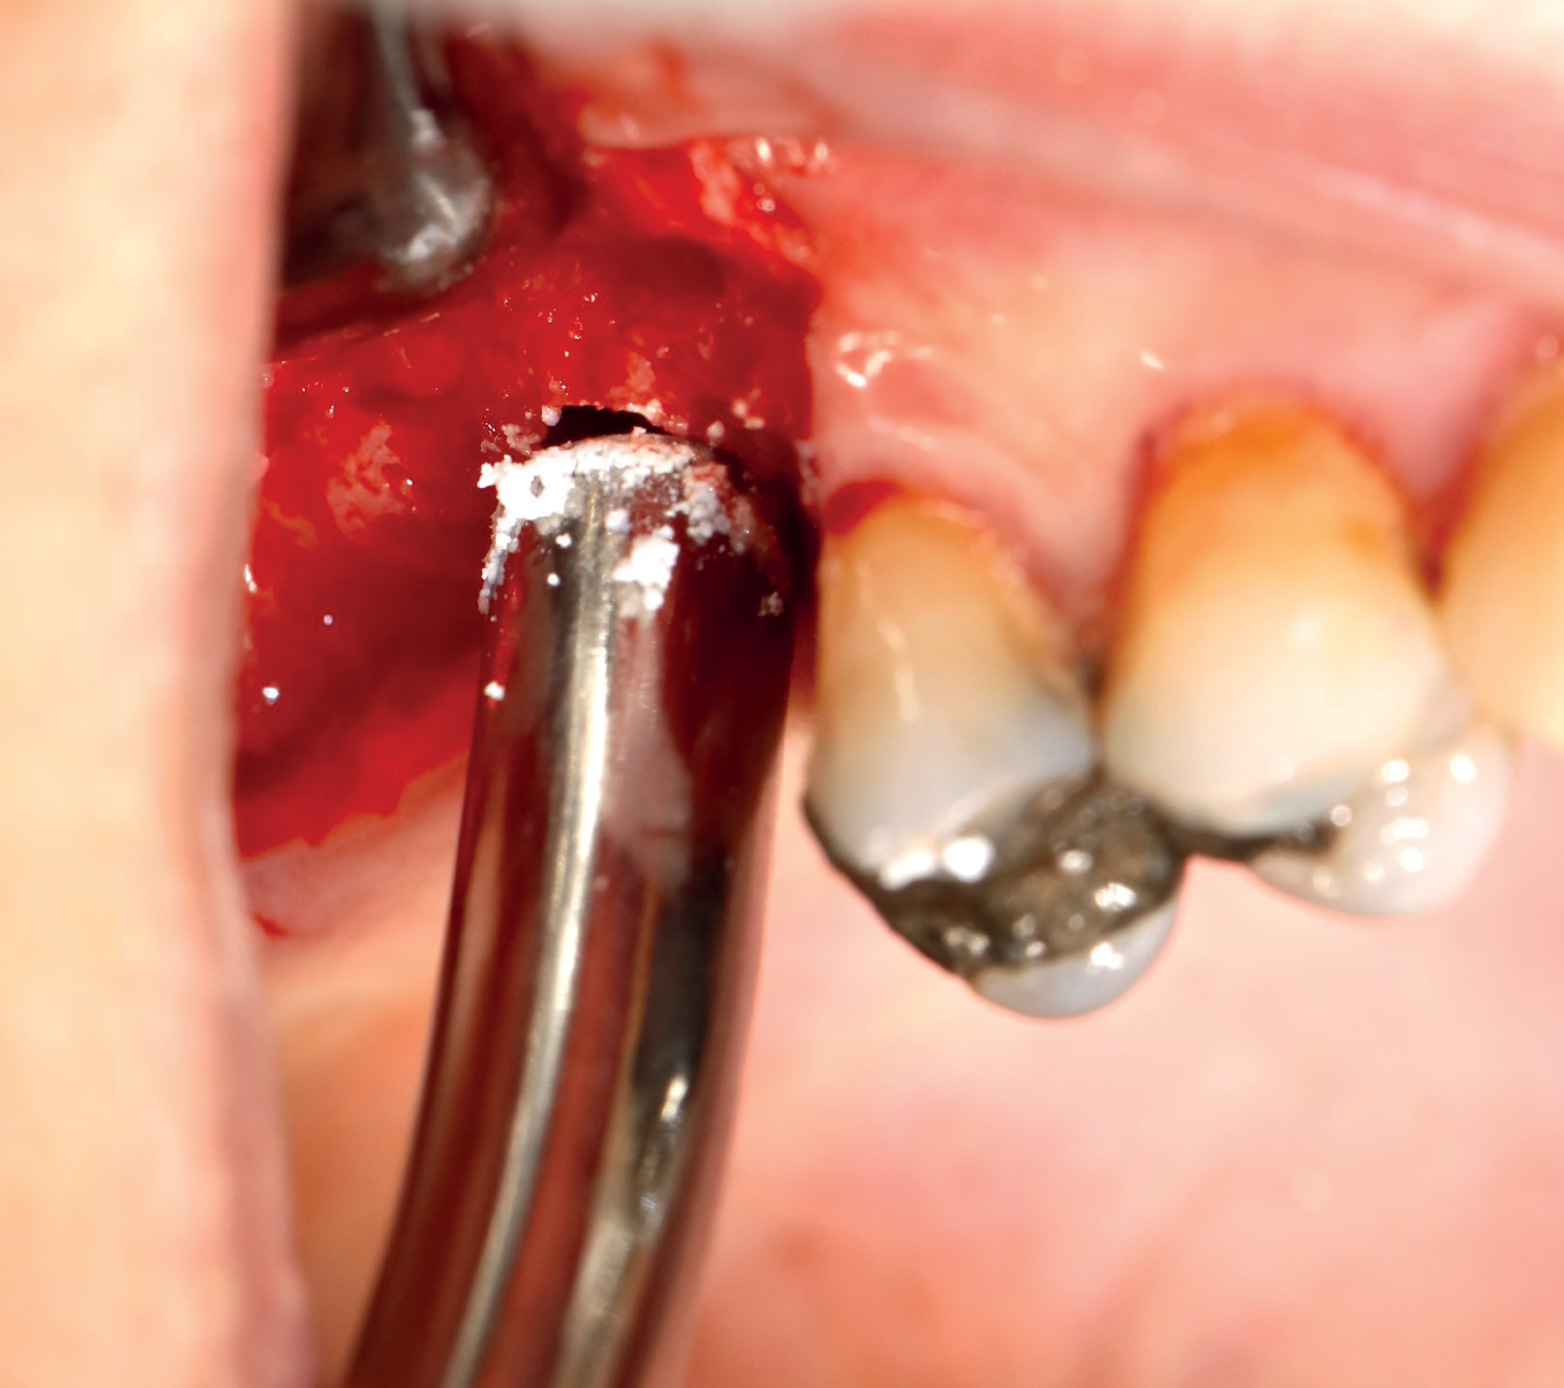
Then repeat the operation three to four times
taking care to always remove 1 mm of your osteotome before pushing the new graft of Bond Apatite, then put in your implant
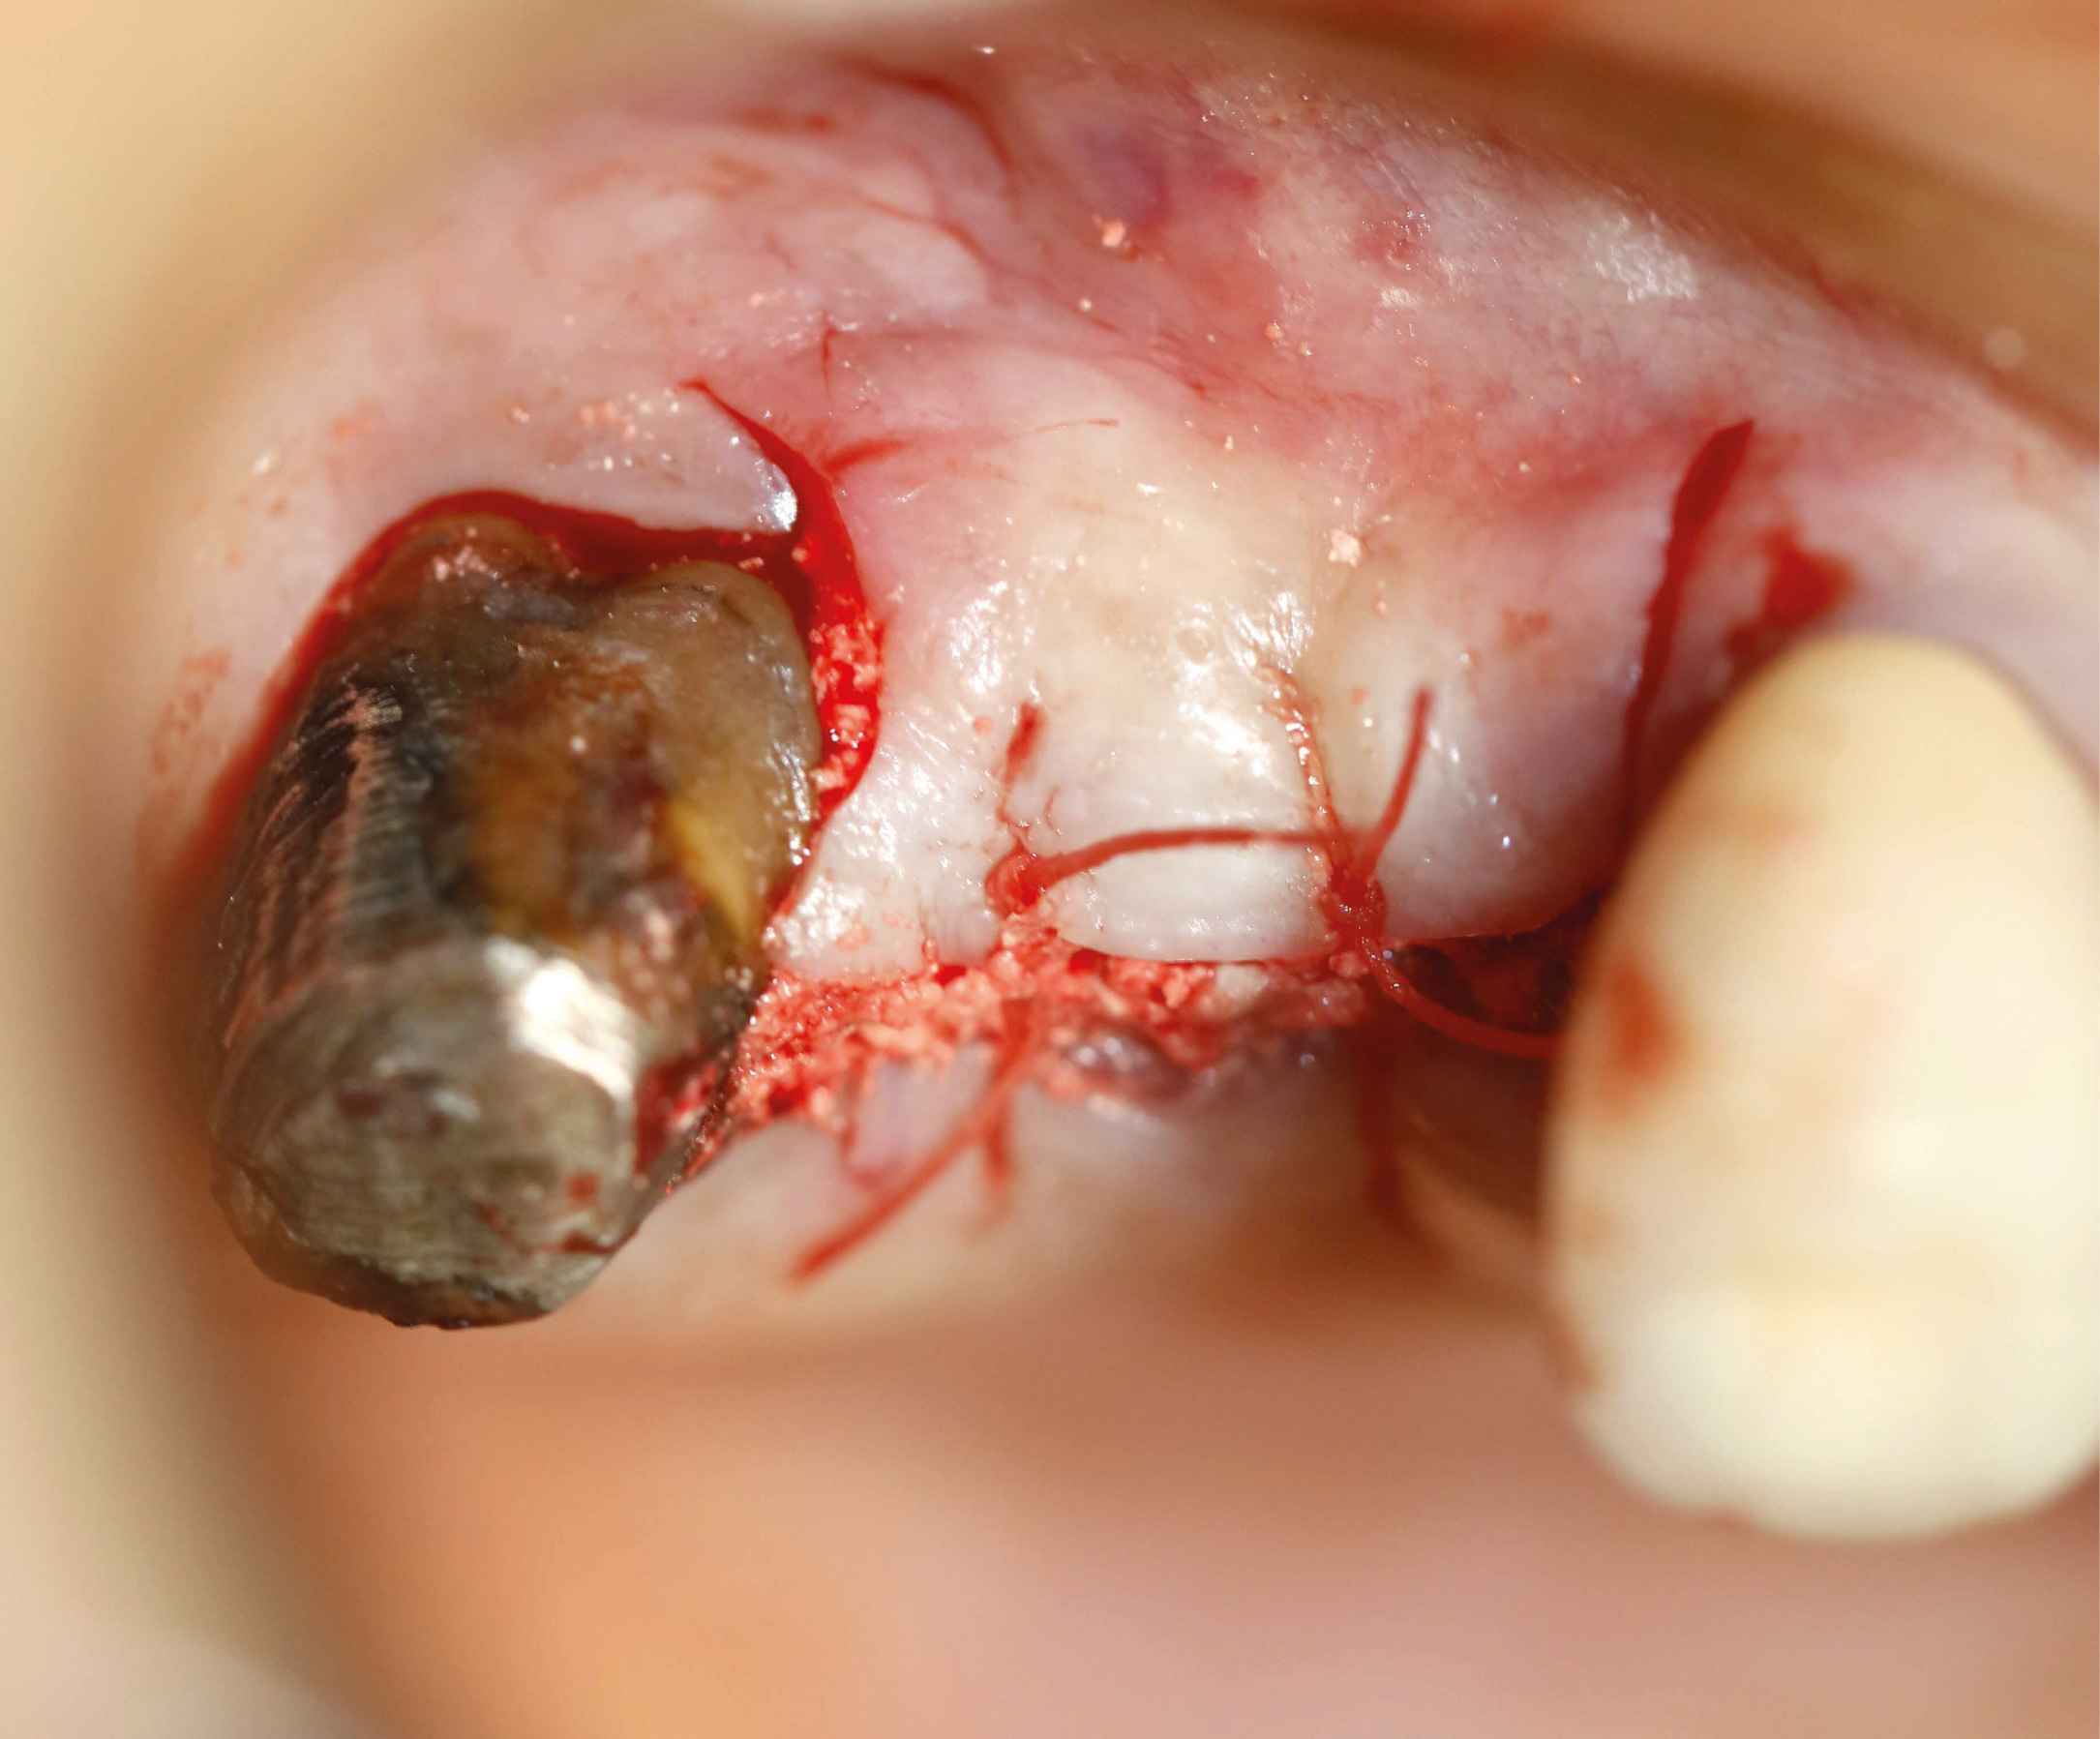
Sutures
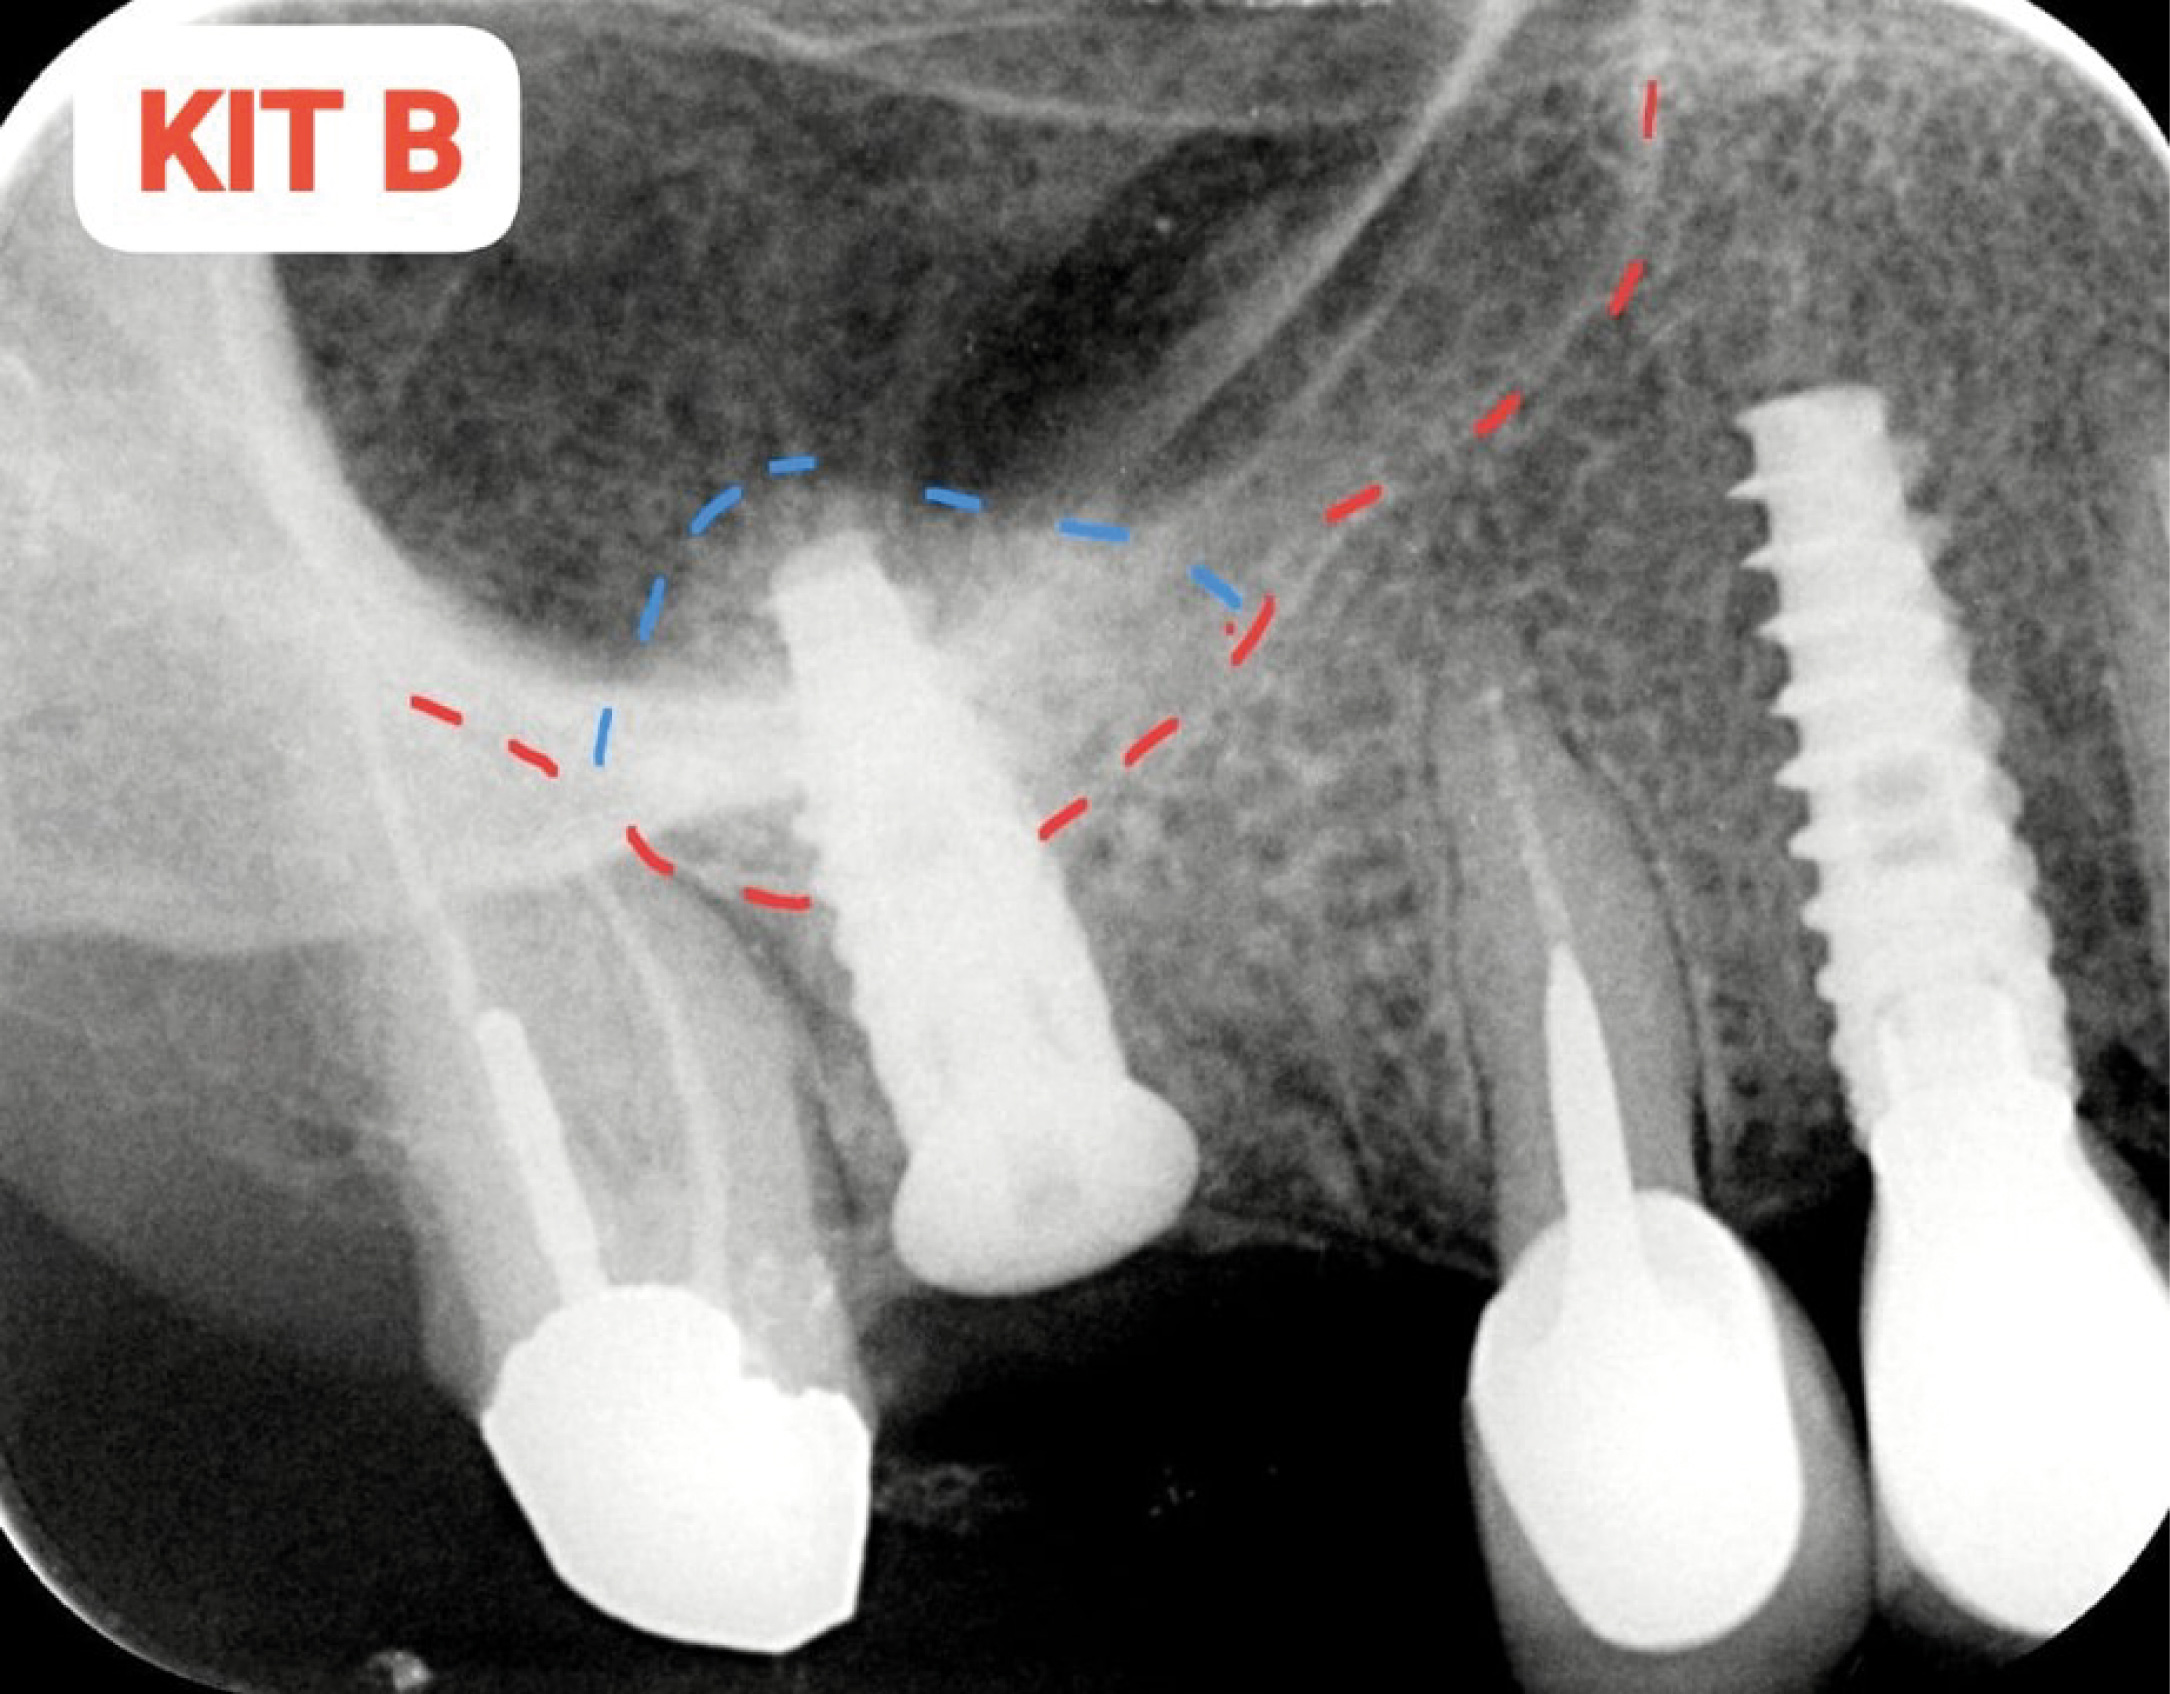
Peri-apical radiograph.
Implant 4.2 / 11.5 mm
Kit B Instructional Video
Download Protocols – Kit B