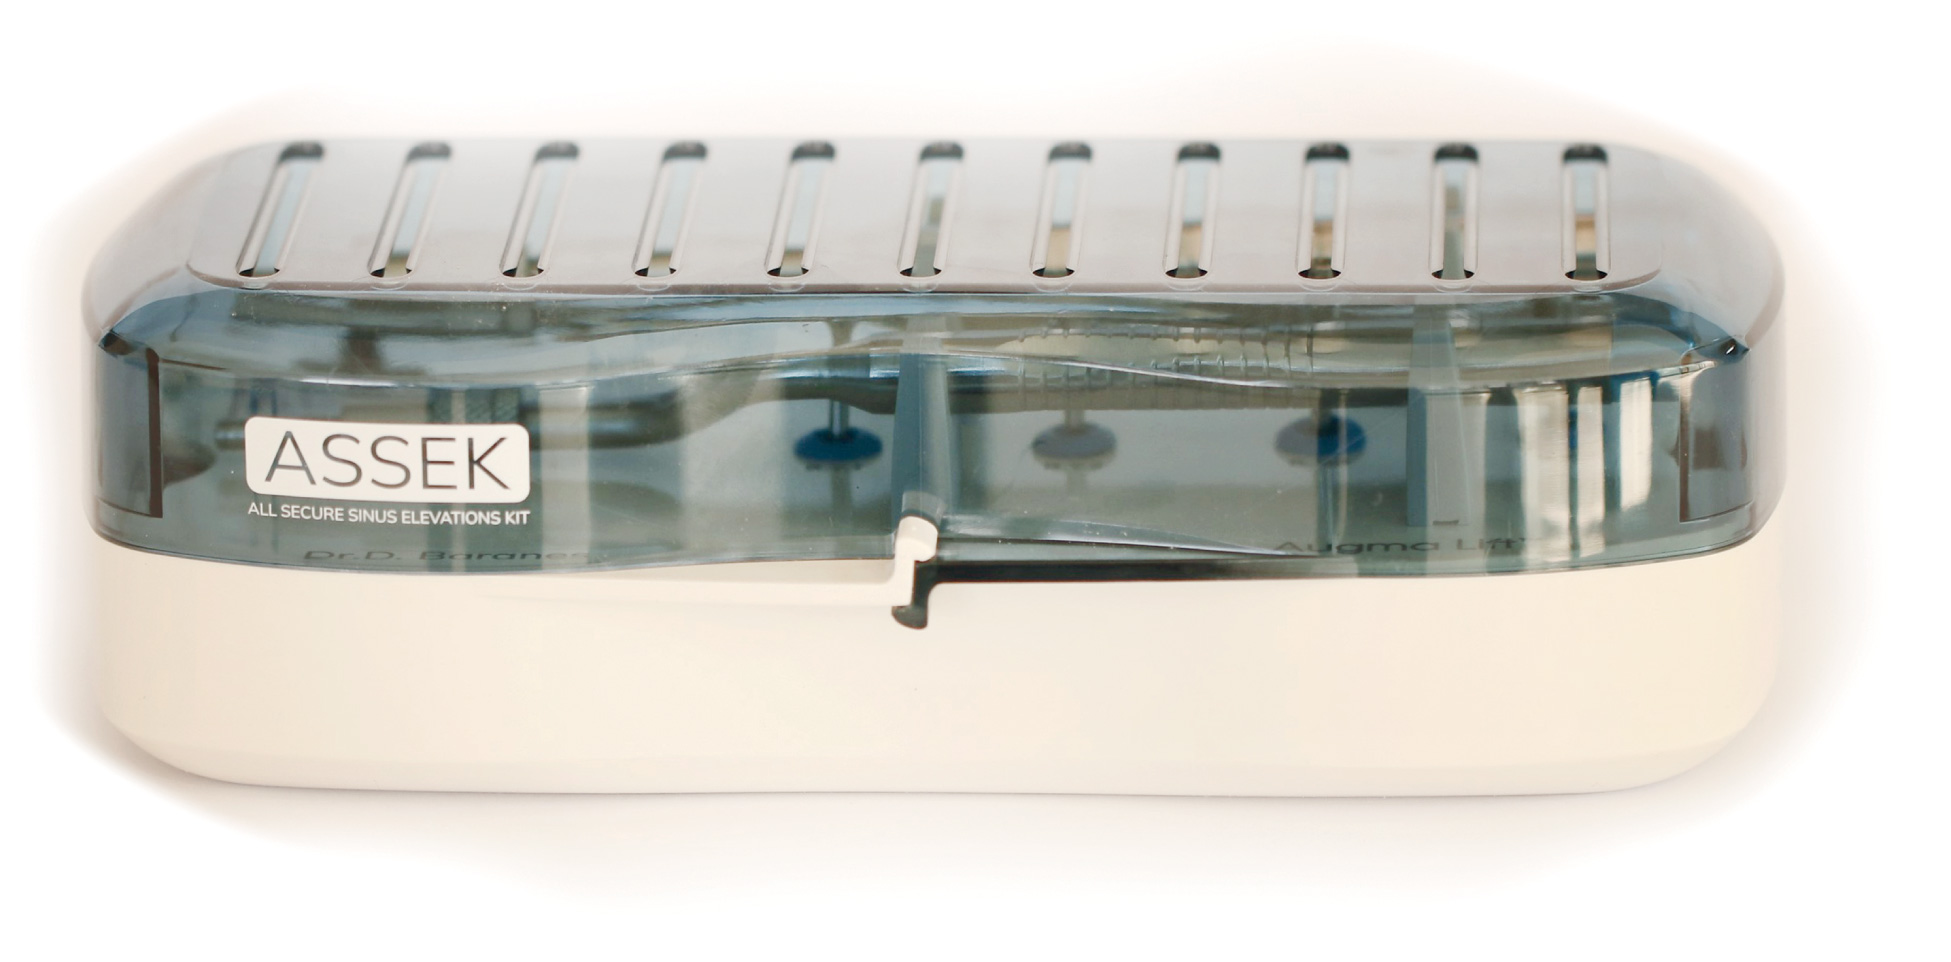
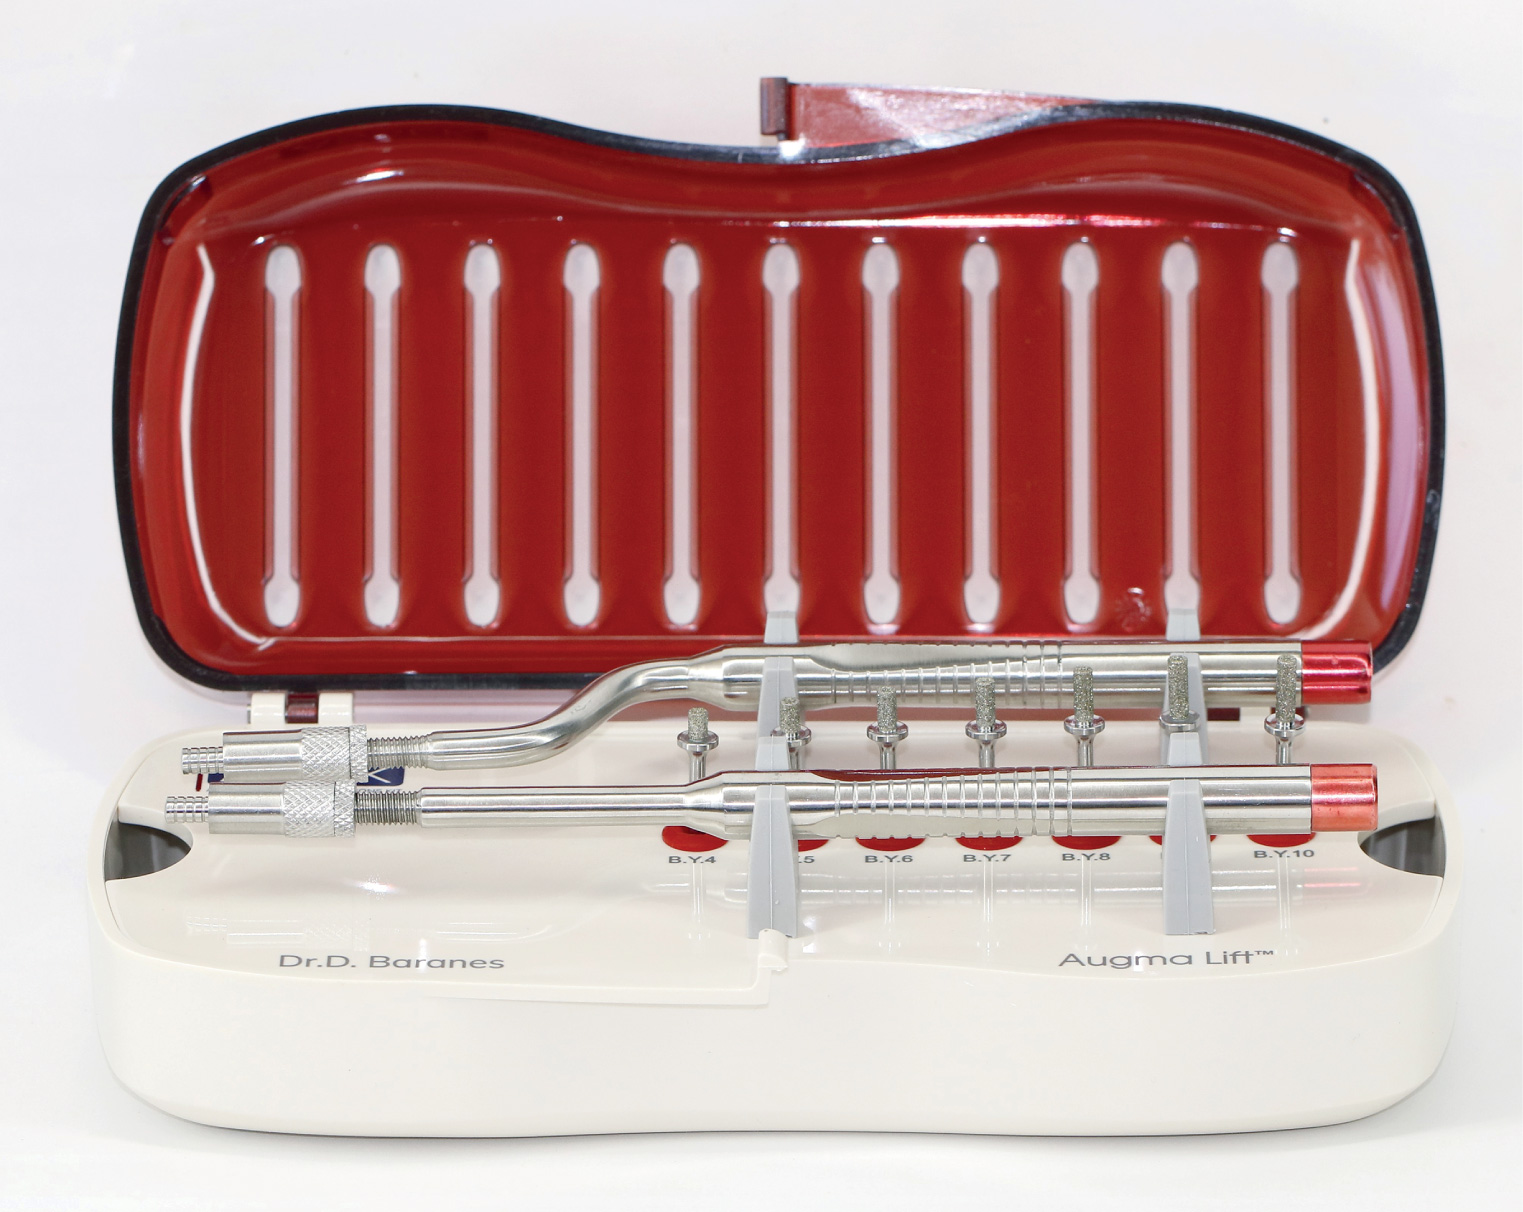
View the protocol and watch a detailed tutorial video to better understand how to use Kit A and Kit B.
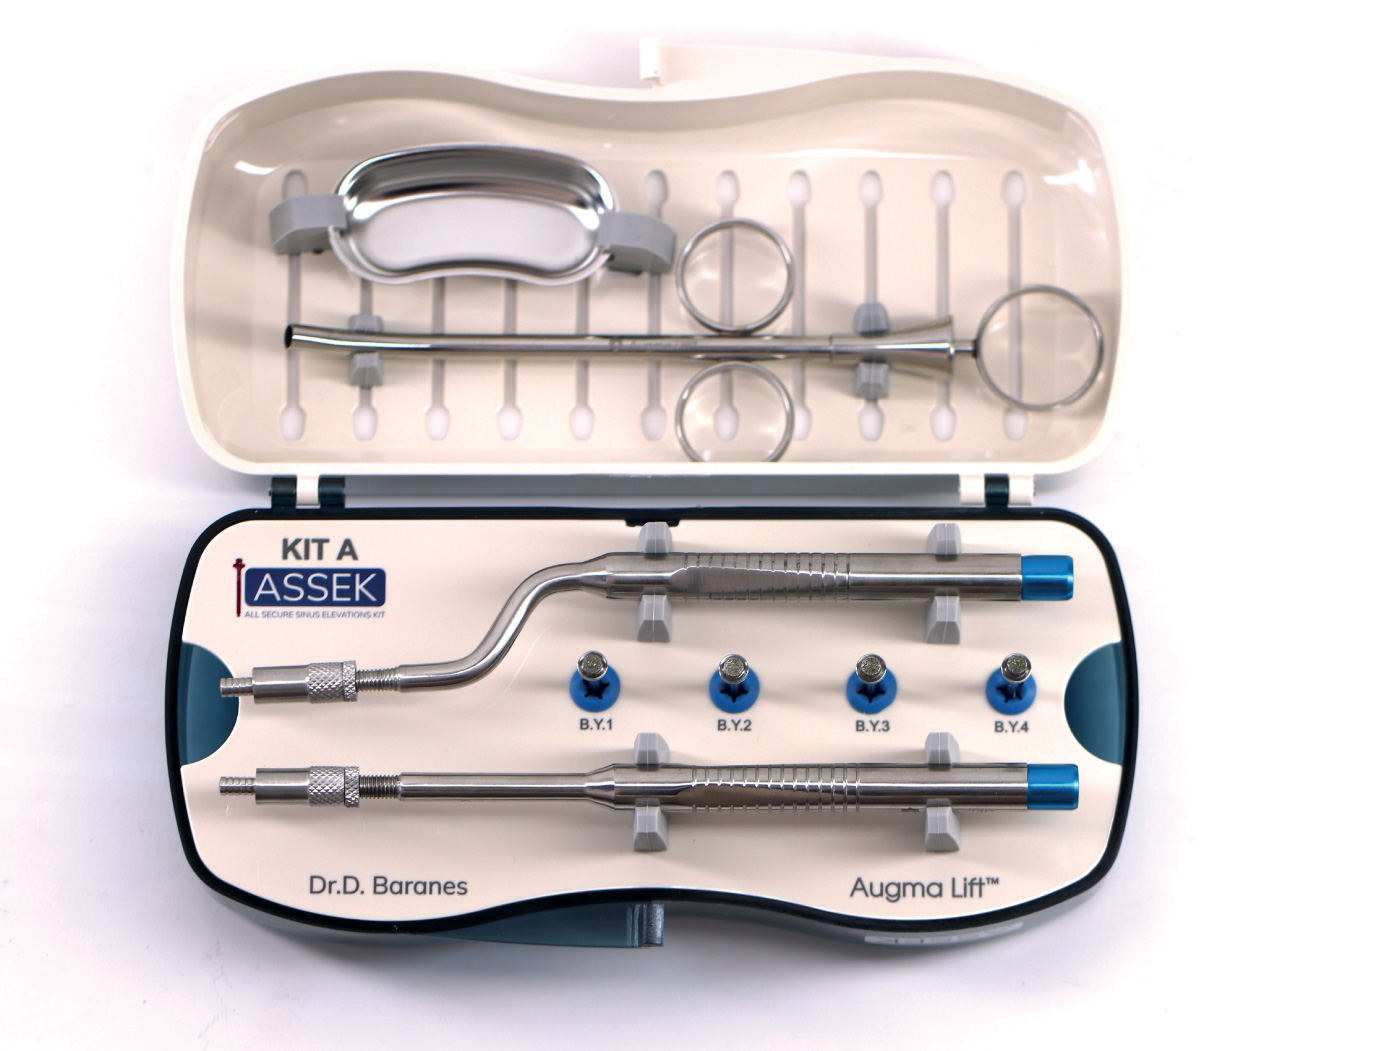
Protocol KIT A
Protocol KIT A
Technique by Dr D. Baranes.
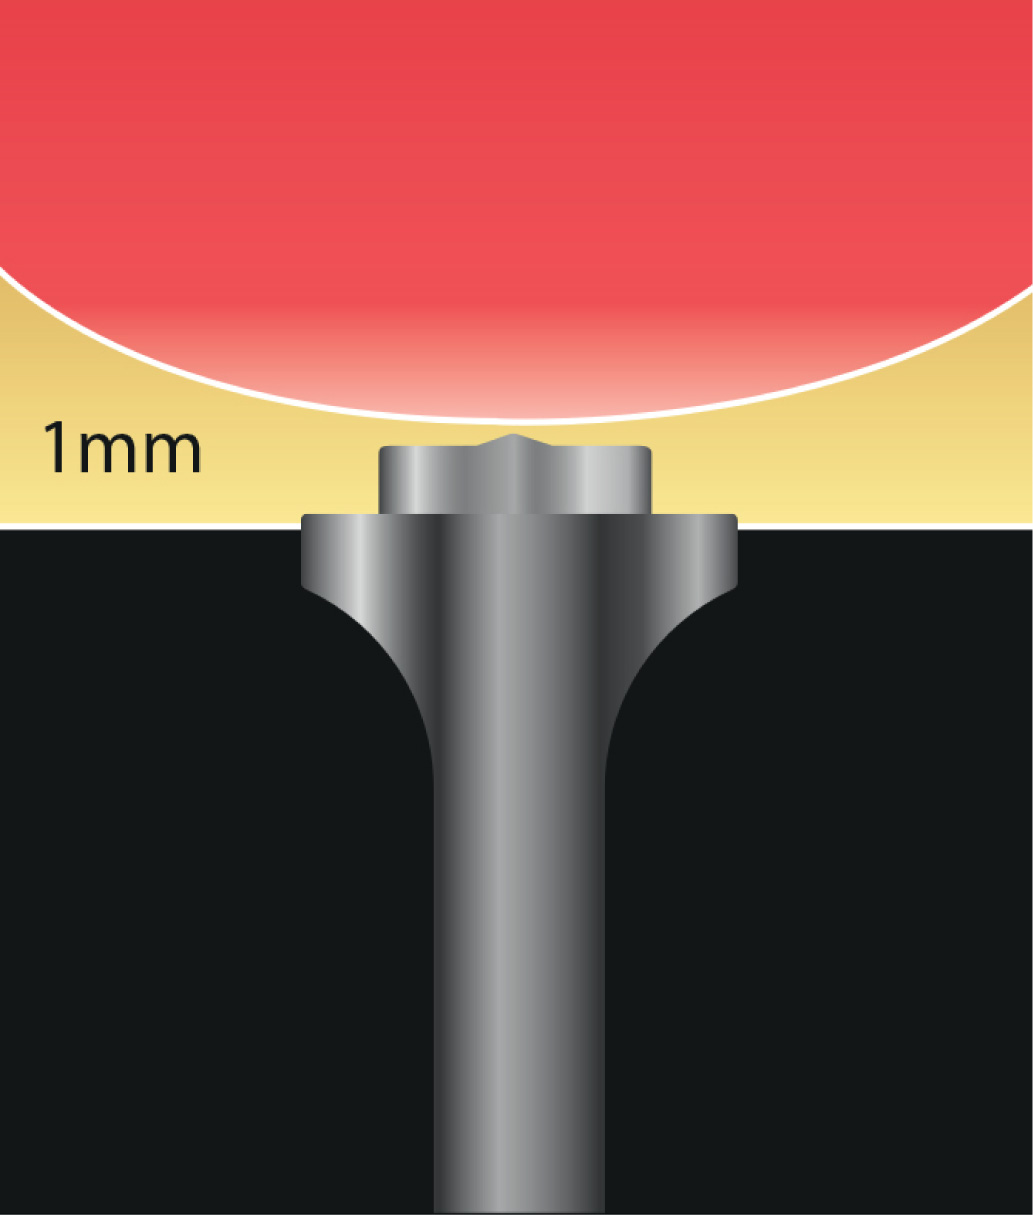
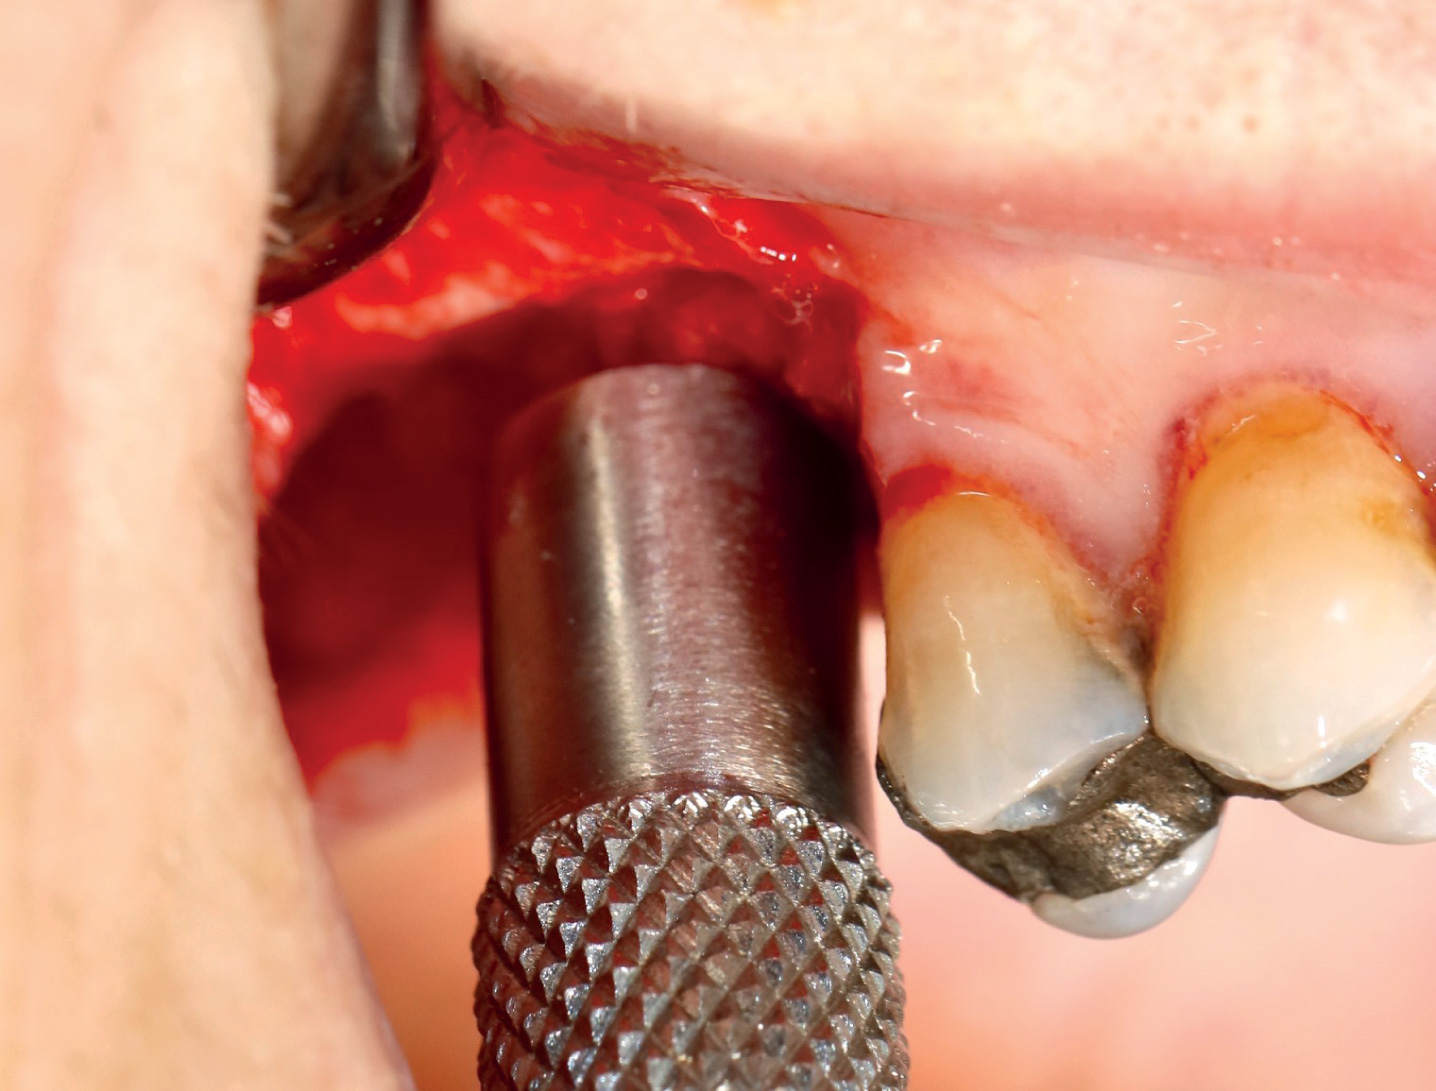
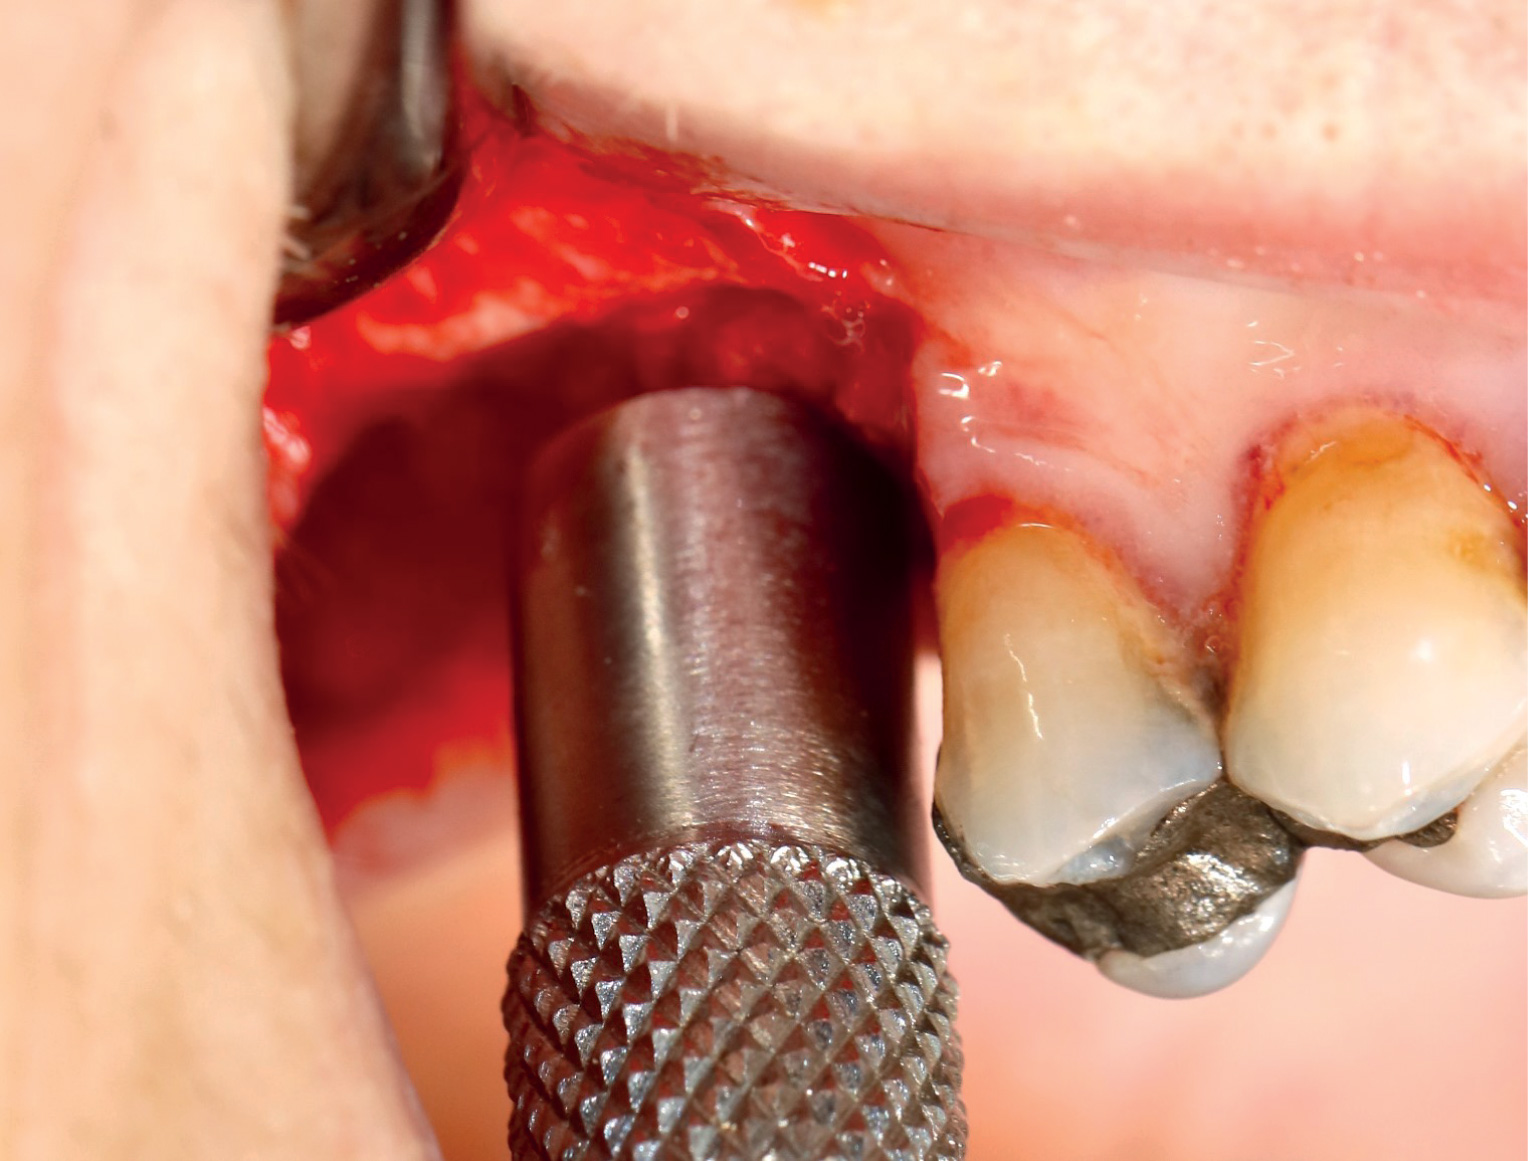
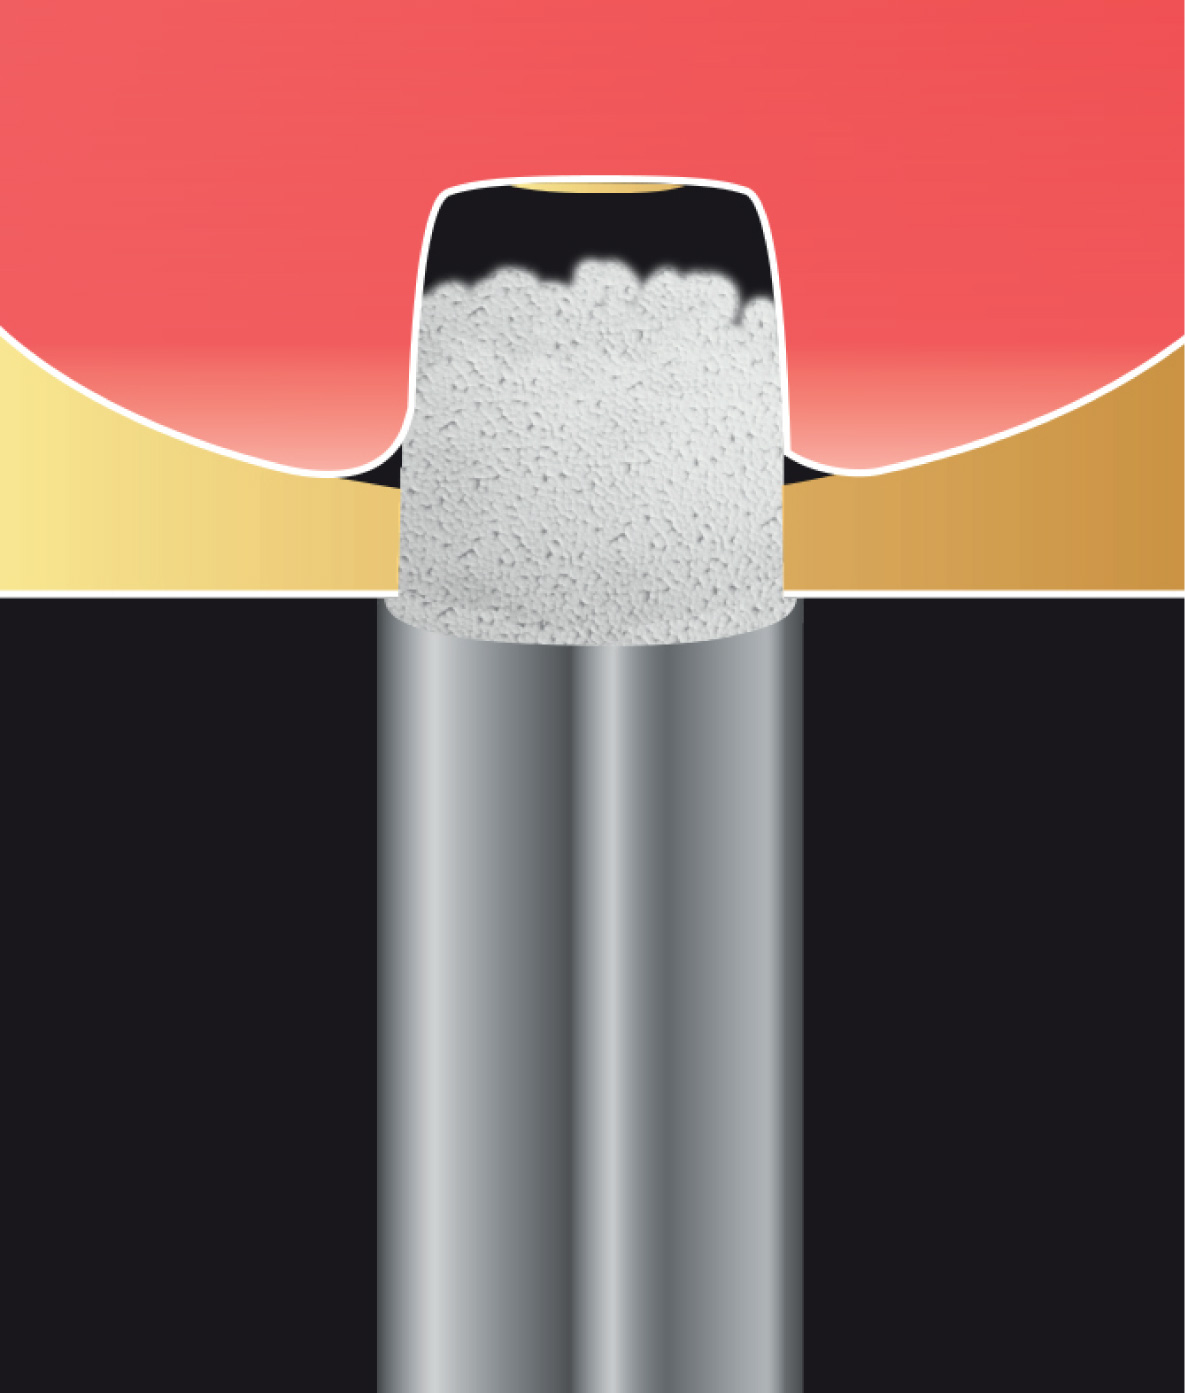
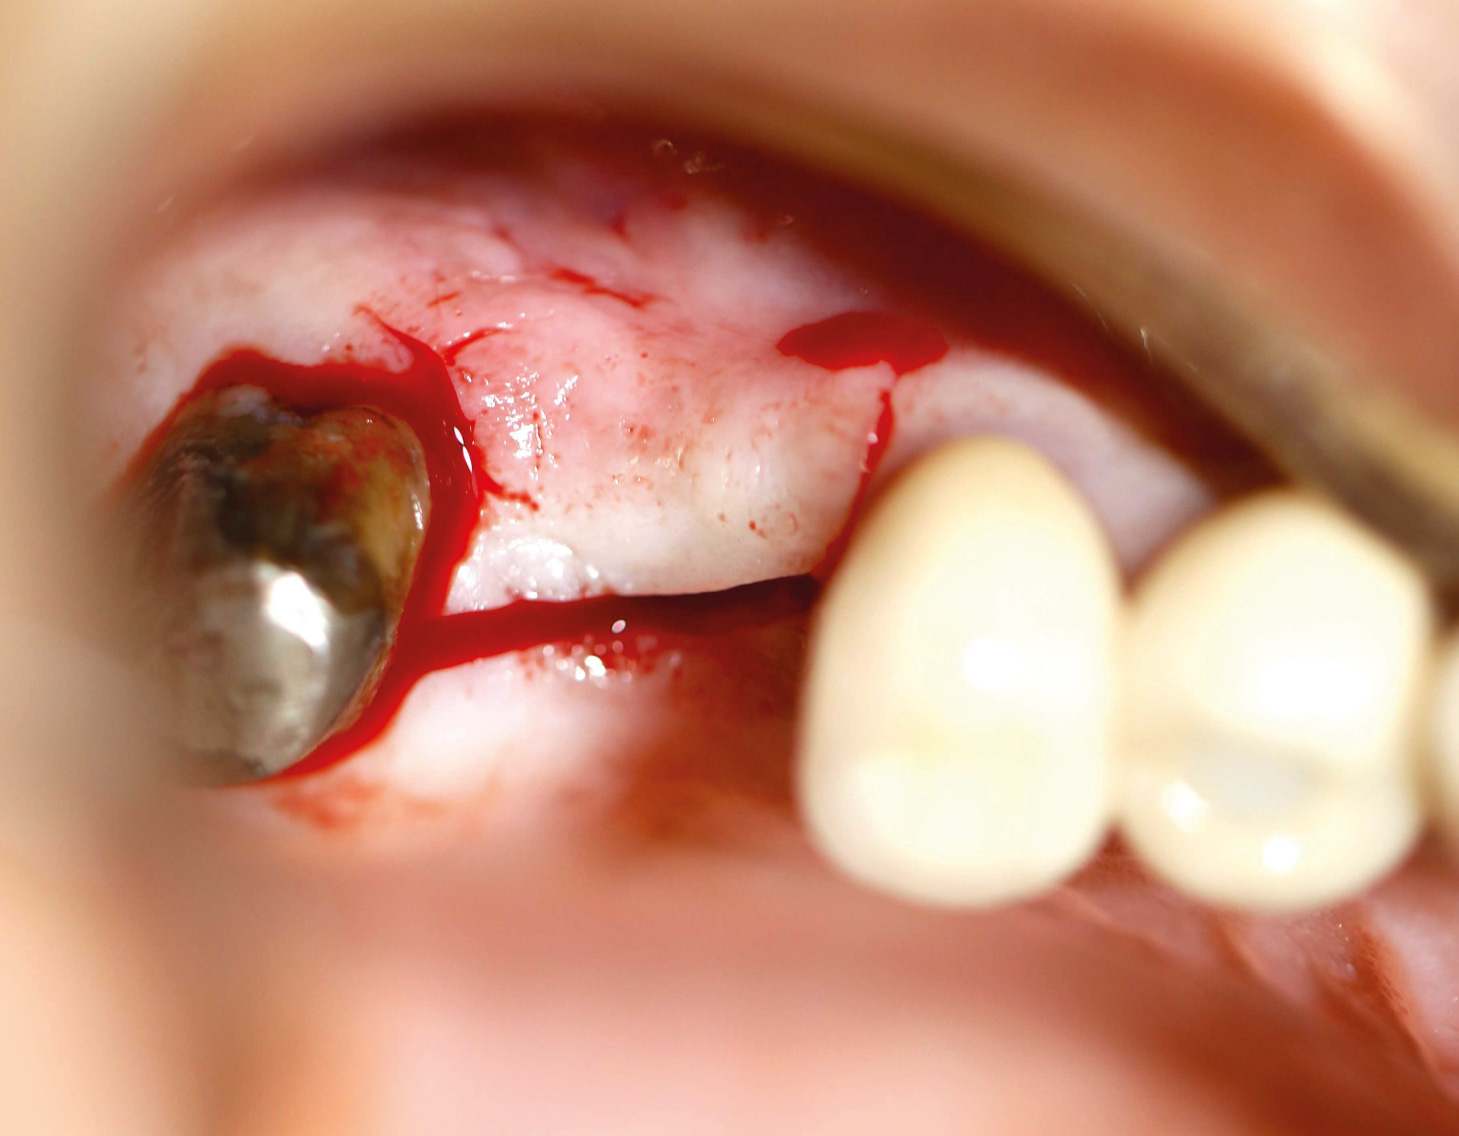
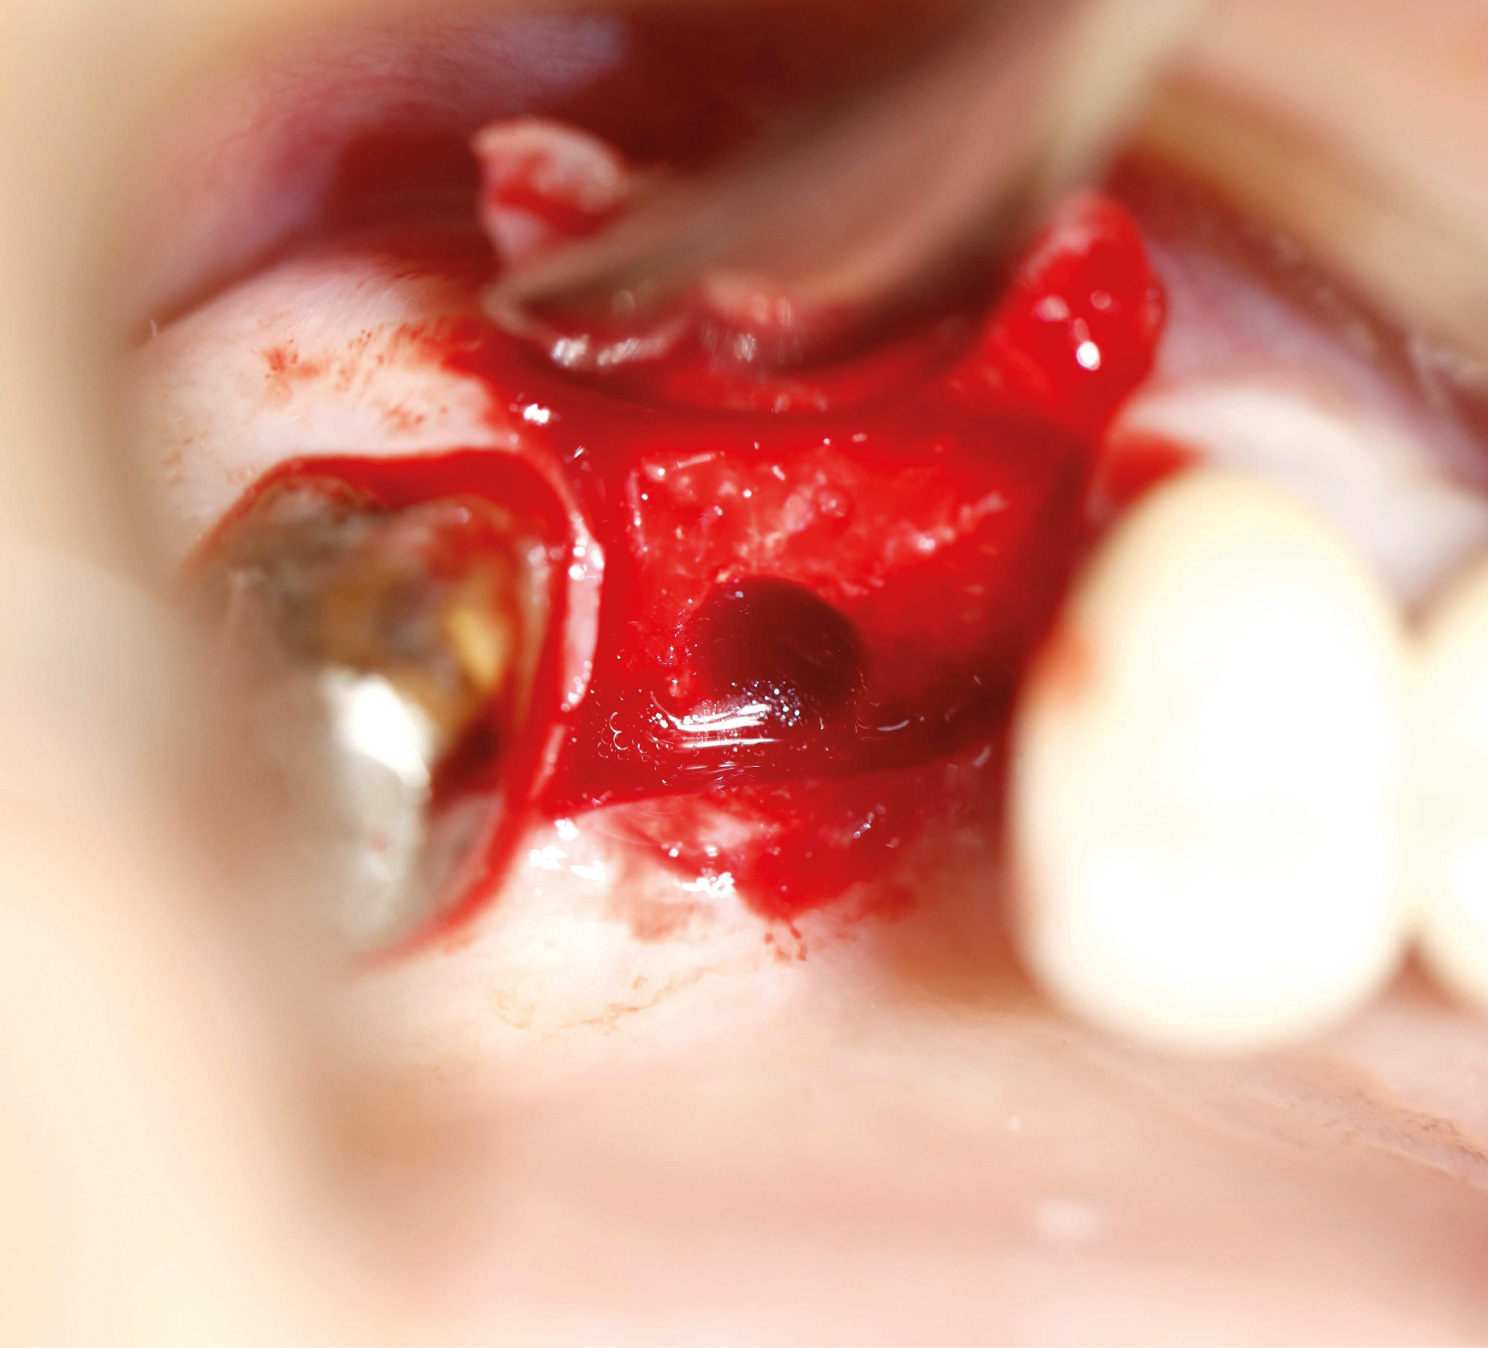
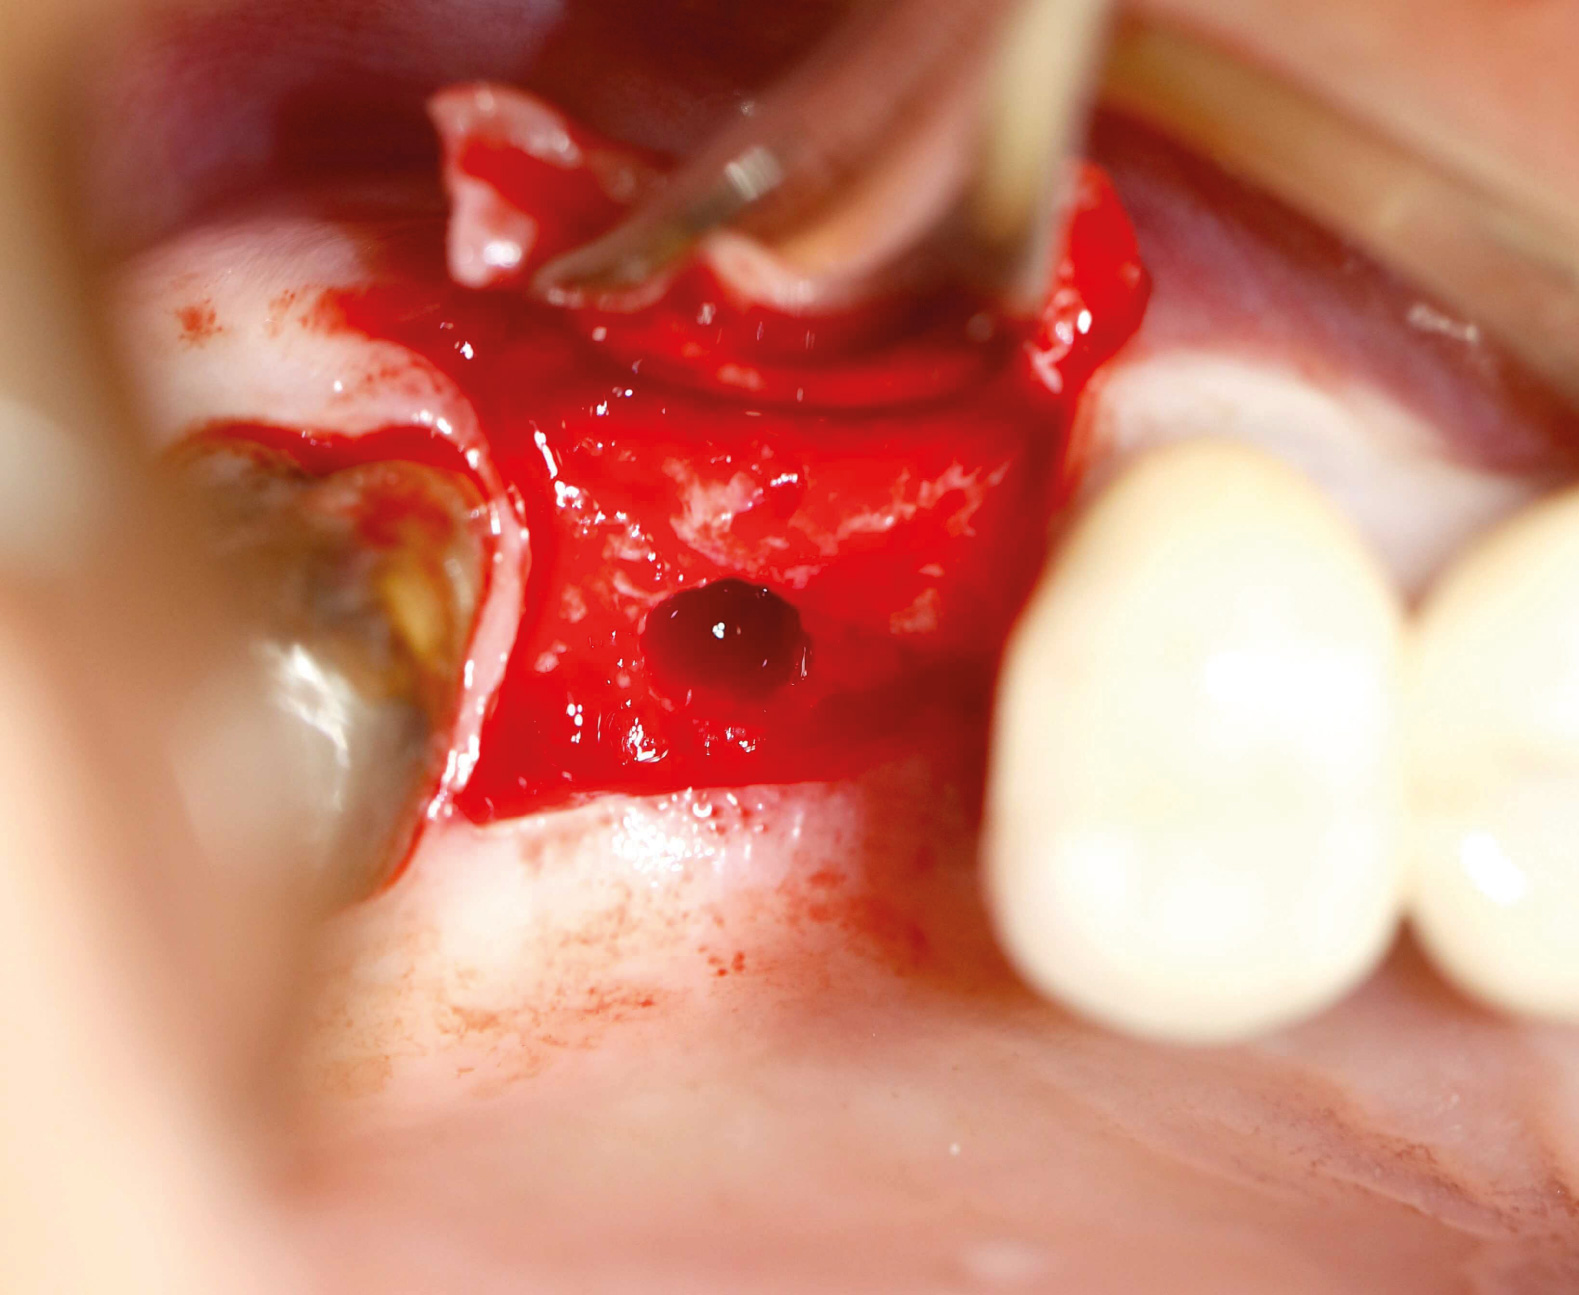
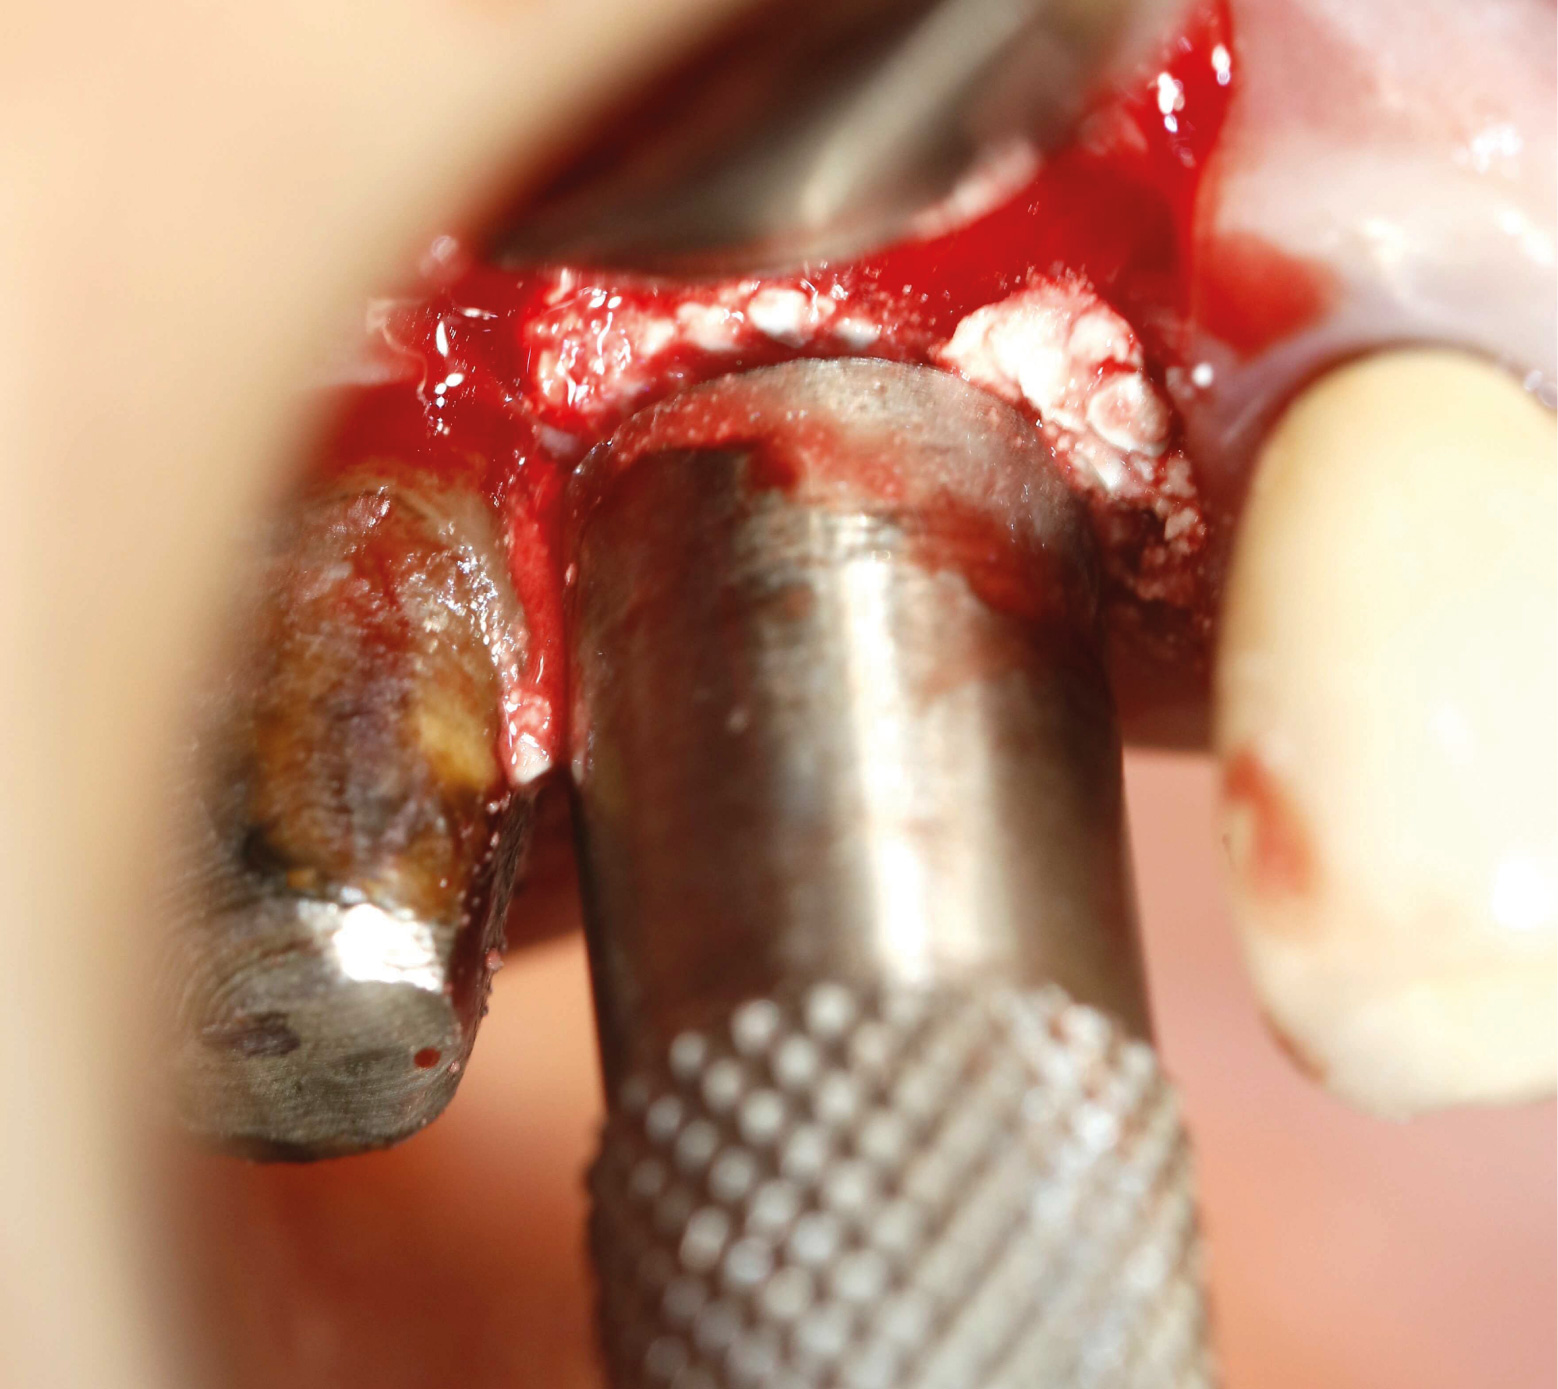
Make a crestal incision, slightly shifted towards the palatal side. Raise a full-thickness flap. Attach the B.Y.1 bur to the implant Handpiece with external irrigation. Set the speed between 600 and 1200 RPM. Prepare the access hole by drilling until the bur’s stopper contacts the crest.
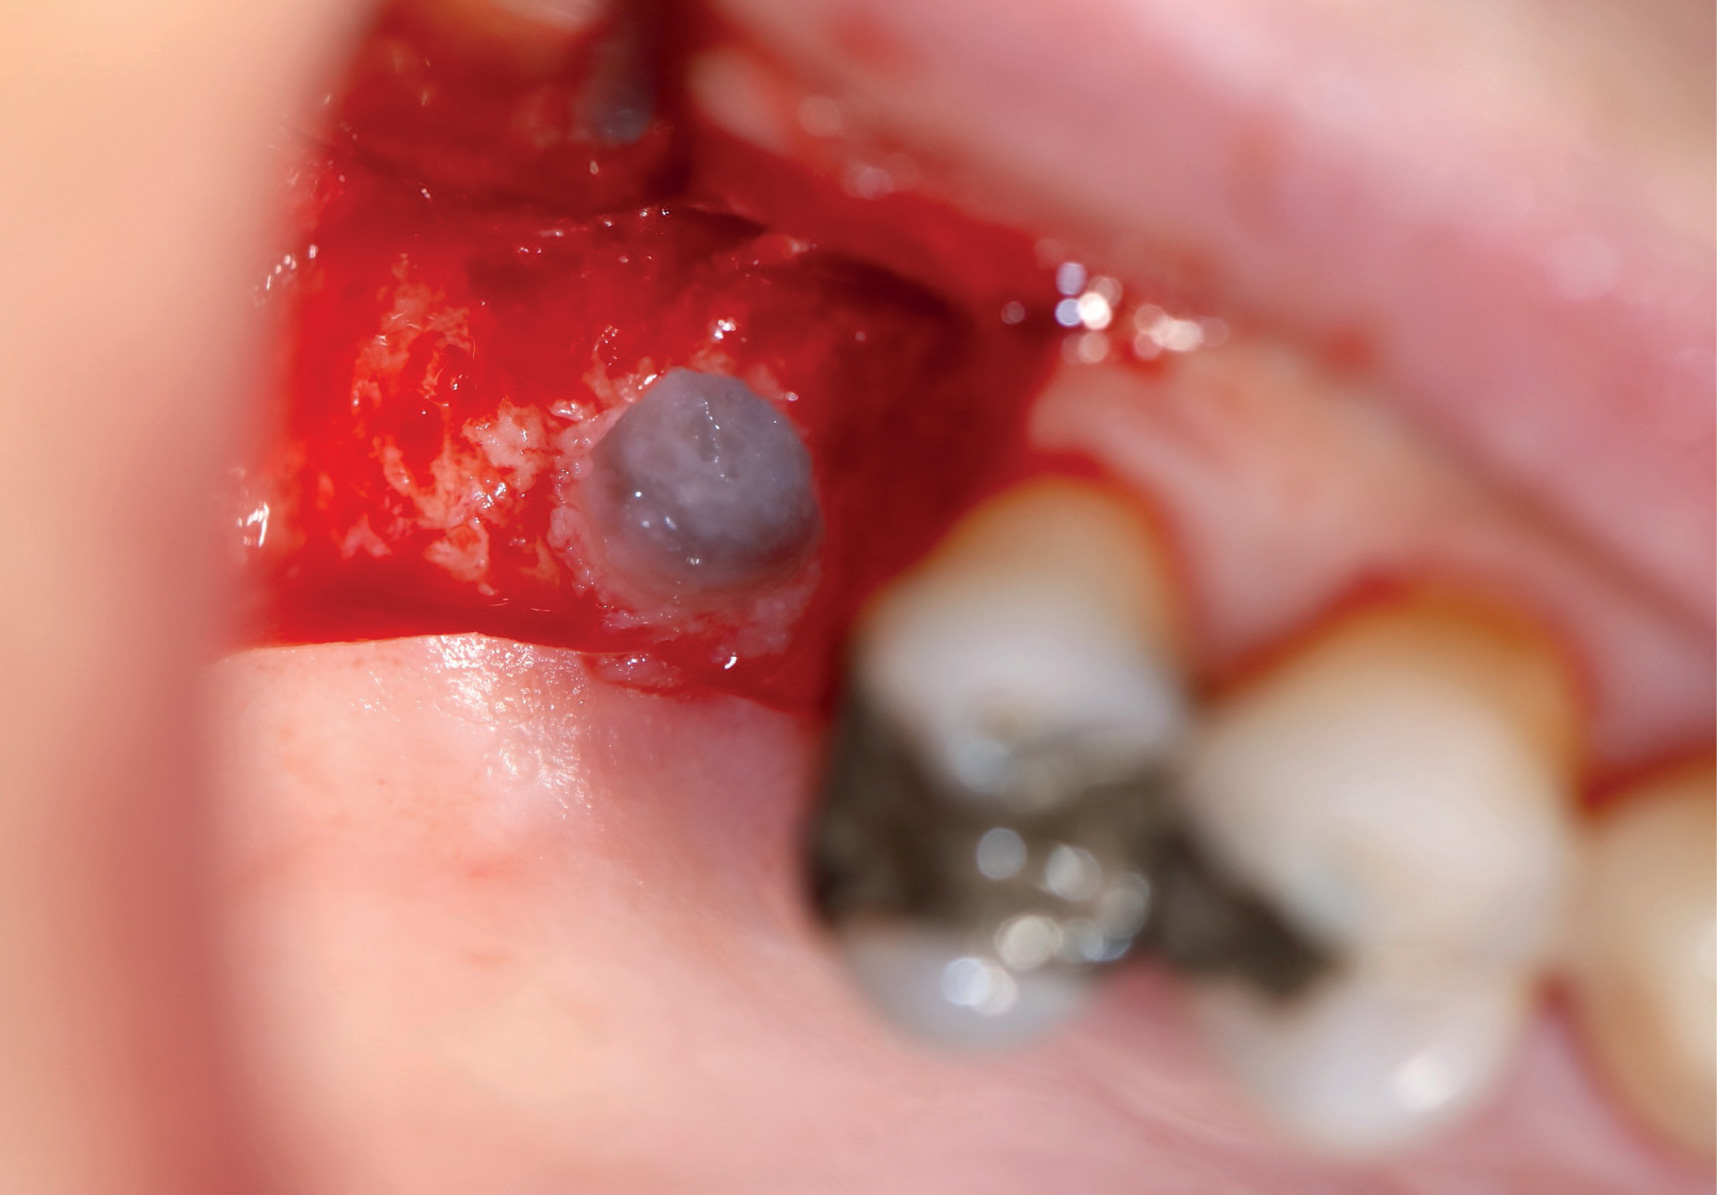
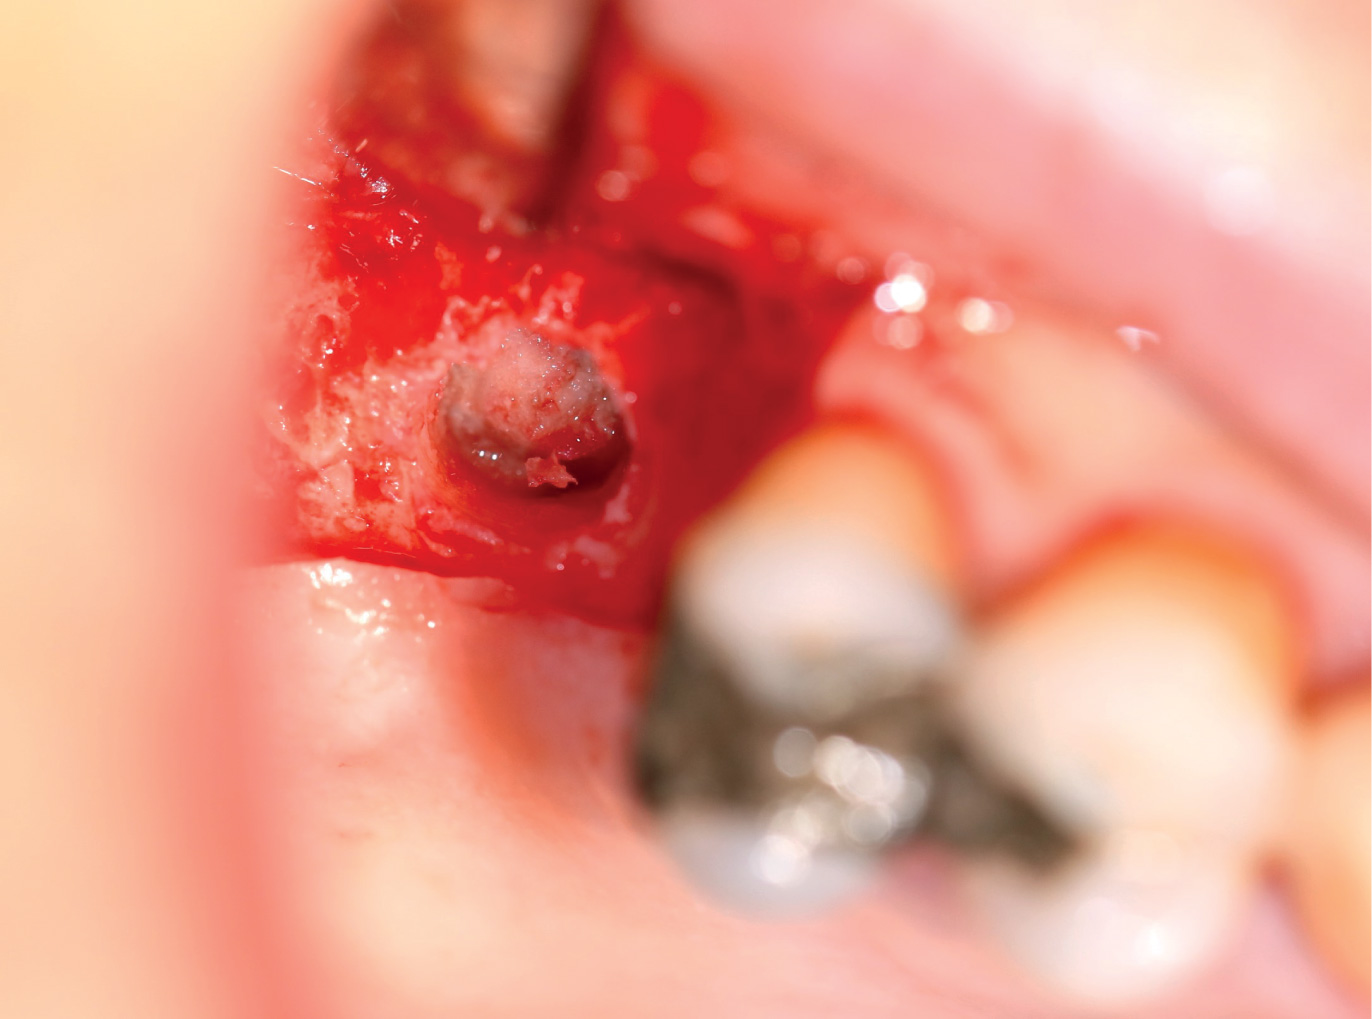
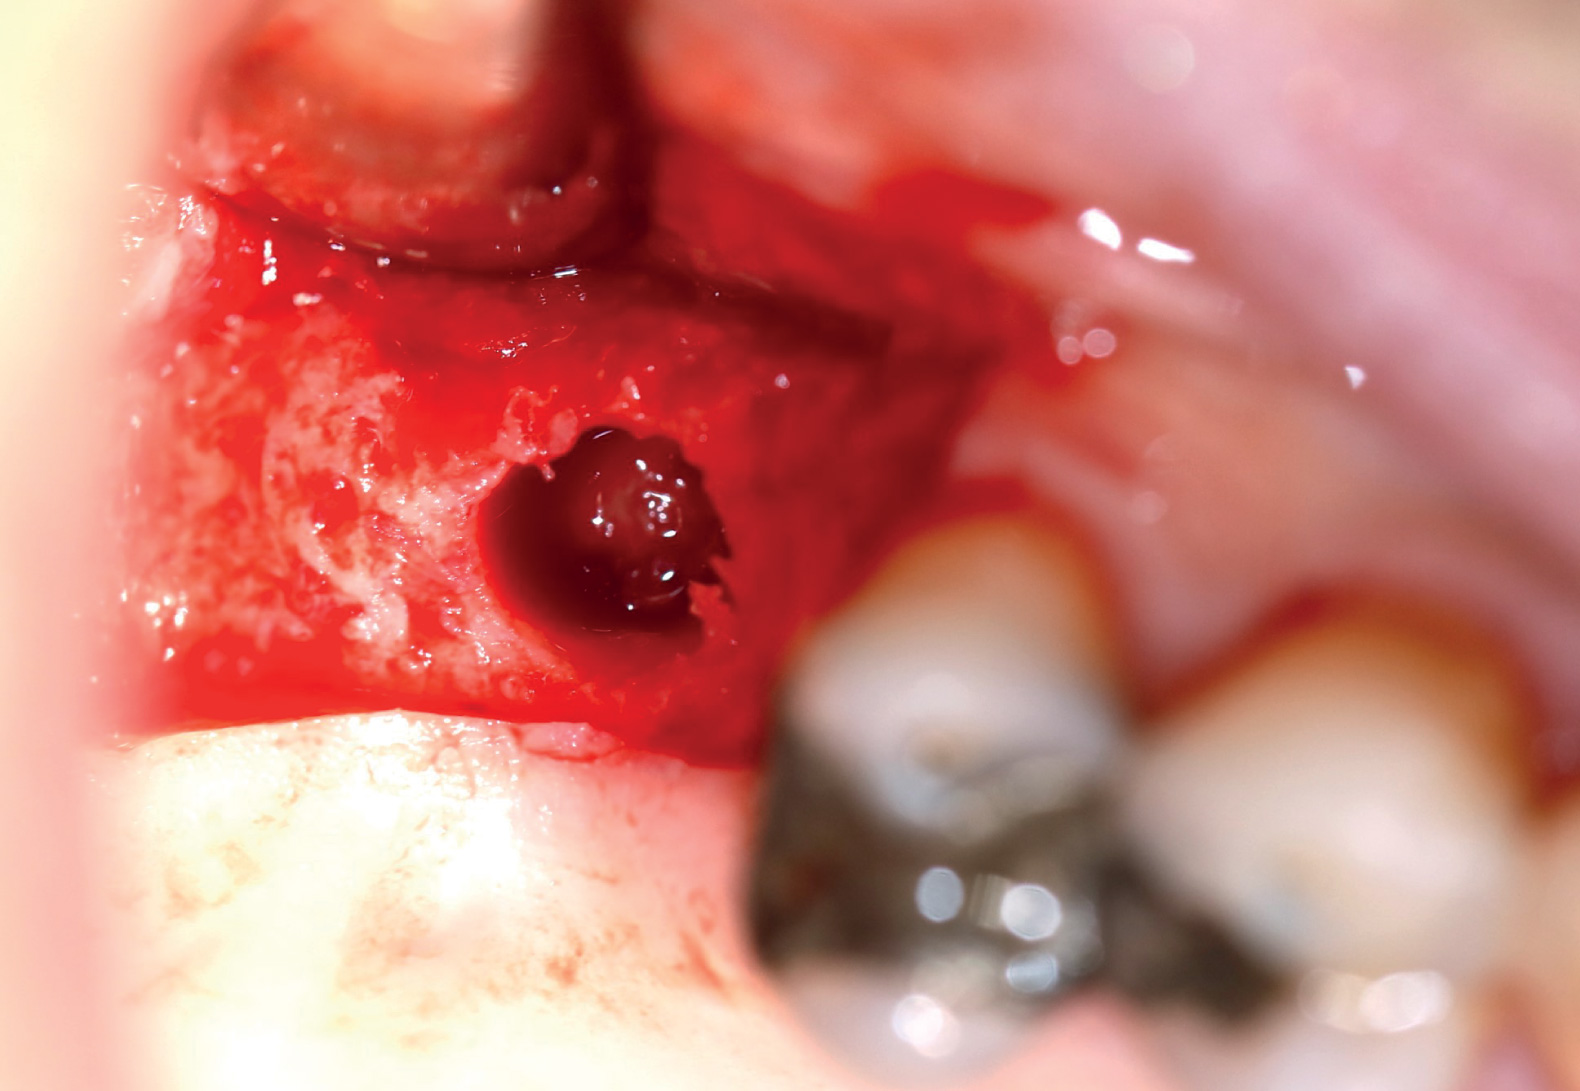
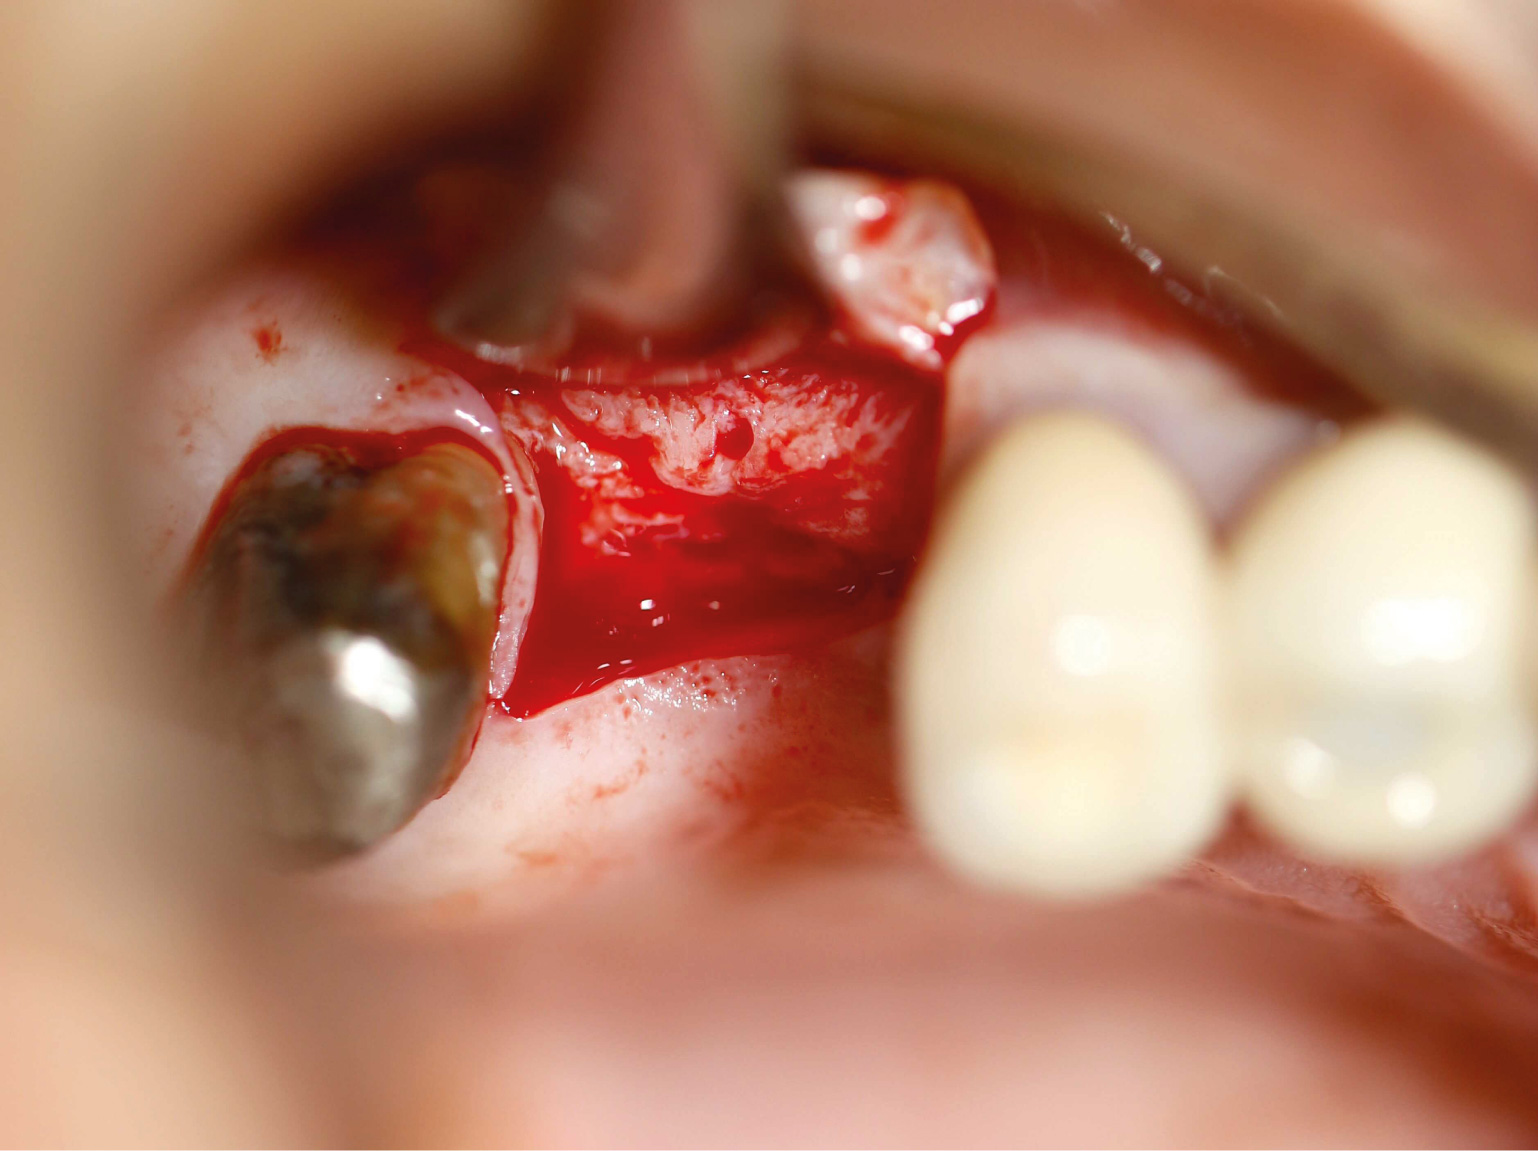
Attach the B.Y.2 drill to the palm of the implant and deepen the access hole until the drill plug contacts the bone crest. If the B.Y.2 drill has penetrated and you encounter the sinus membrane (a bone disc surrounded by a bleeding ring), proceed to work with osteotomes. If the B.Y.2 drill has not yet penetrated or broke the bone floor, use the B.Y.3 drill….
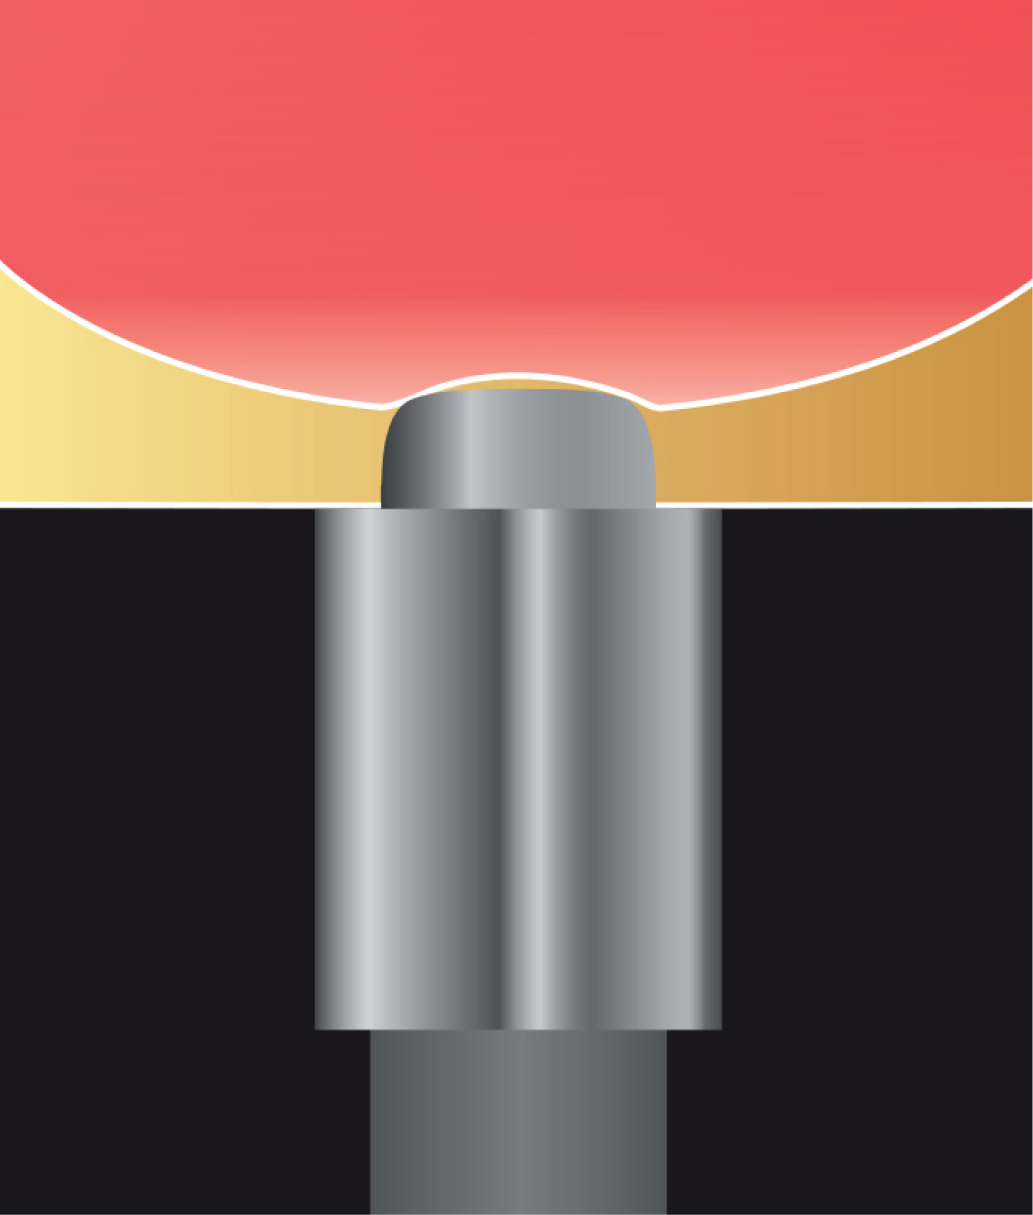
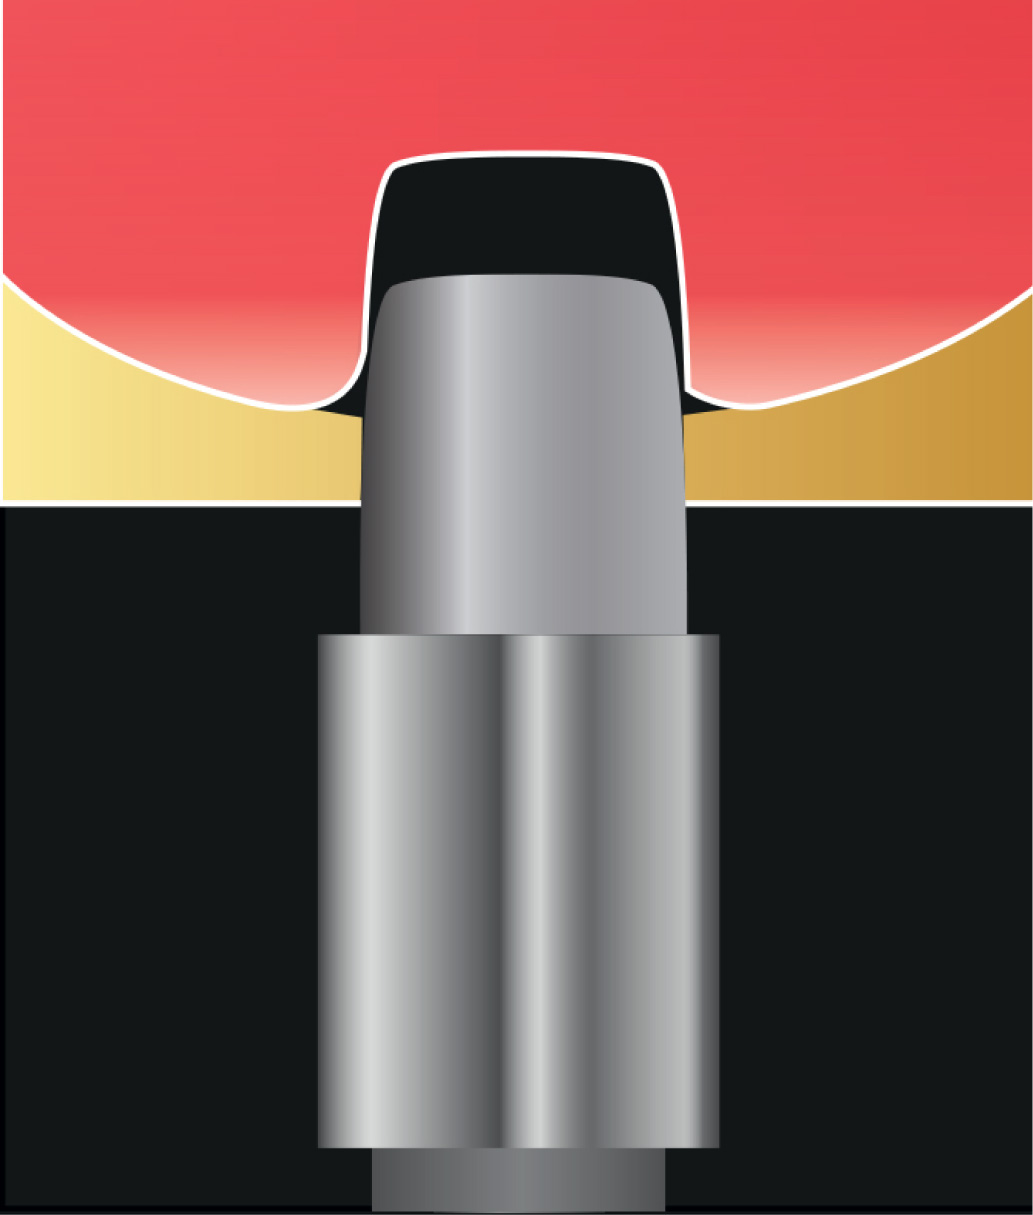
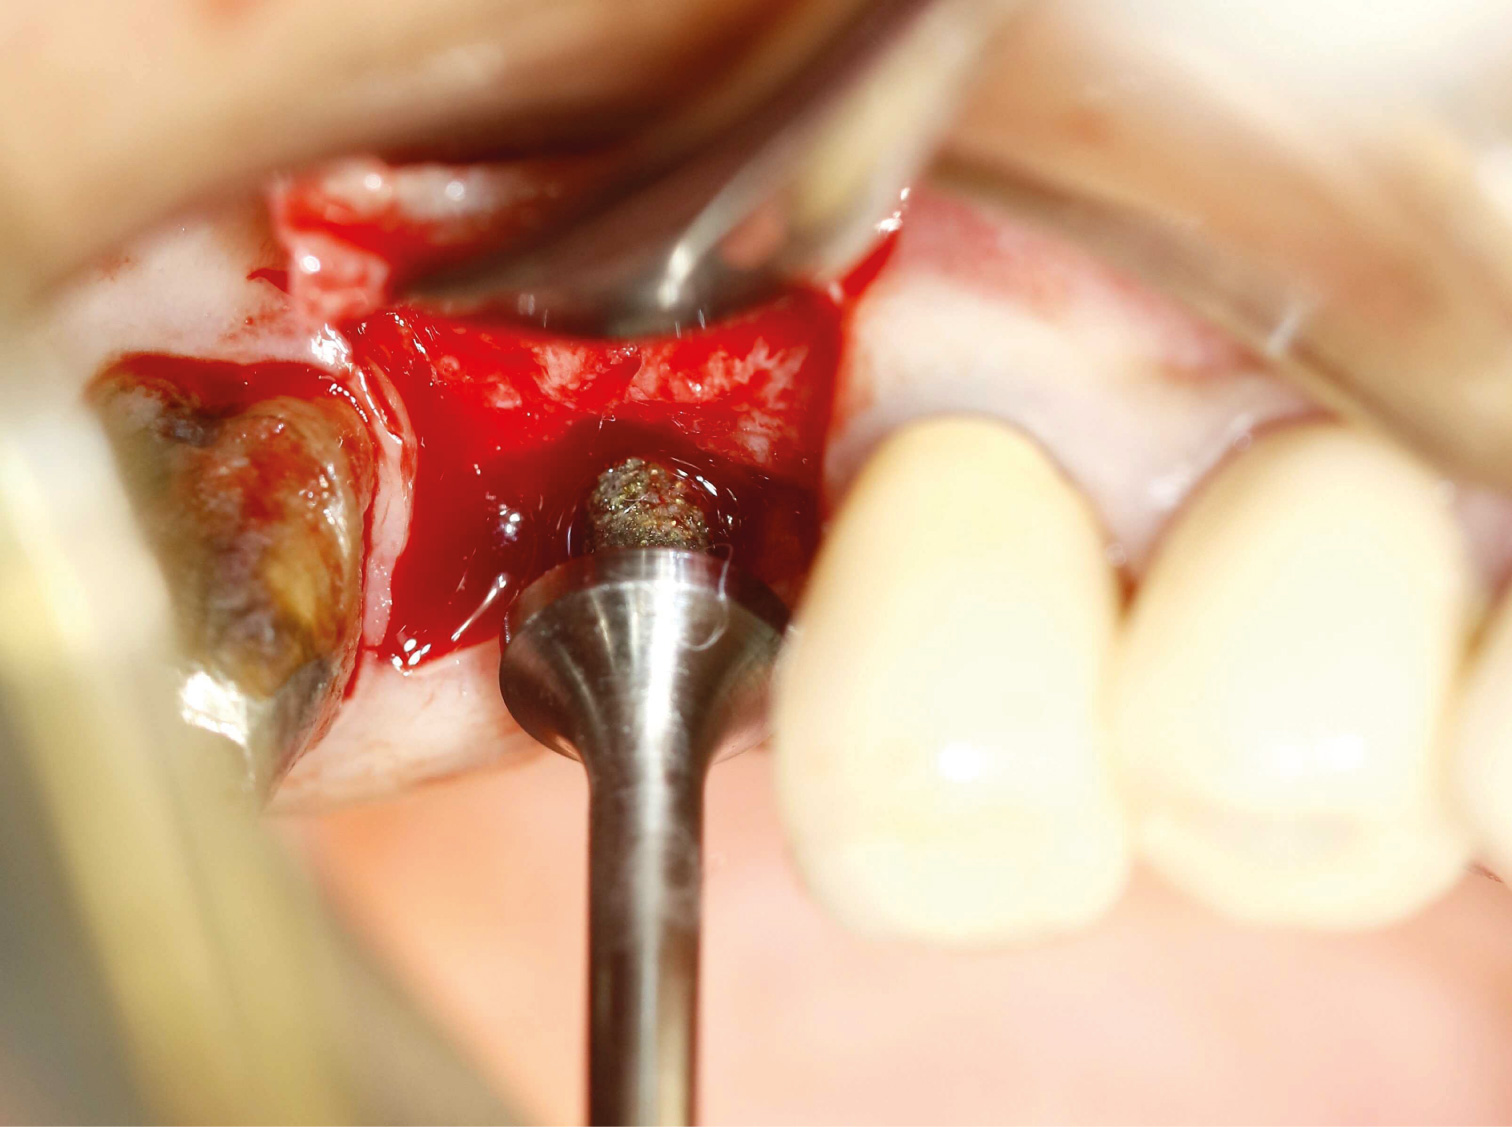
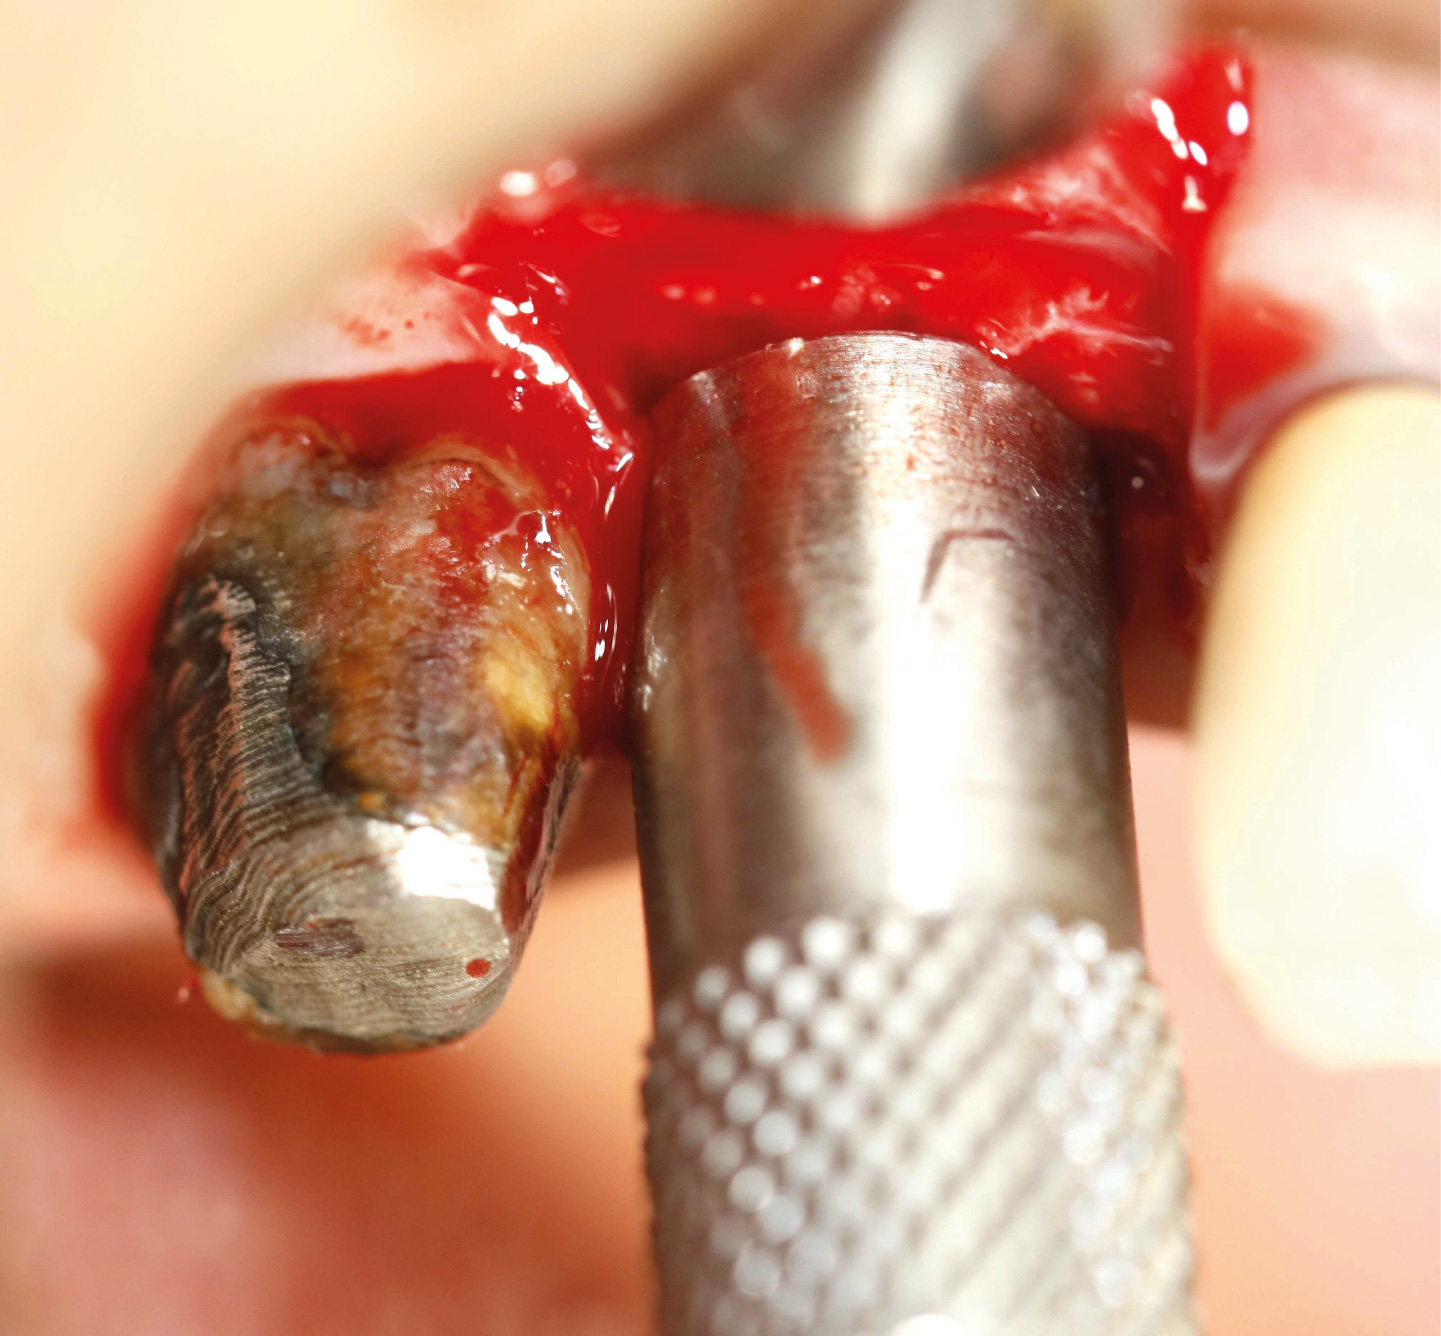
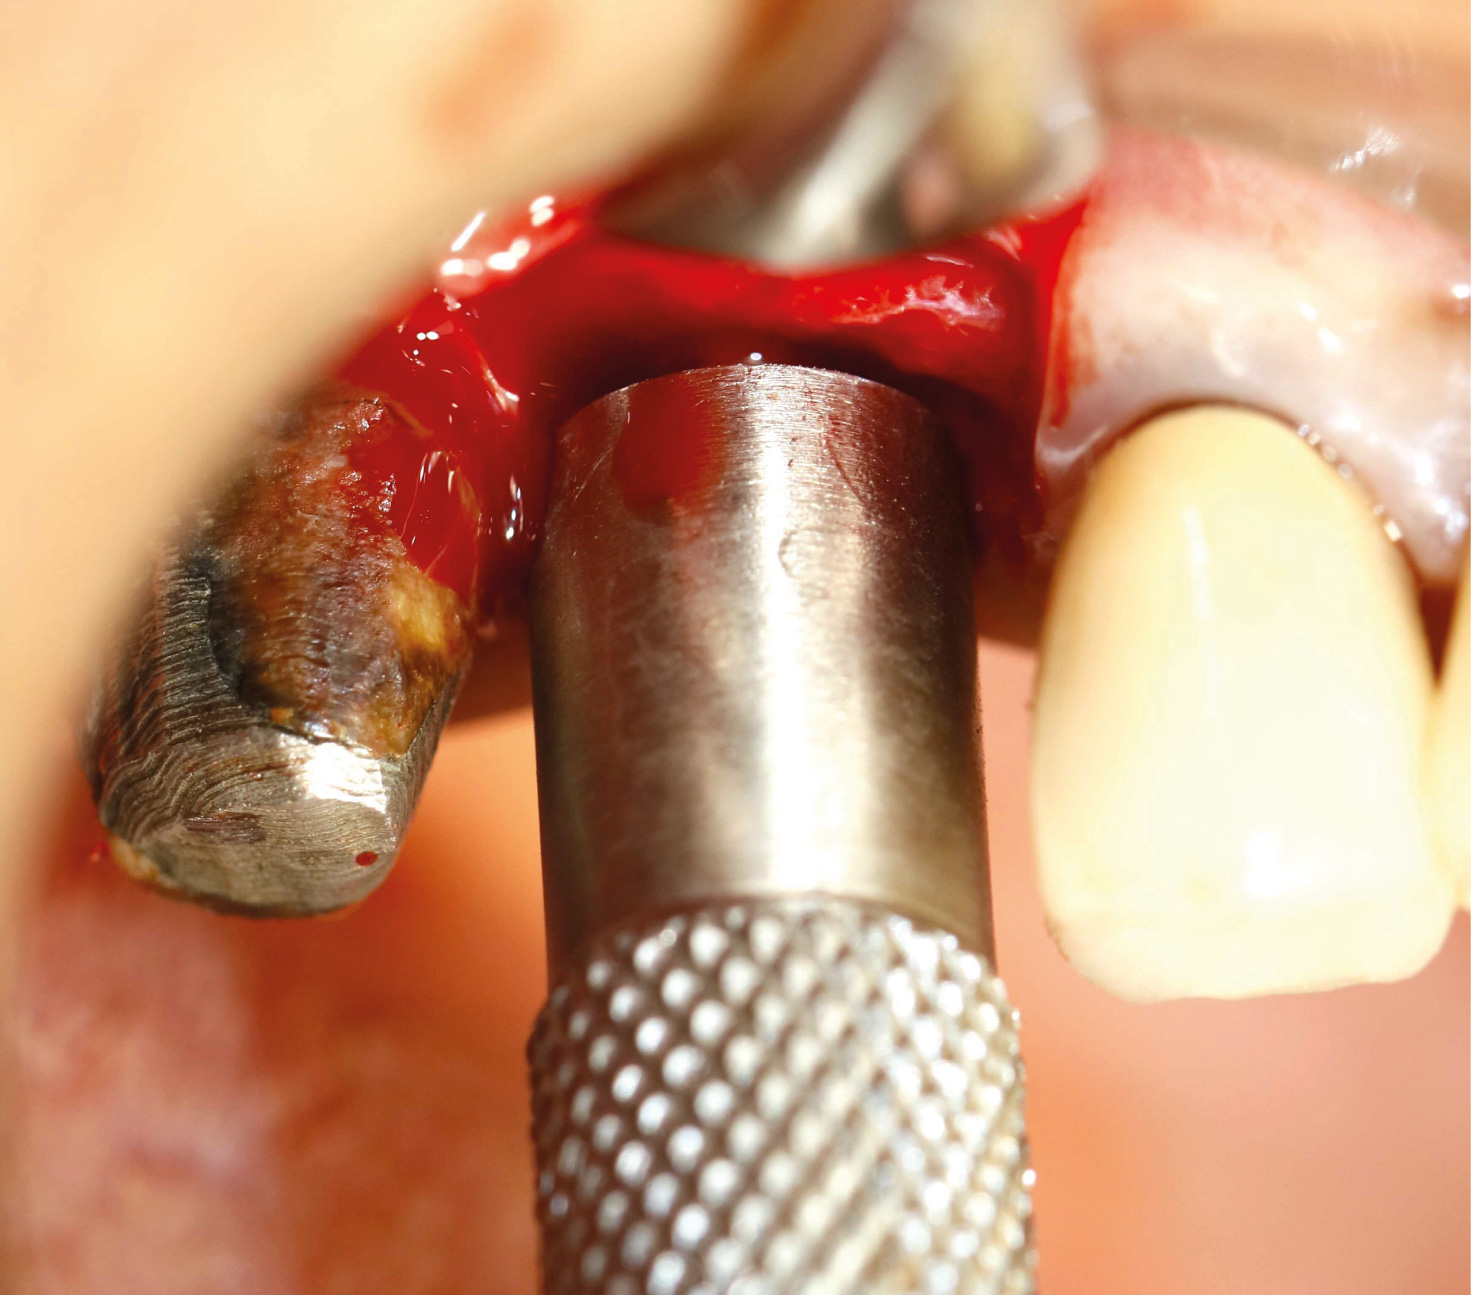
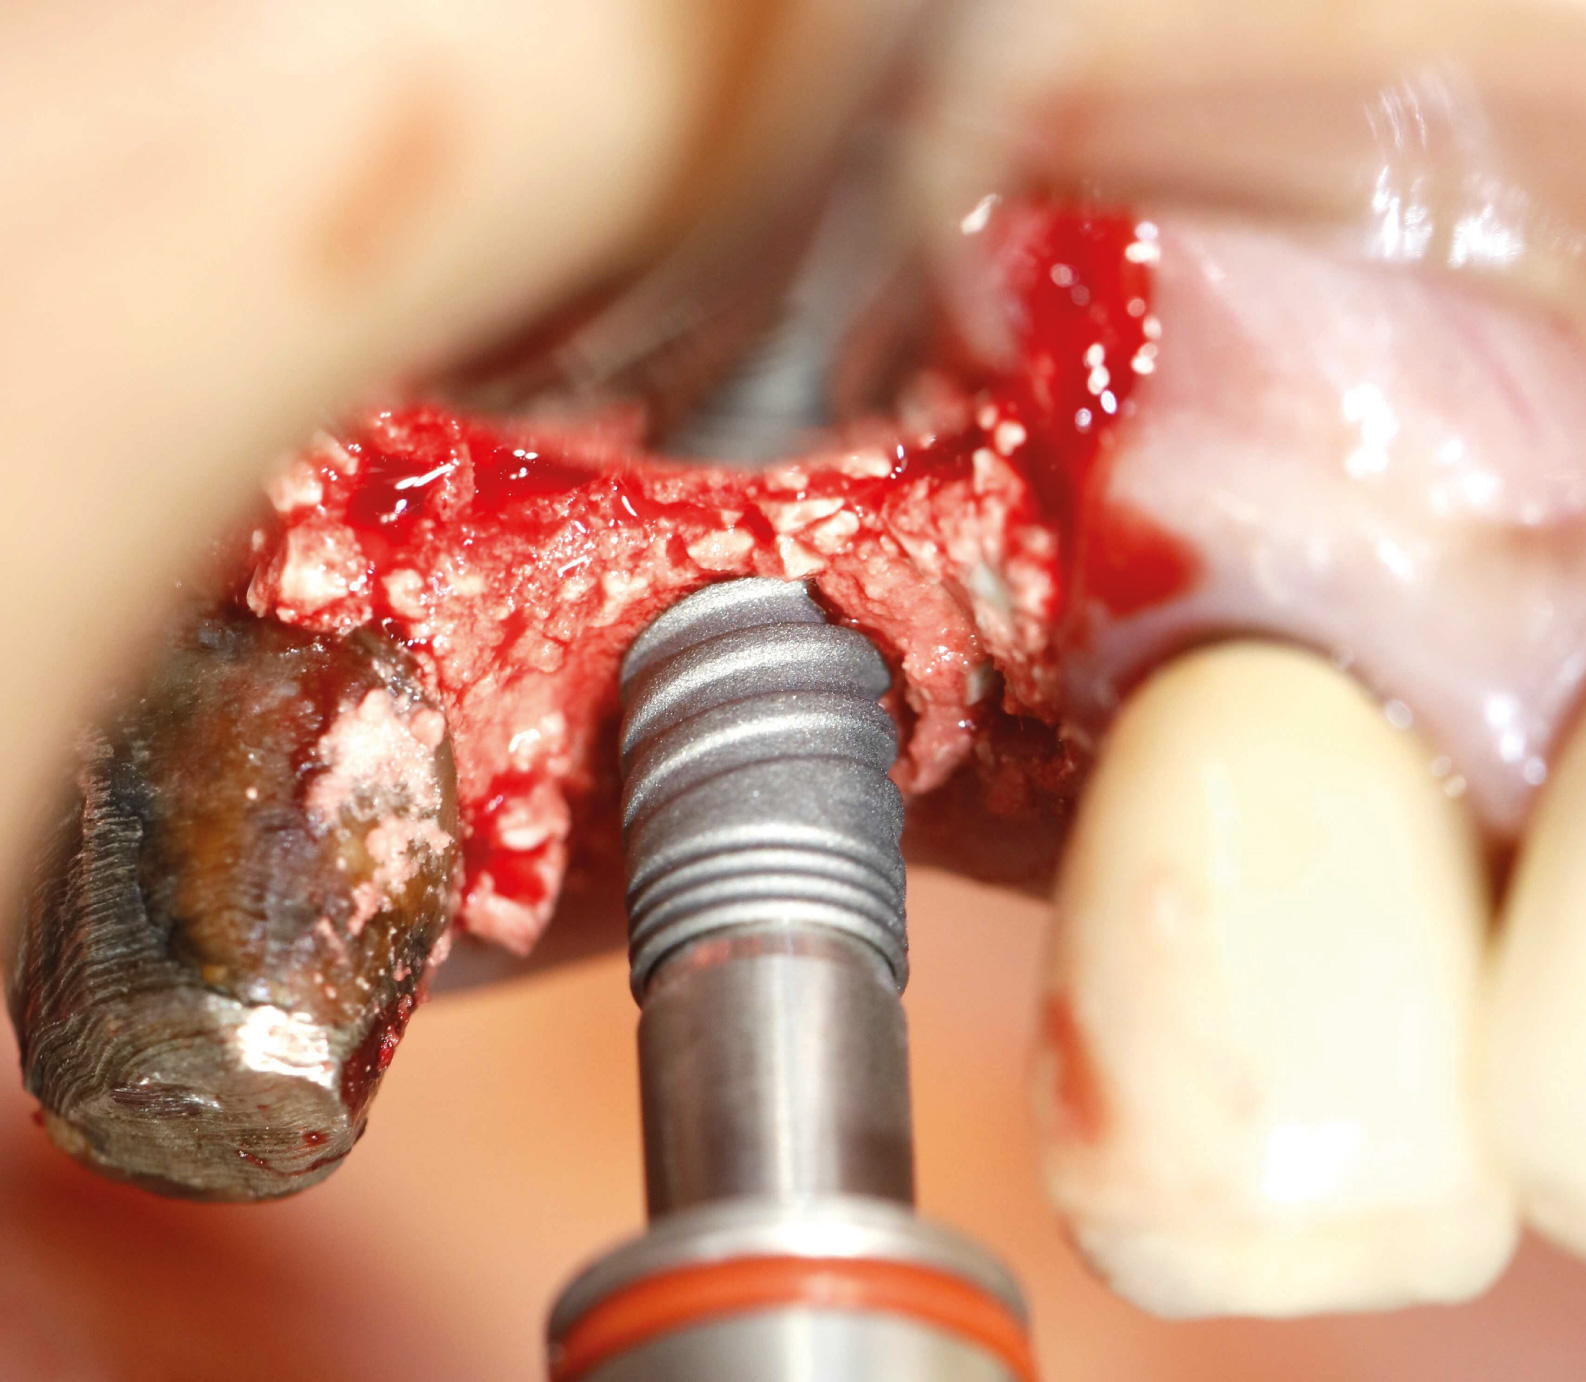
Adjust the osteotome’s stopper to the same height as the last B.Y. bur used. Insert the osteotome into the access hole until the stopper contacts the crest.
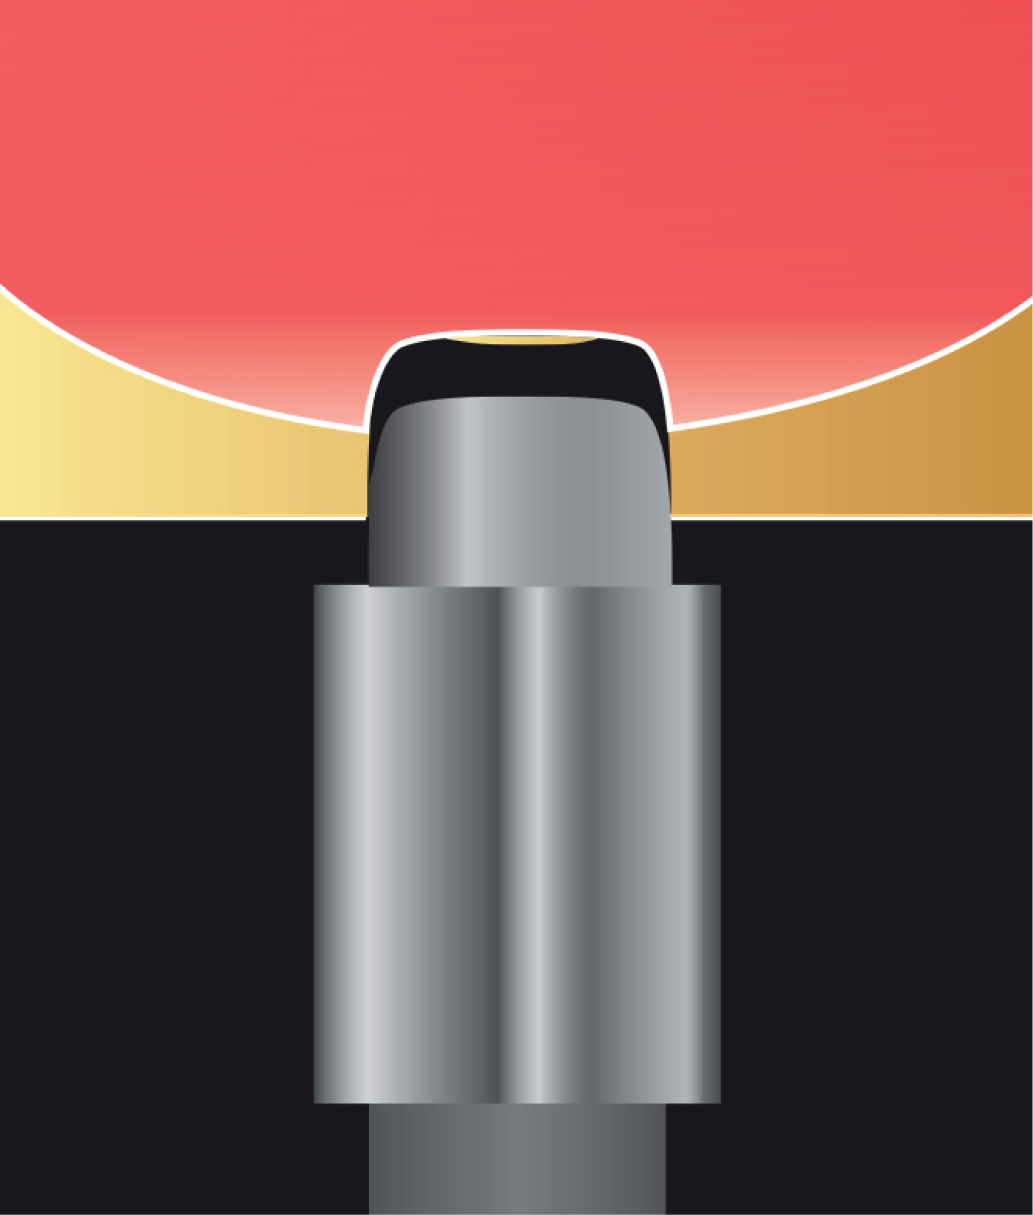
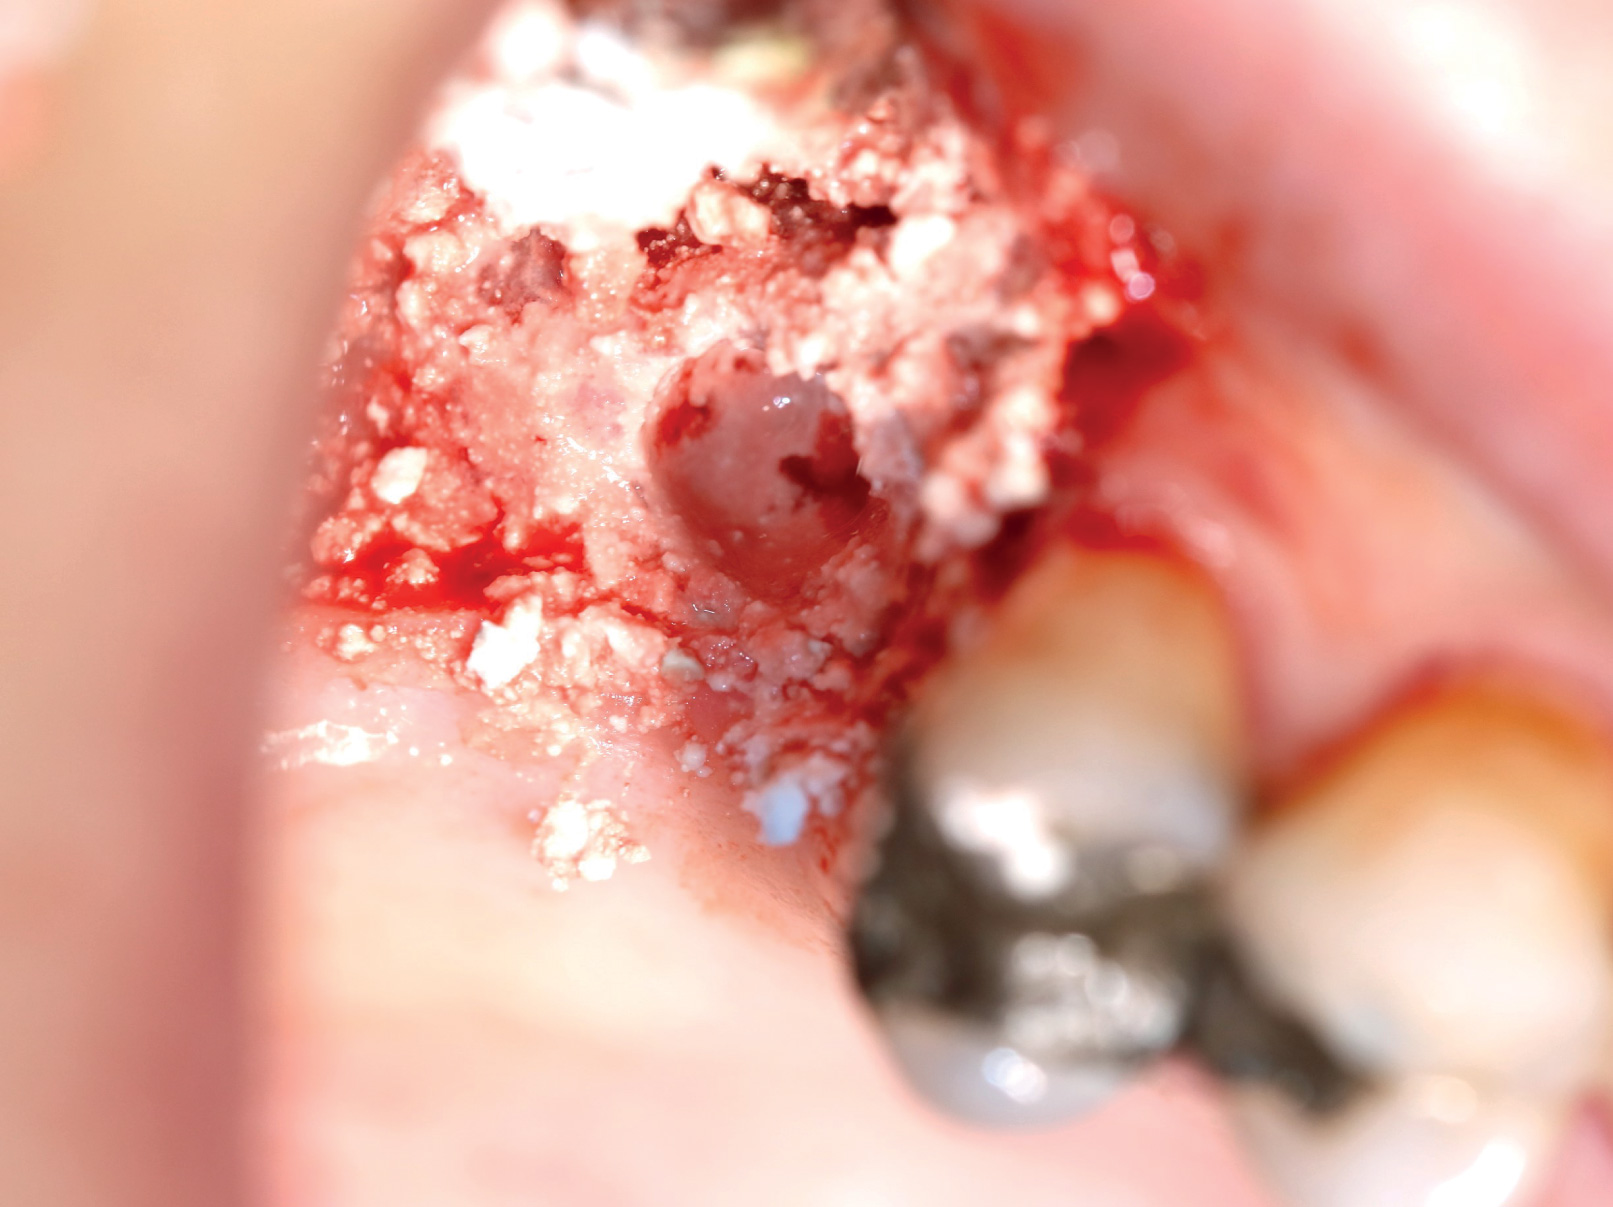
Repeat the operation millimeter by millimeter. 5 times to obtain a total membrane lift of 5 mm.
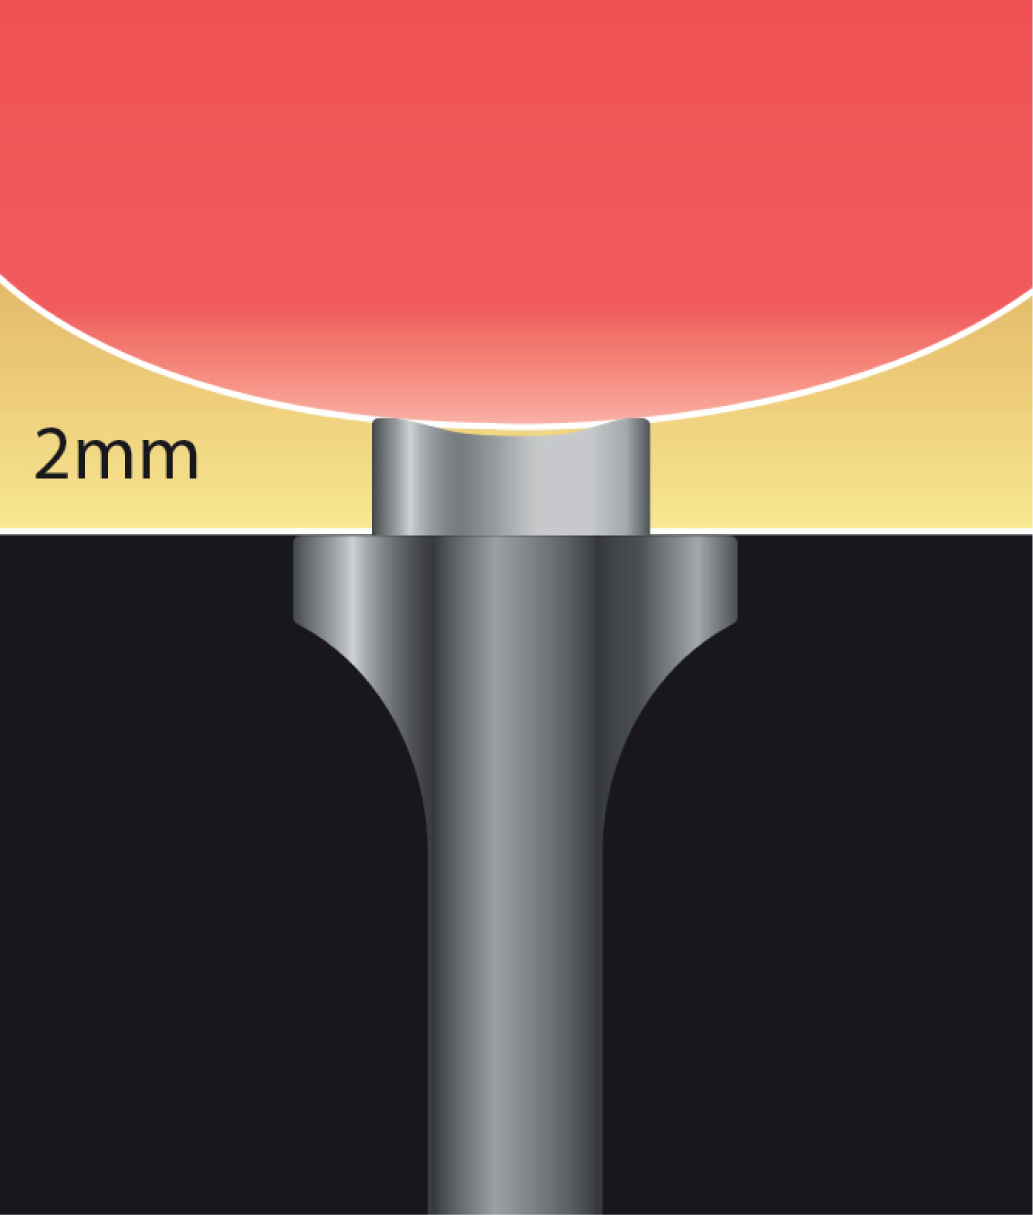
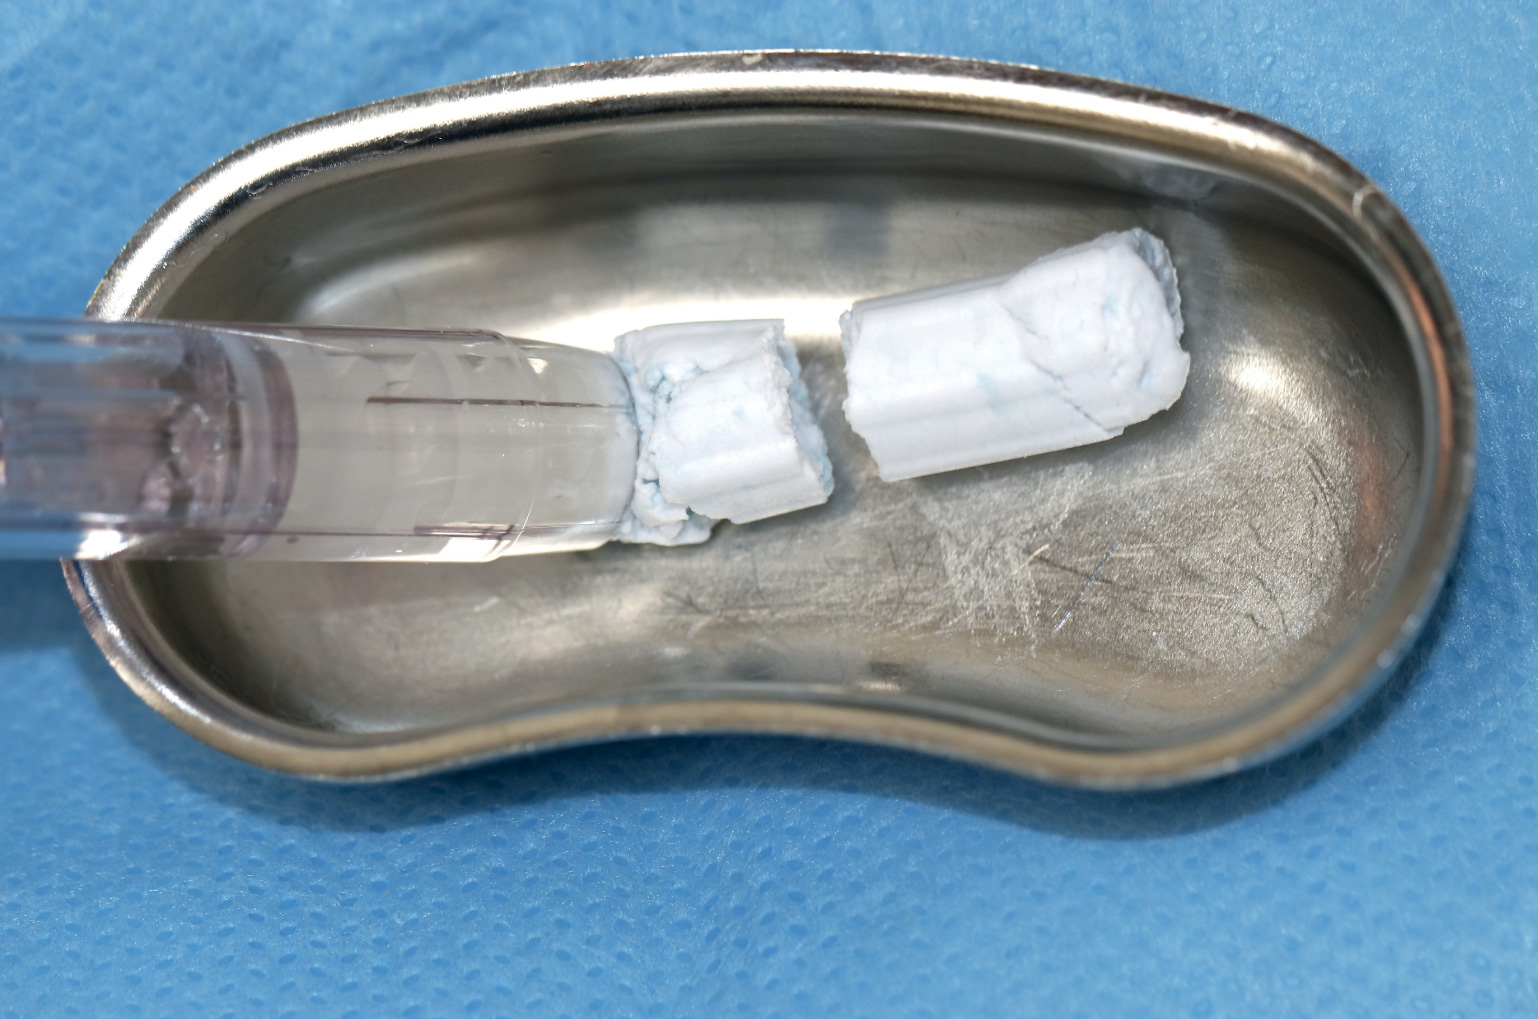
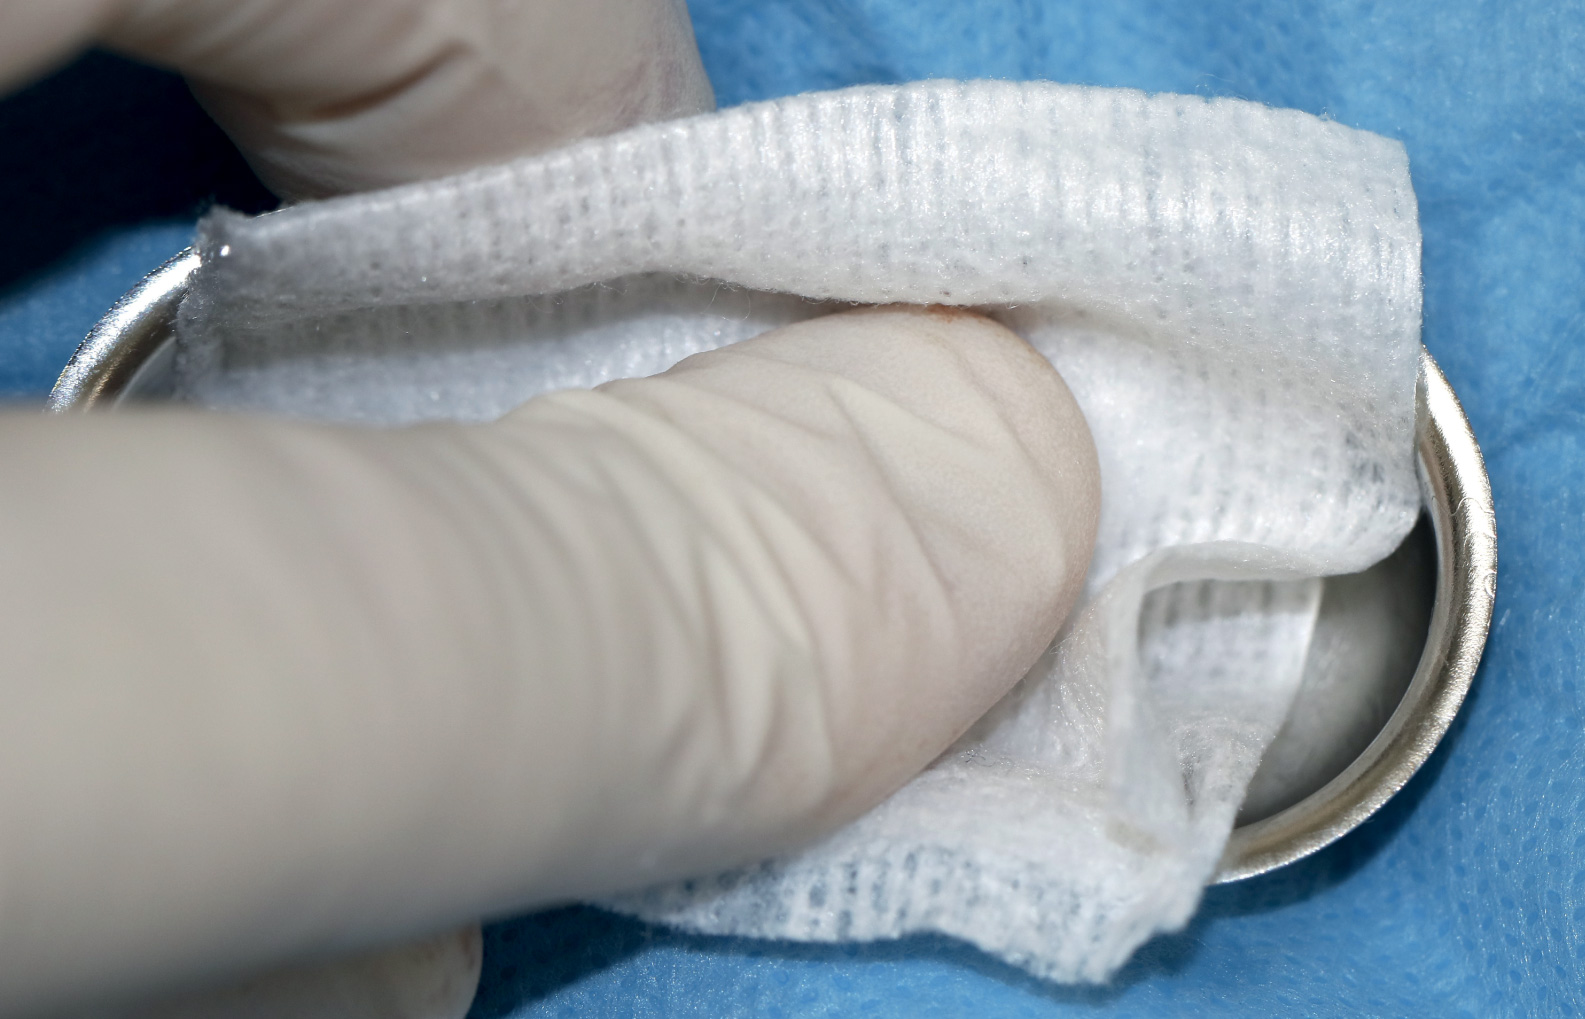
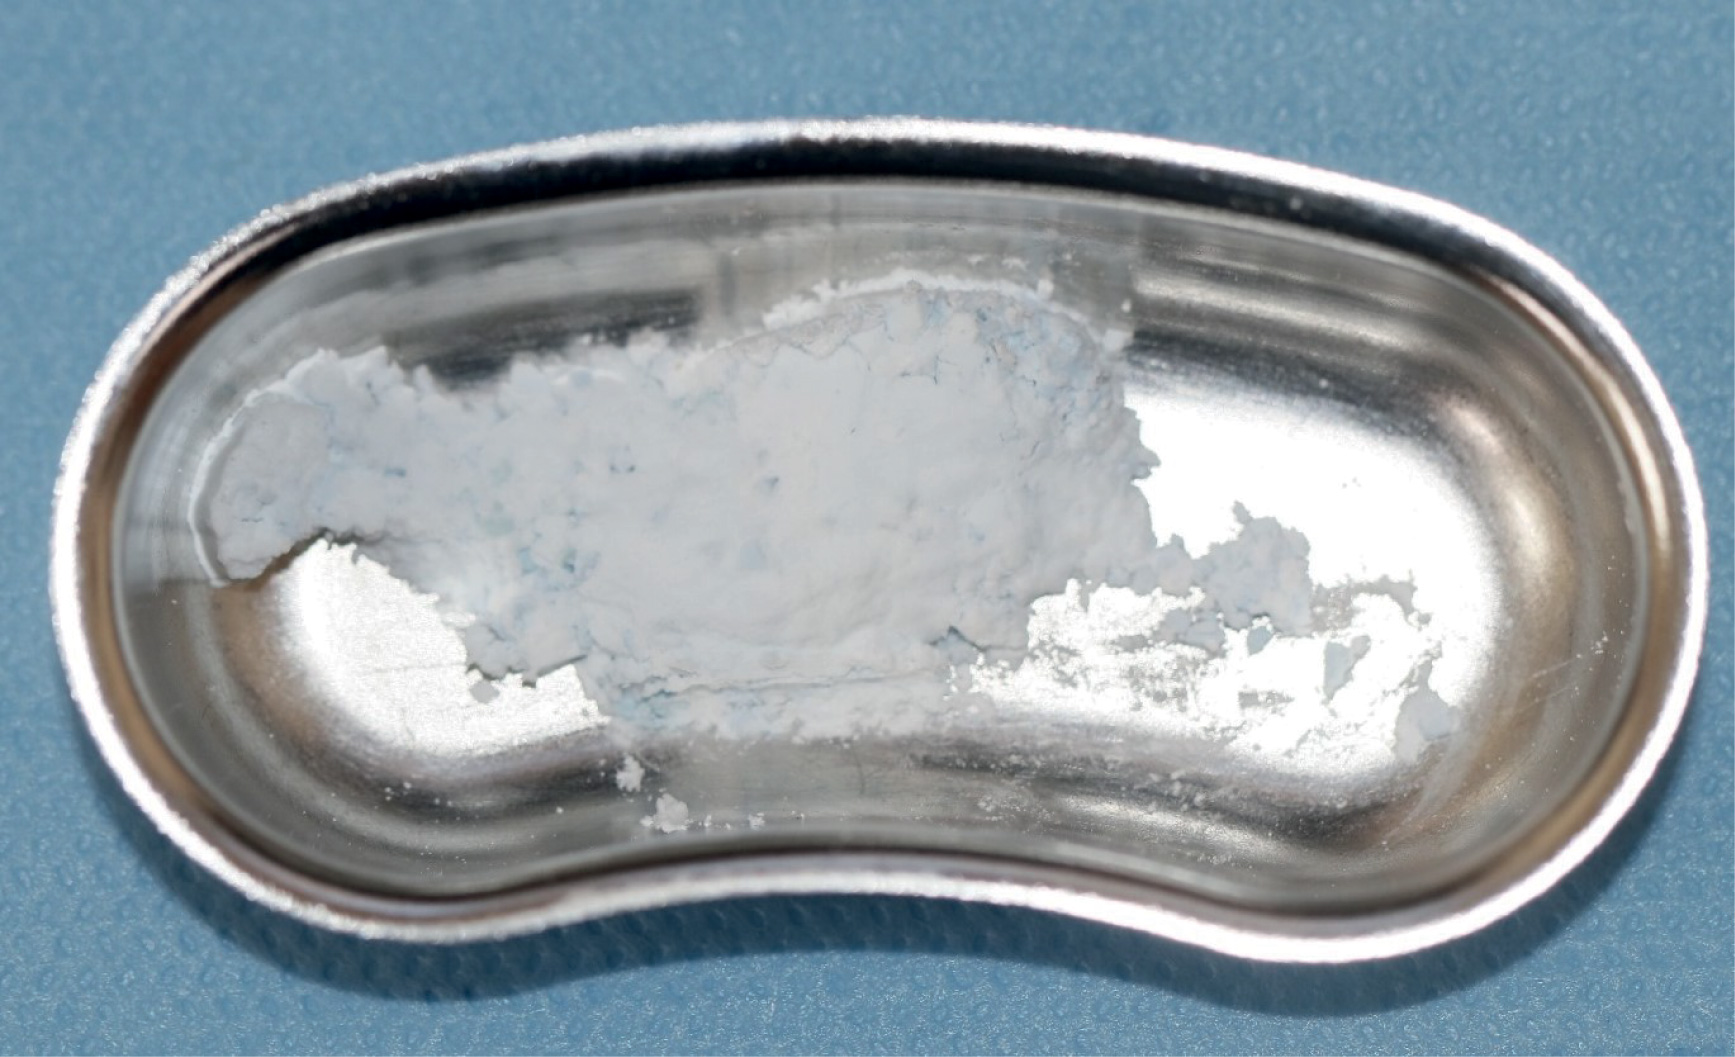
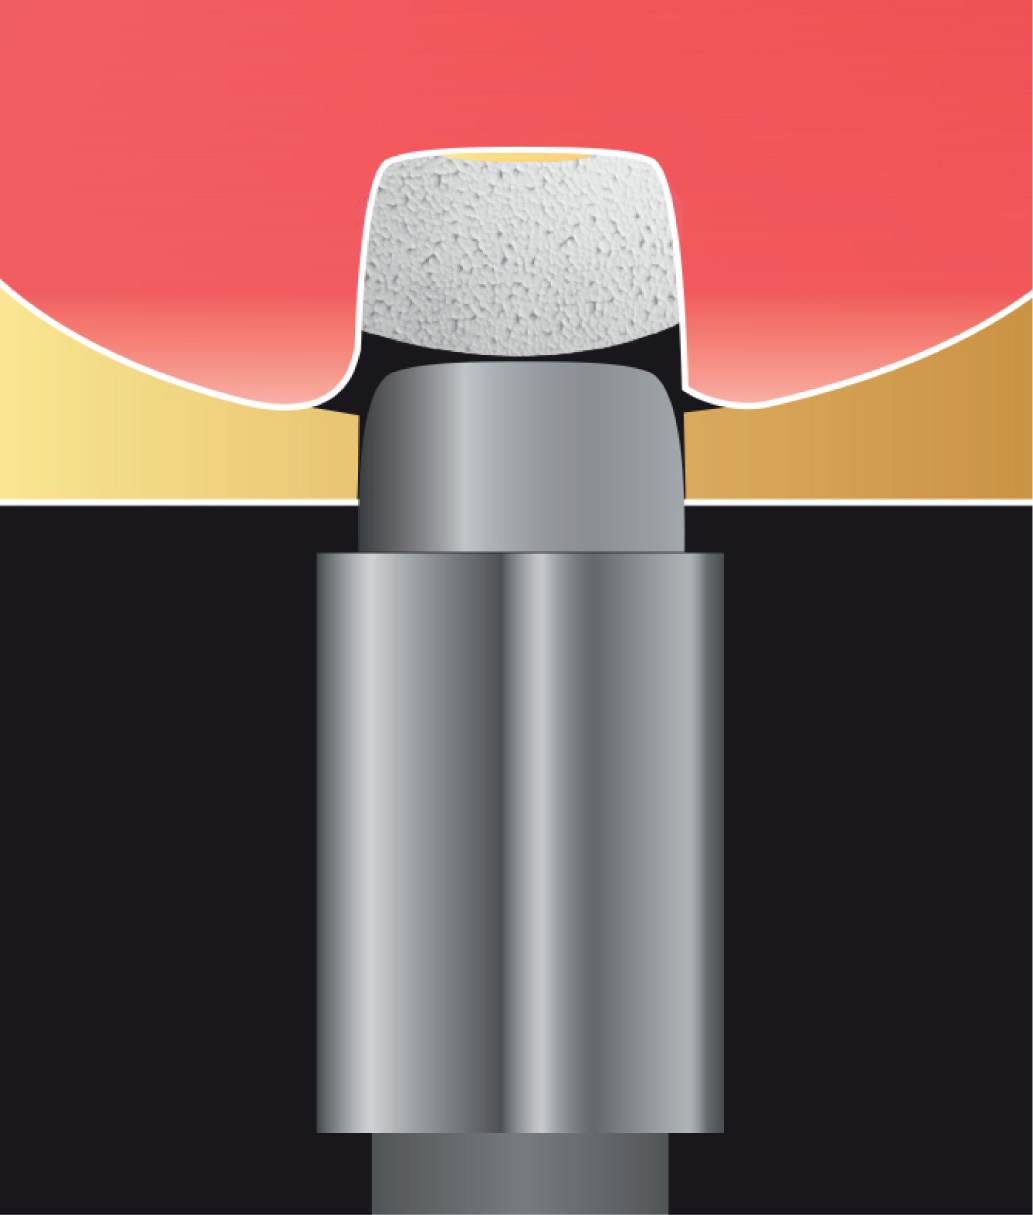
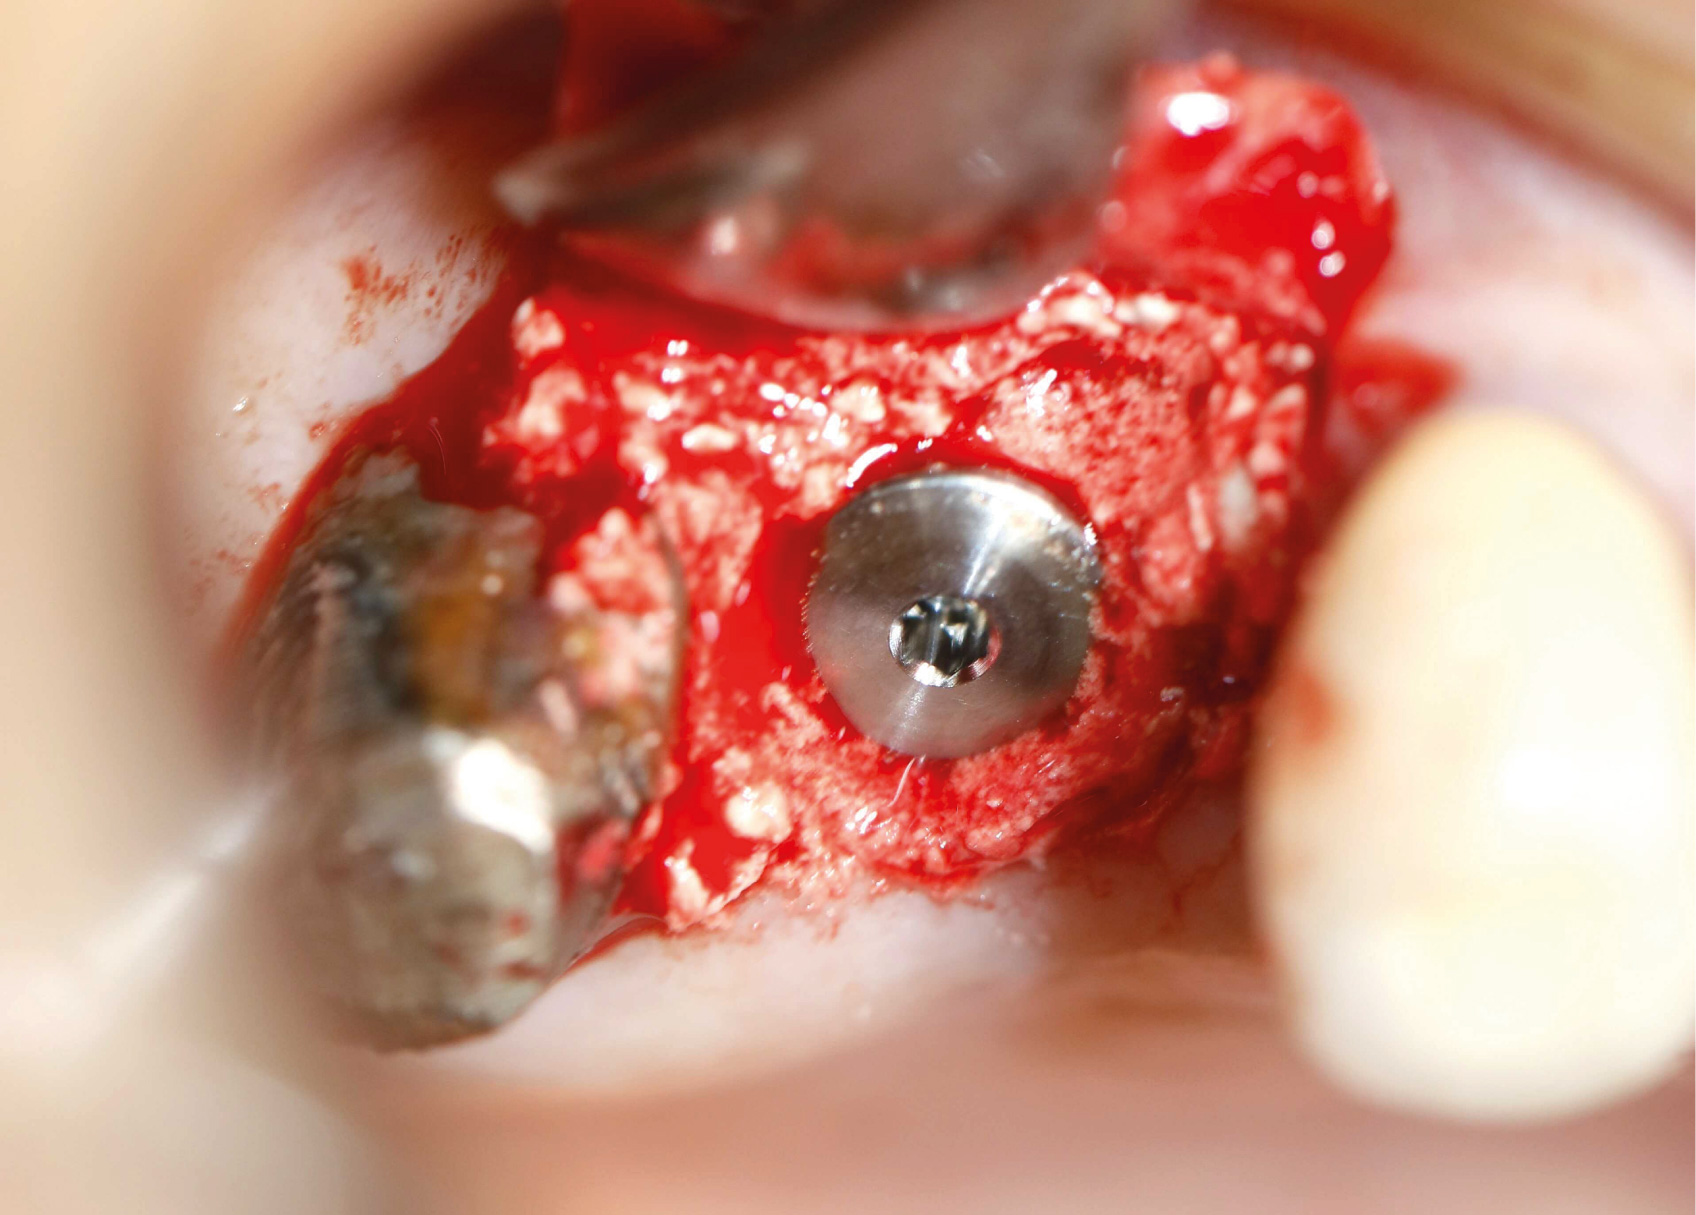
Once the membrane is pushed up by 5 mm, activate a Bond Apatite syringe and place the material in a sterile tray. Press down on the material with a dry gauze for 3 to 4 seconds to absorb any residual liquid.
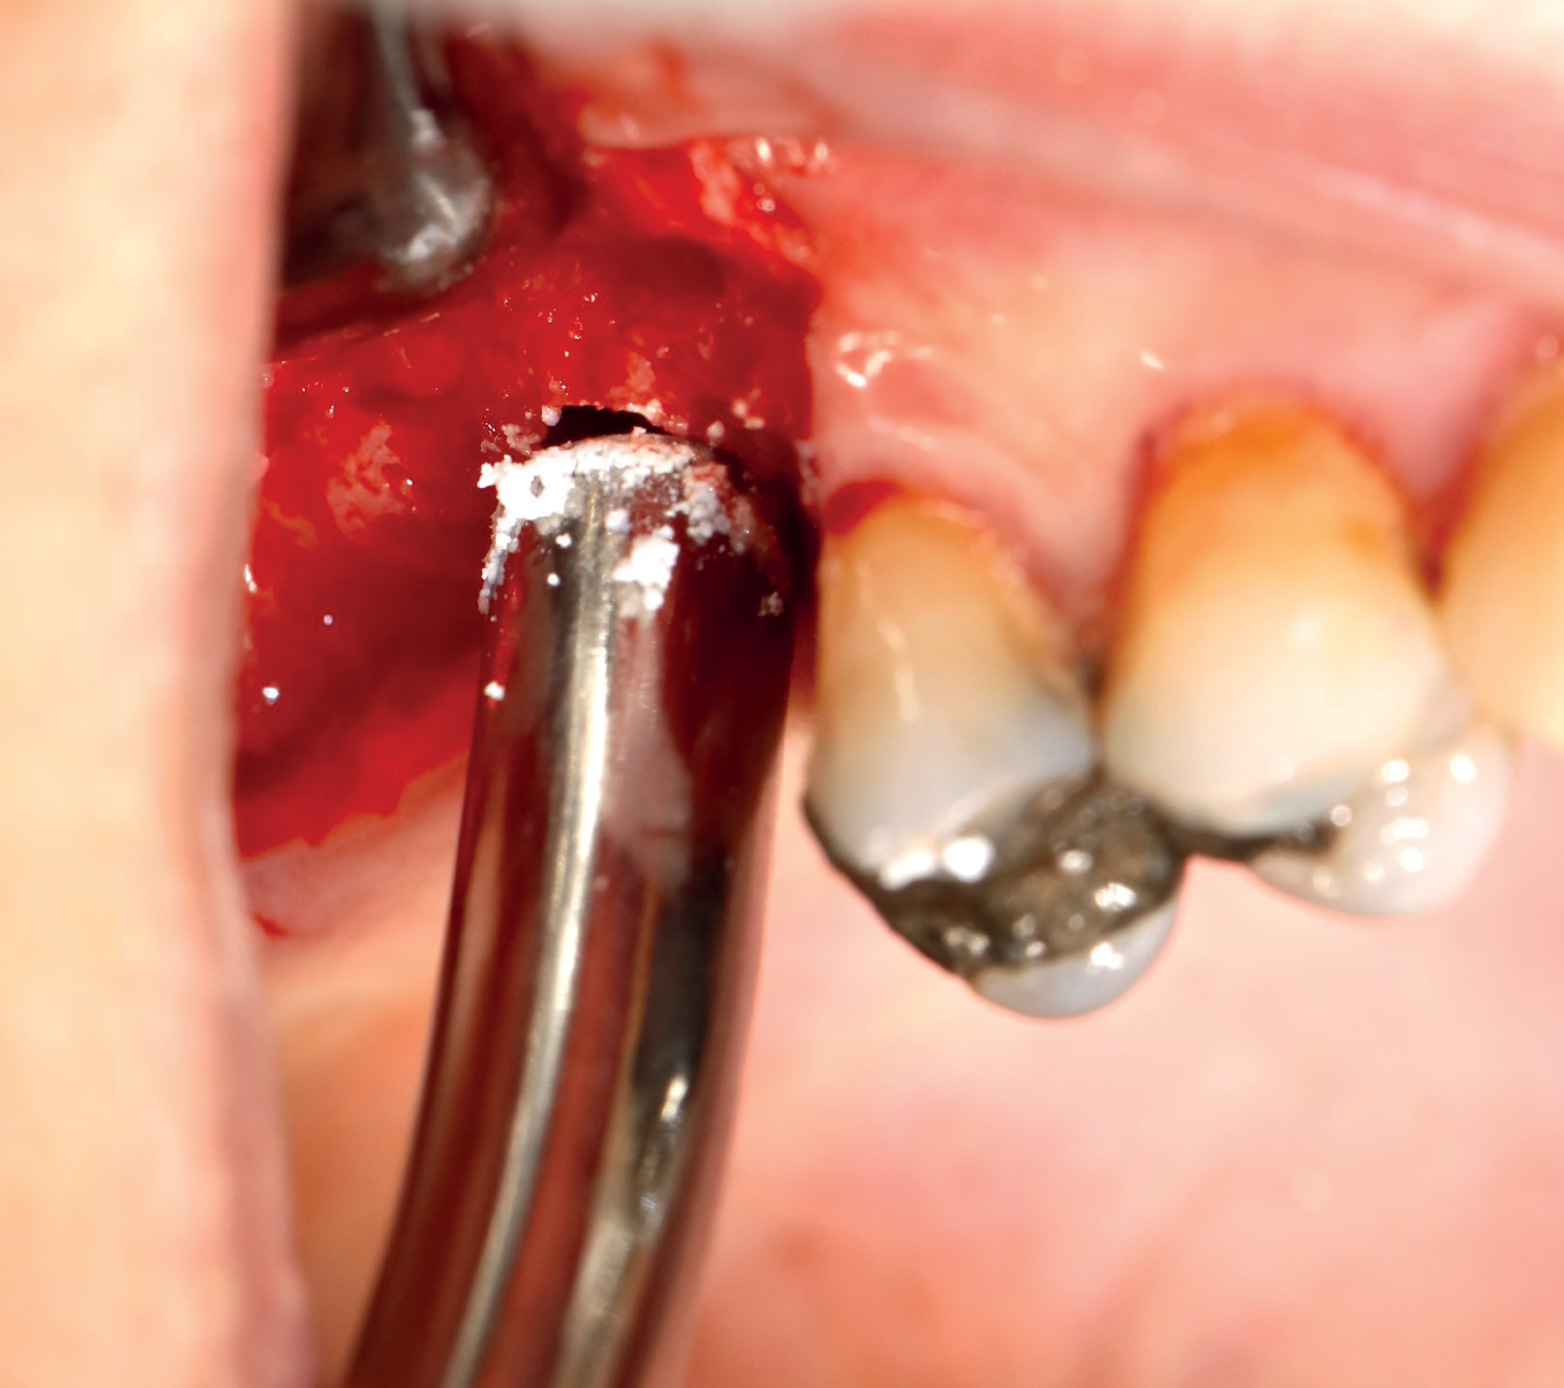
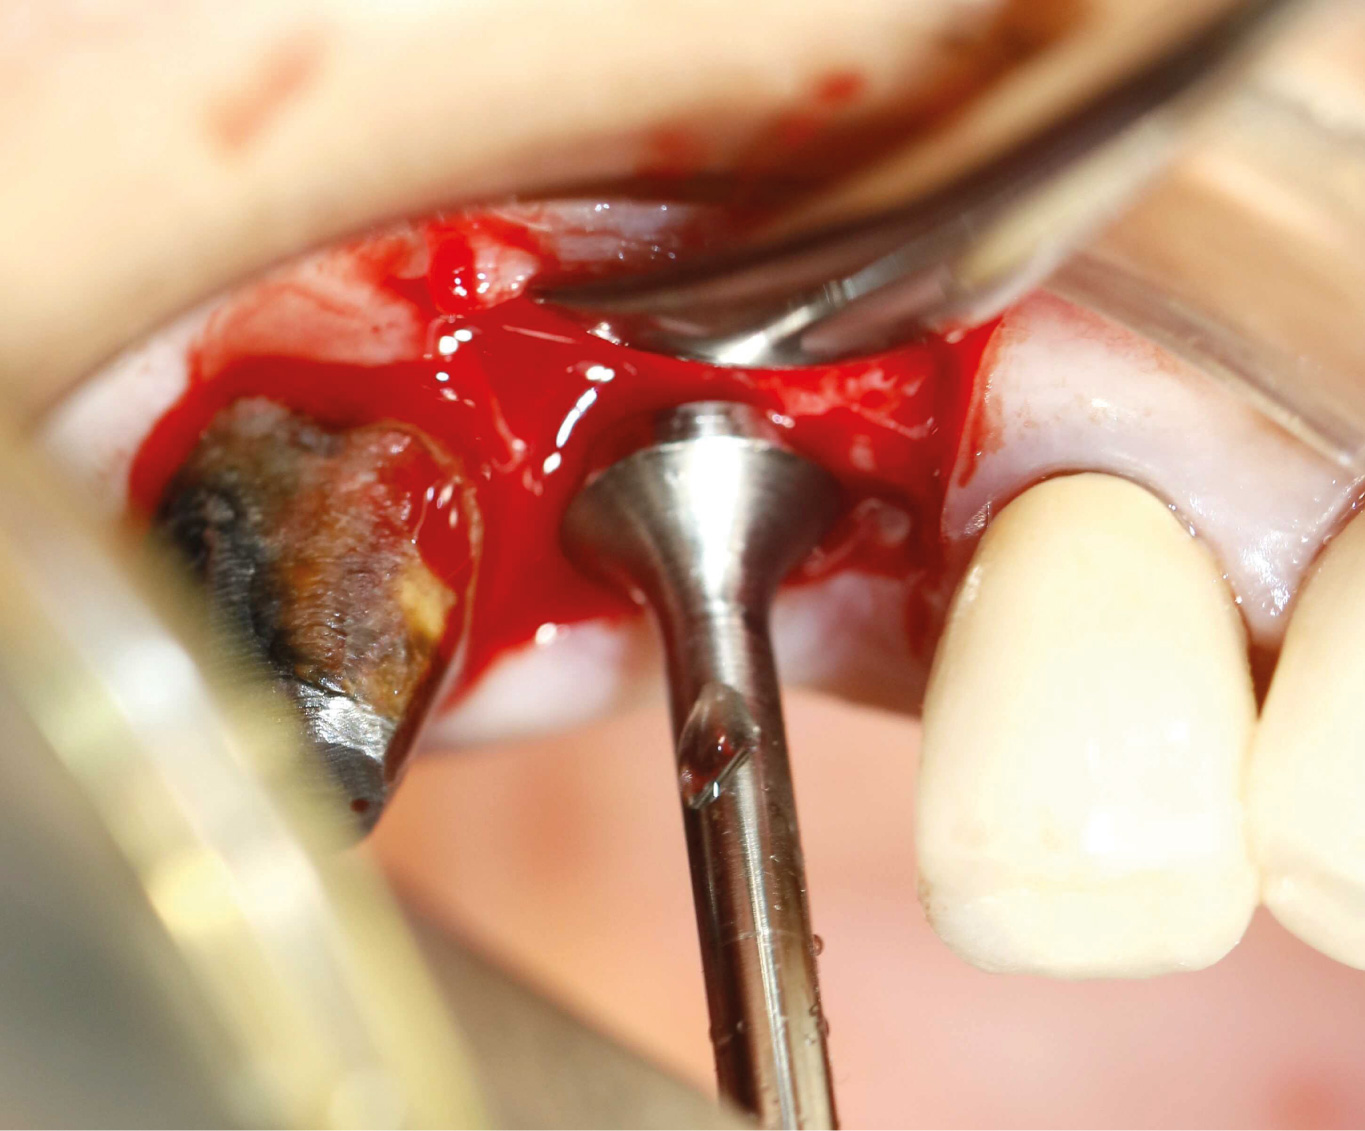
Fill the bone carrier syringe with Bond Apatite and bring the material to the opening of the access hole.
Deposit the material at the entrance of the access hole, then reduce the osteotome’s length by 1 mm by adjusting the stopper.
Insert the Bond Apatite into the access hole using the osteotome until the stopper contacts the crest.
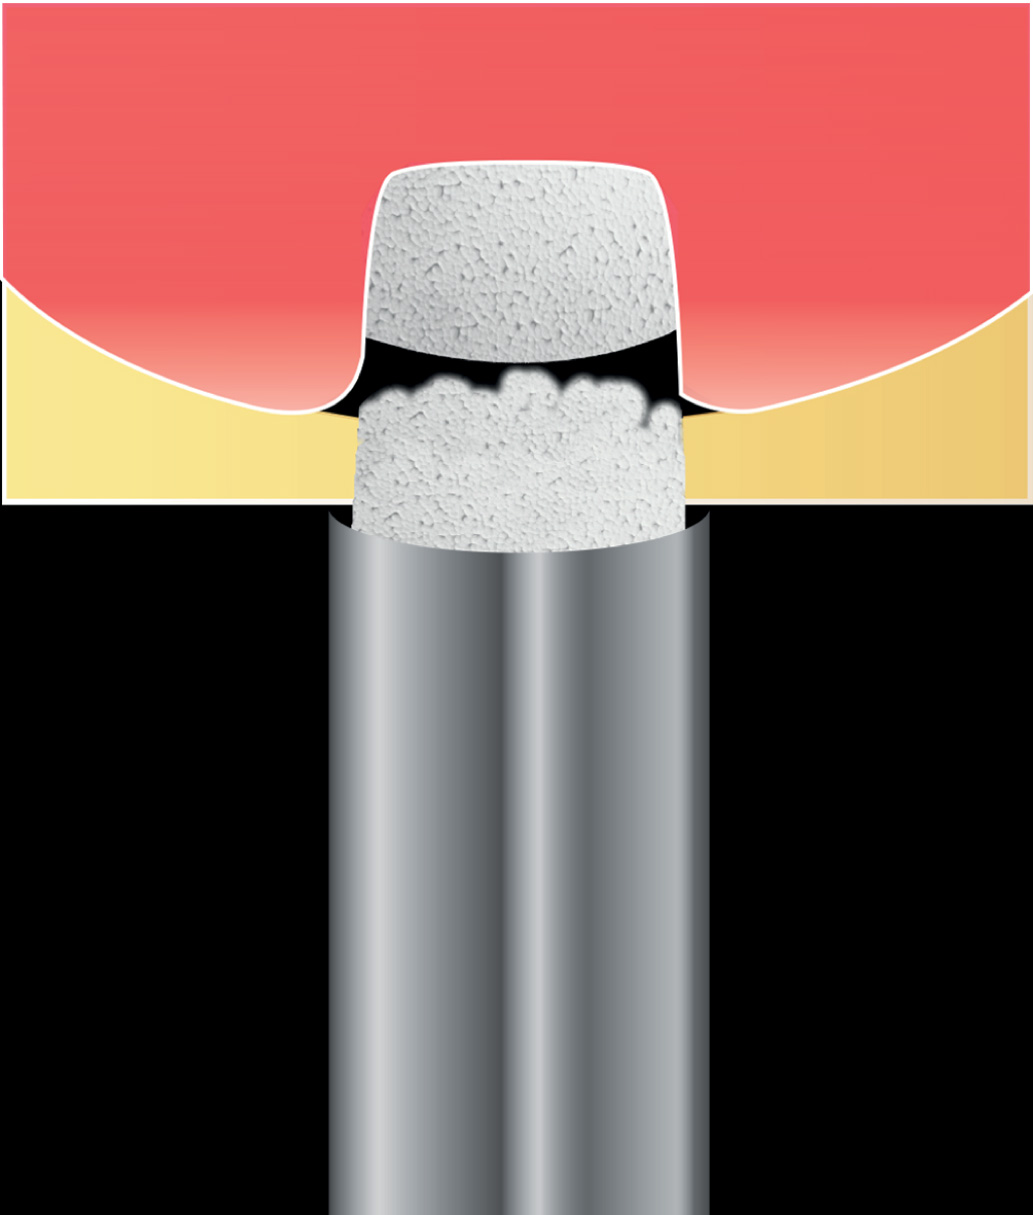
Then, repeat the same action by bringing more Bond Apatite to the entrance of the access hole and pushing it with the osteotome, making sure to reduce the osteotome’s length by another millimeter with each pass.
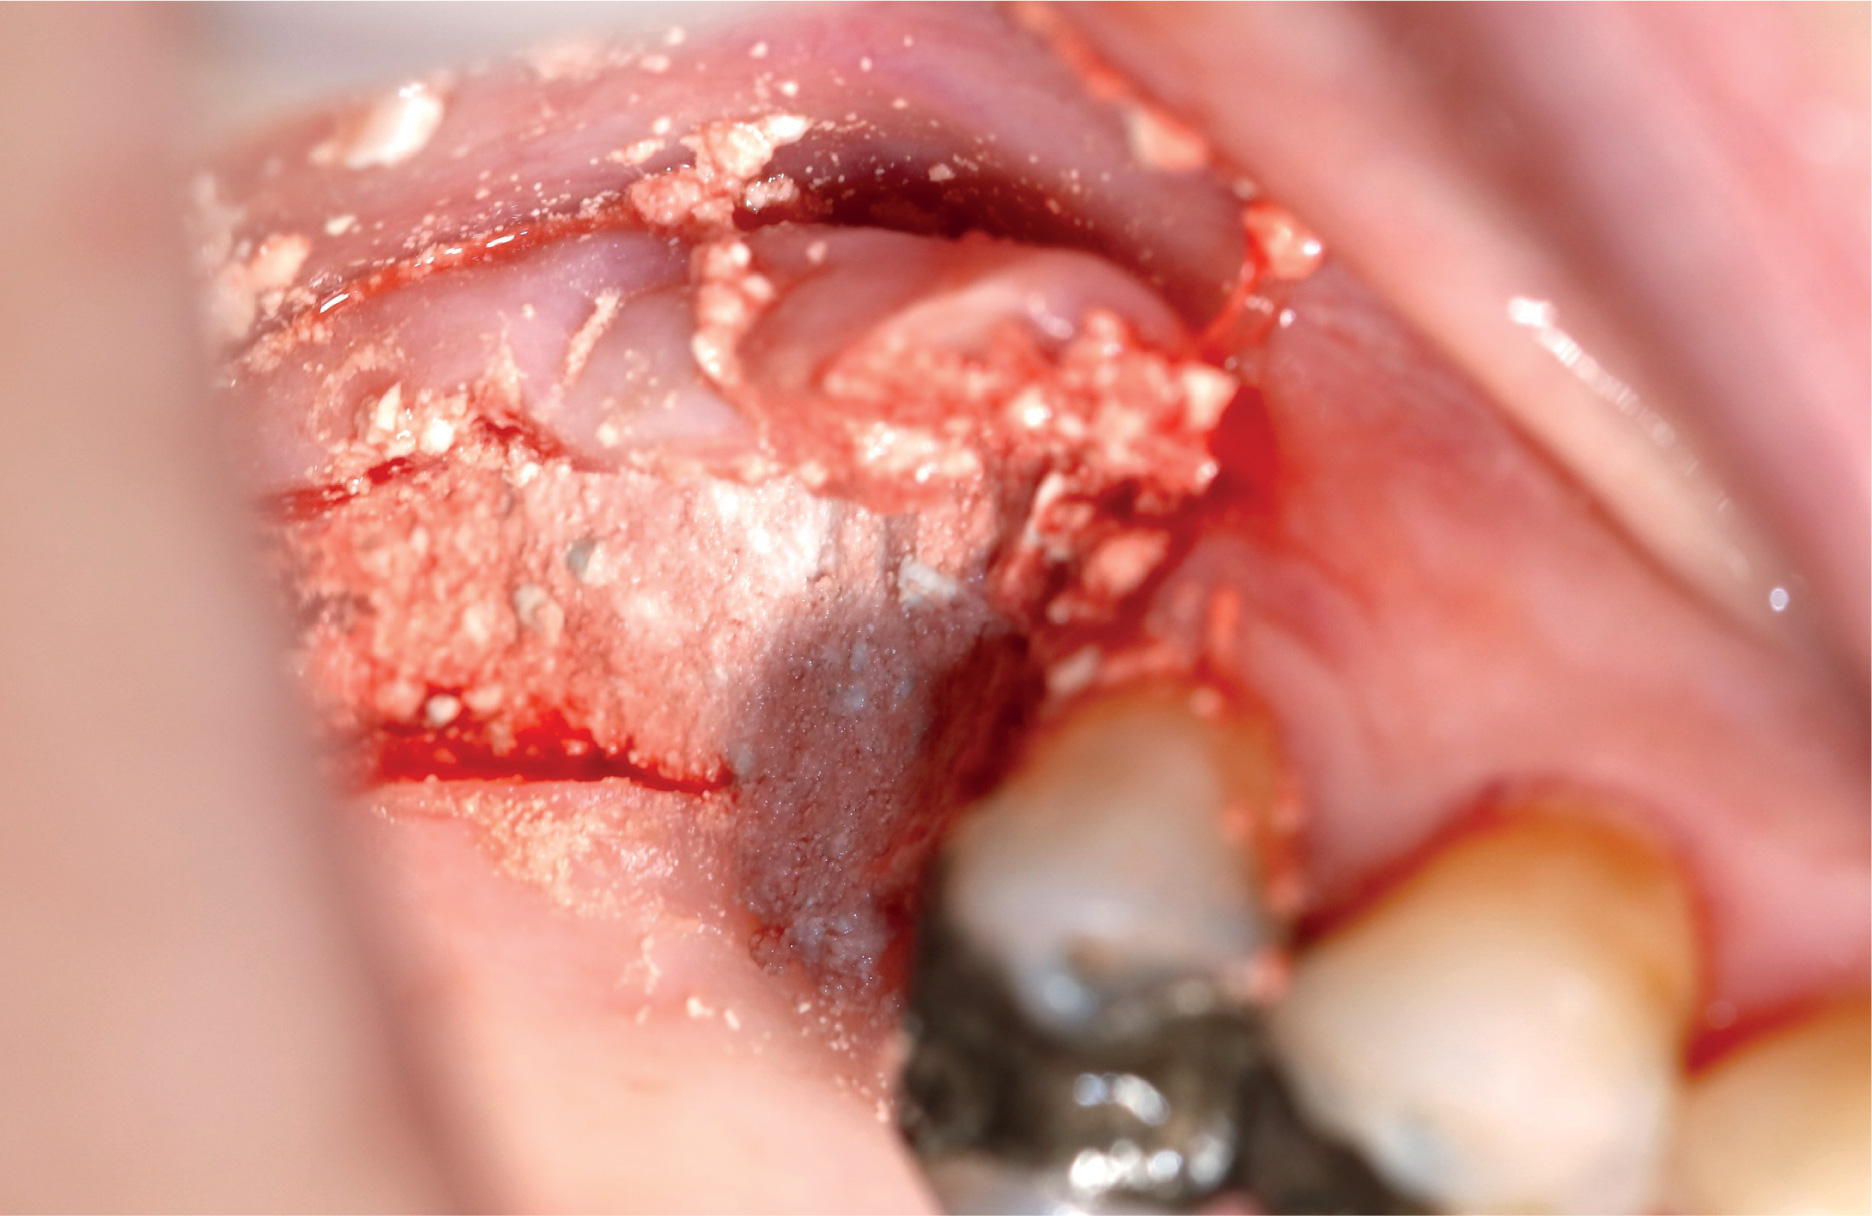
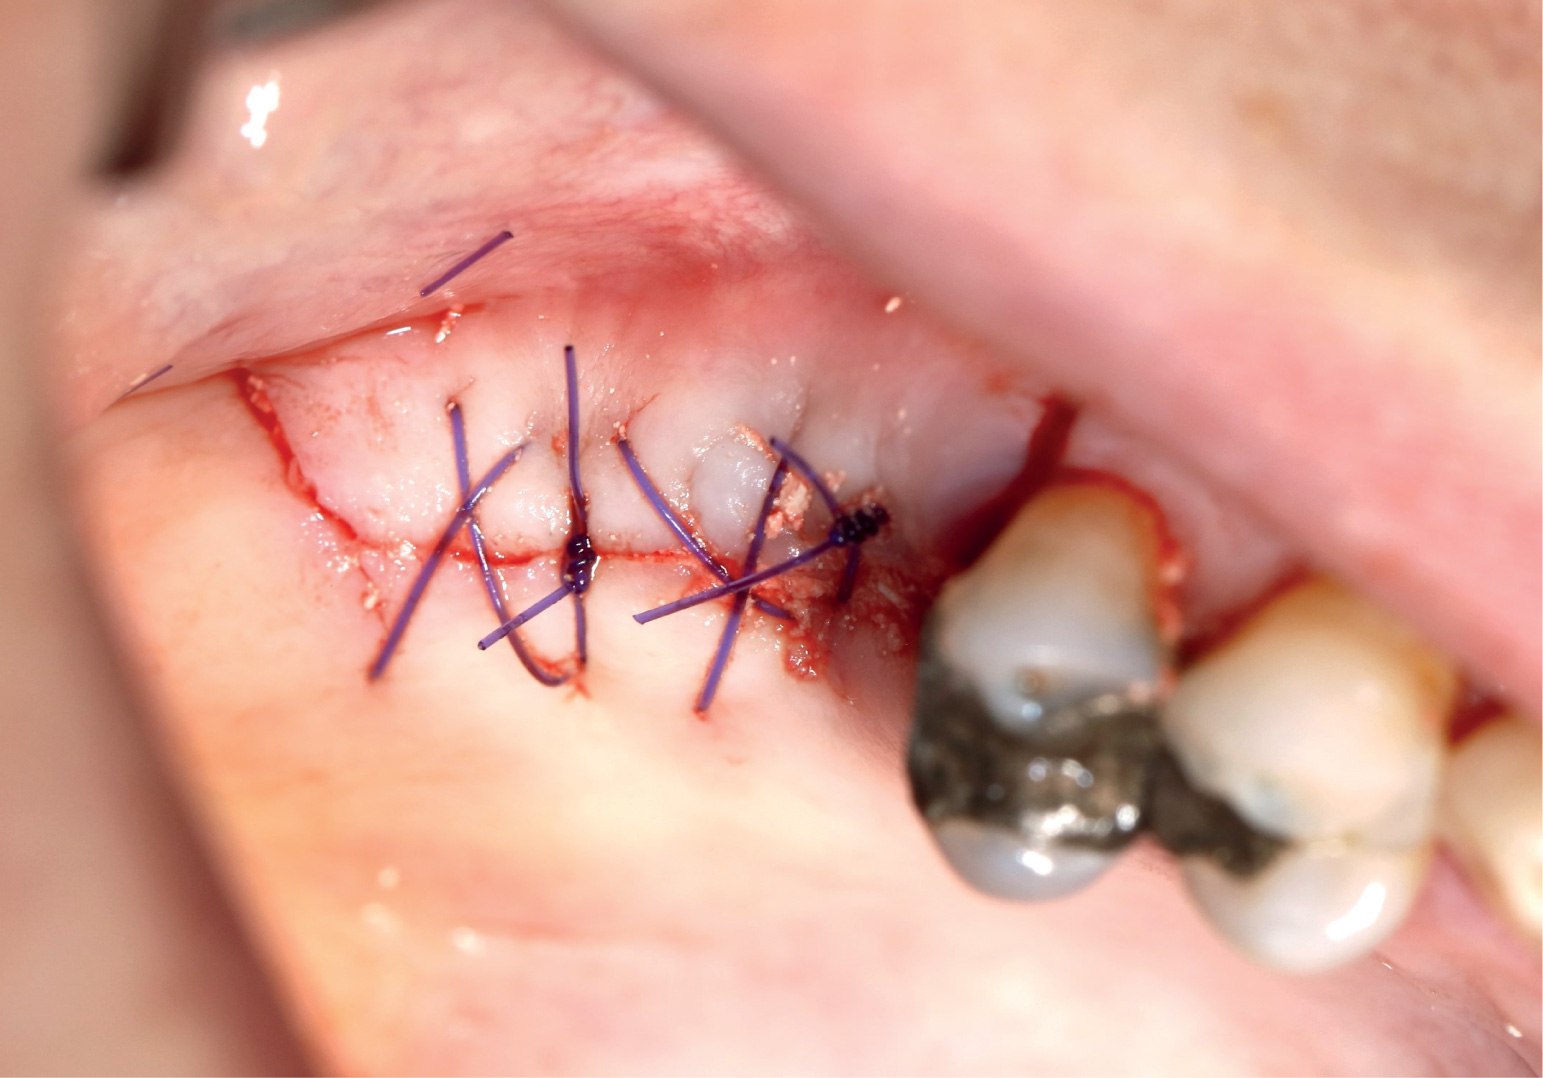
Close the access hole with a final layer of Bond Apatite.
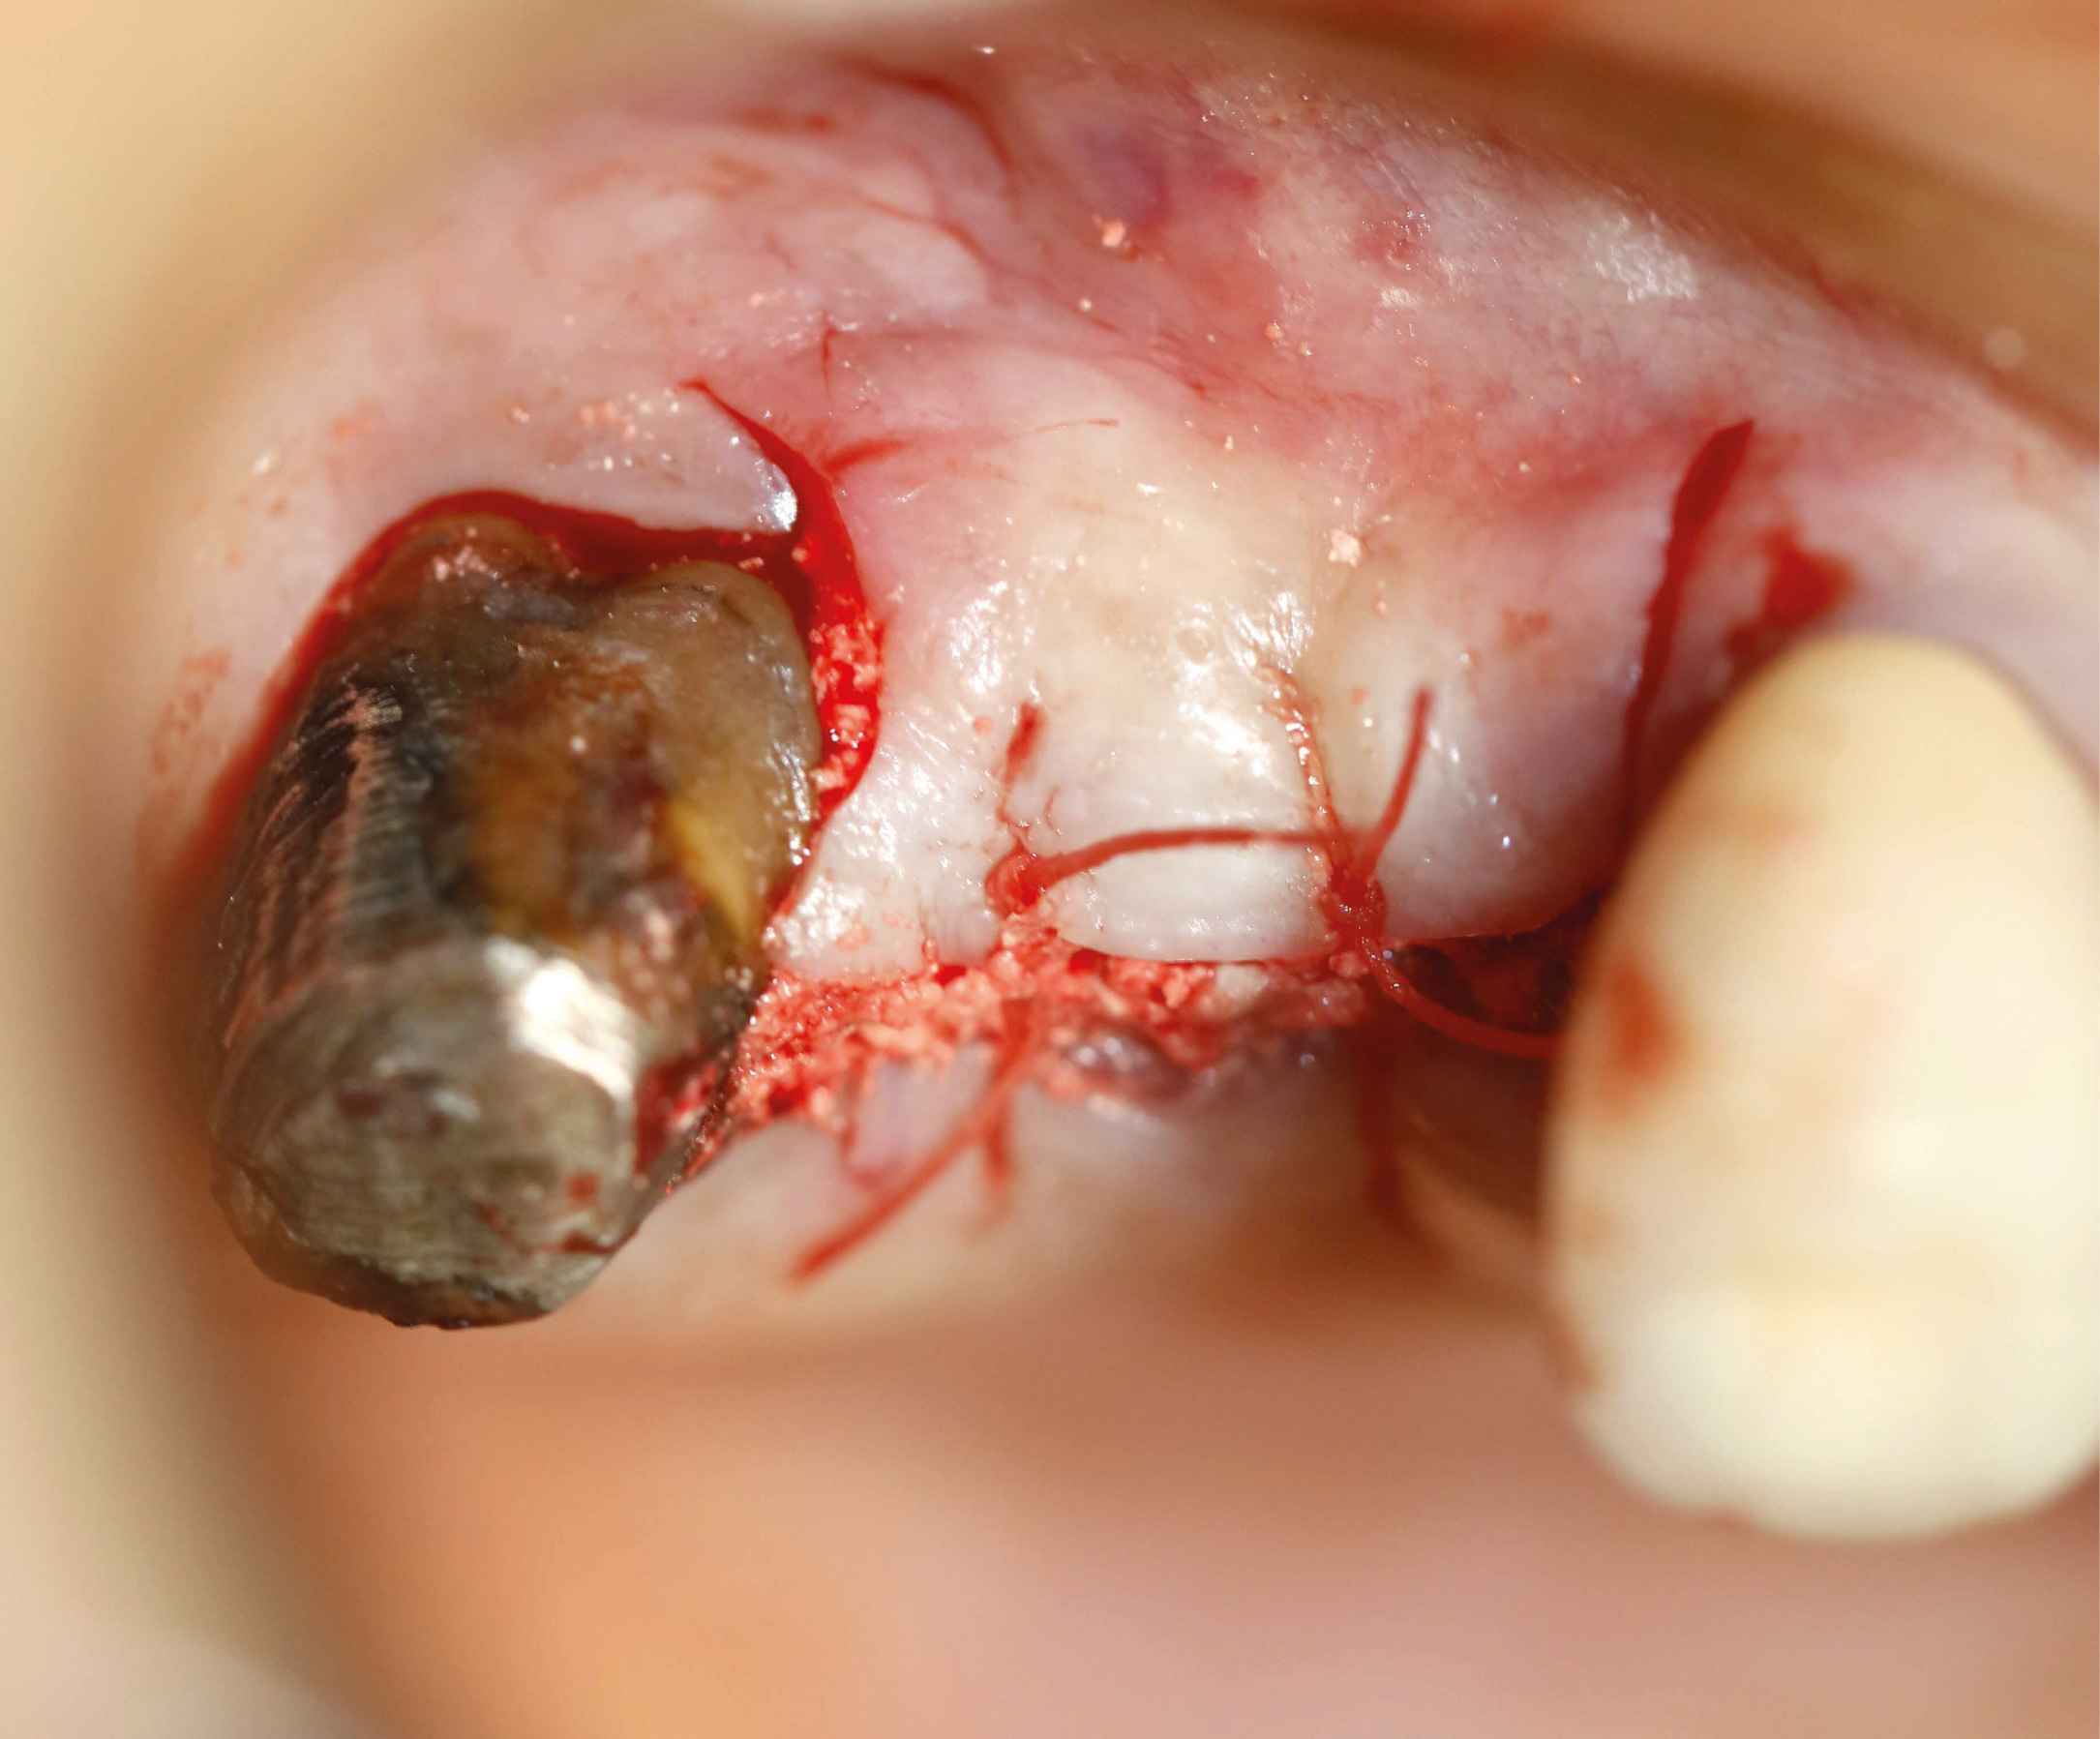
Press firmly on the material with a gauze and suture.
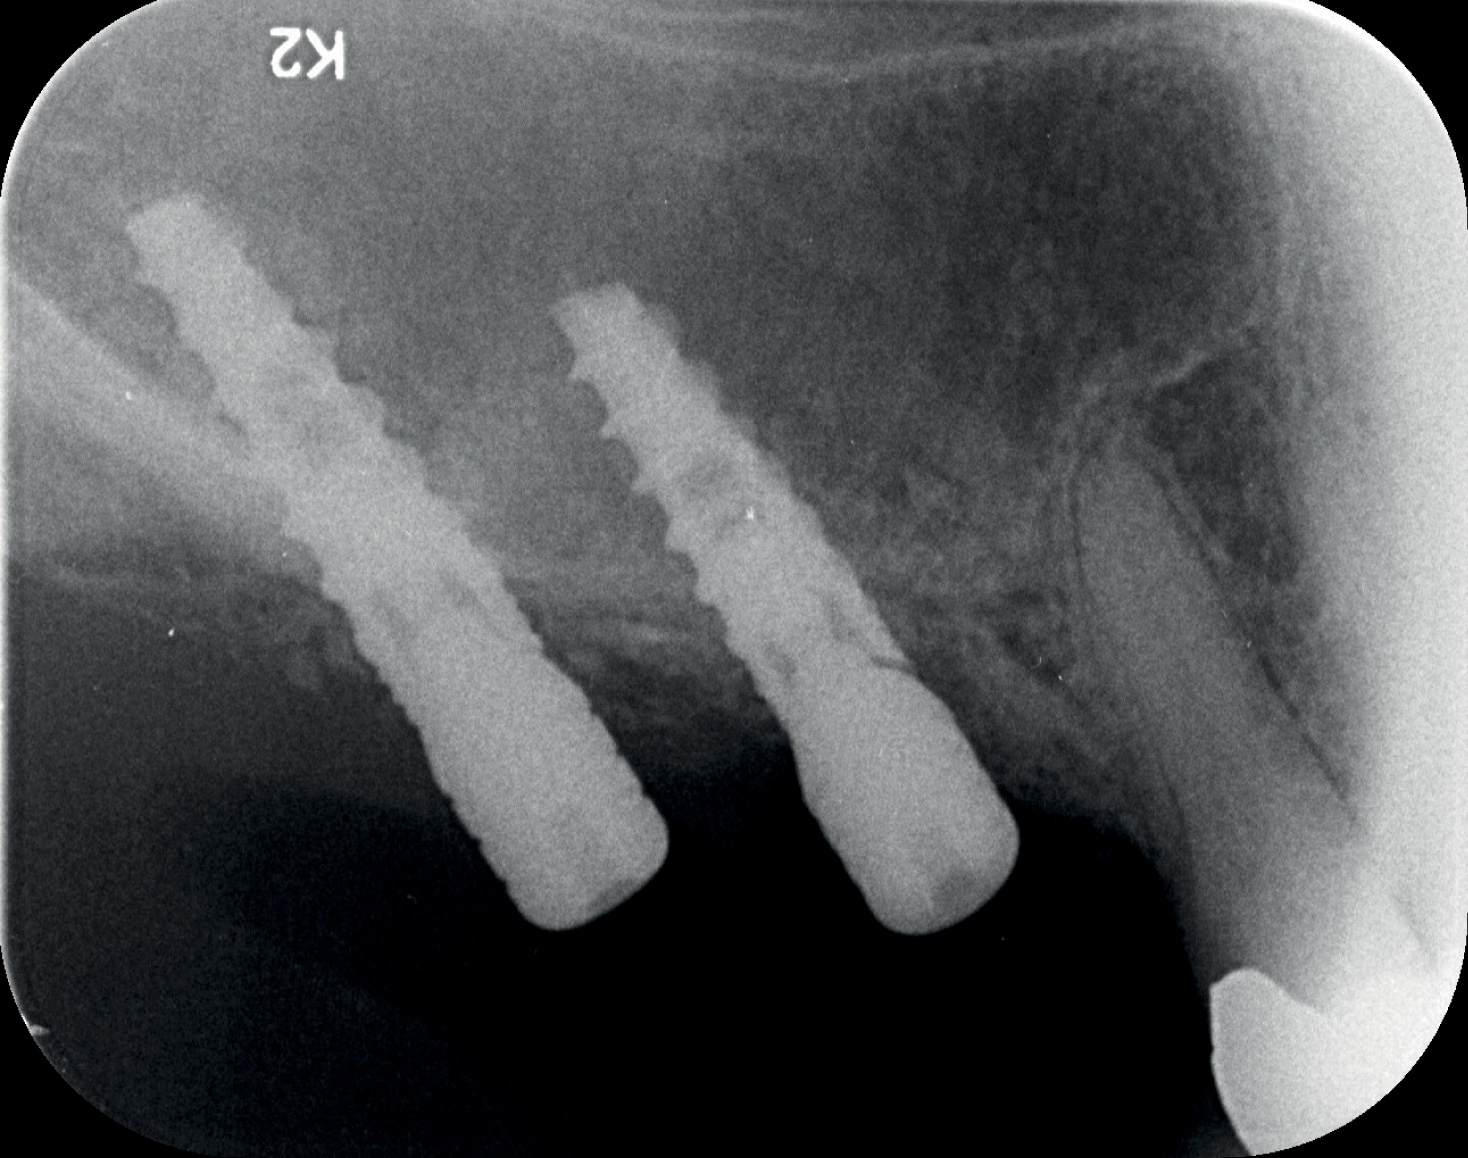
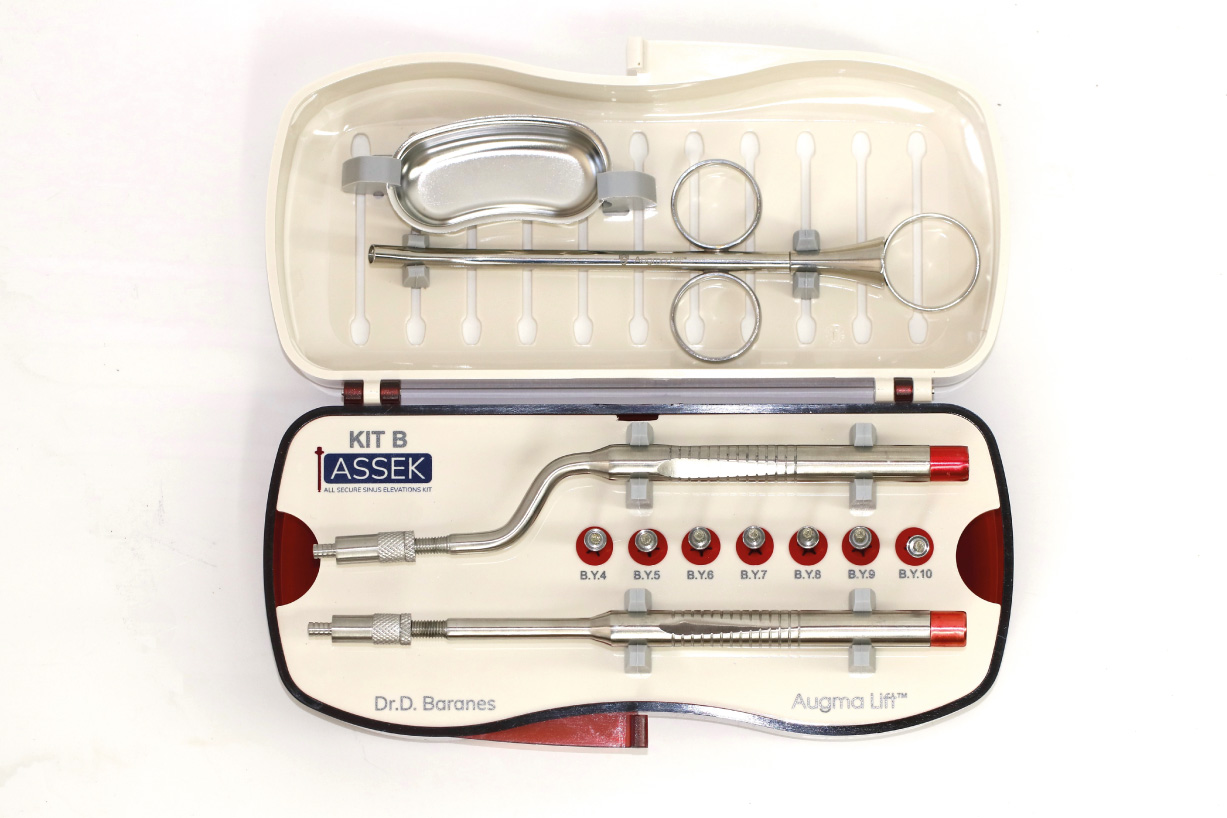
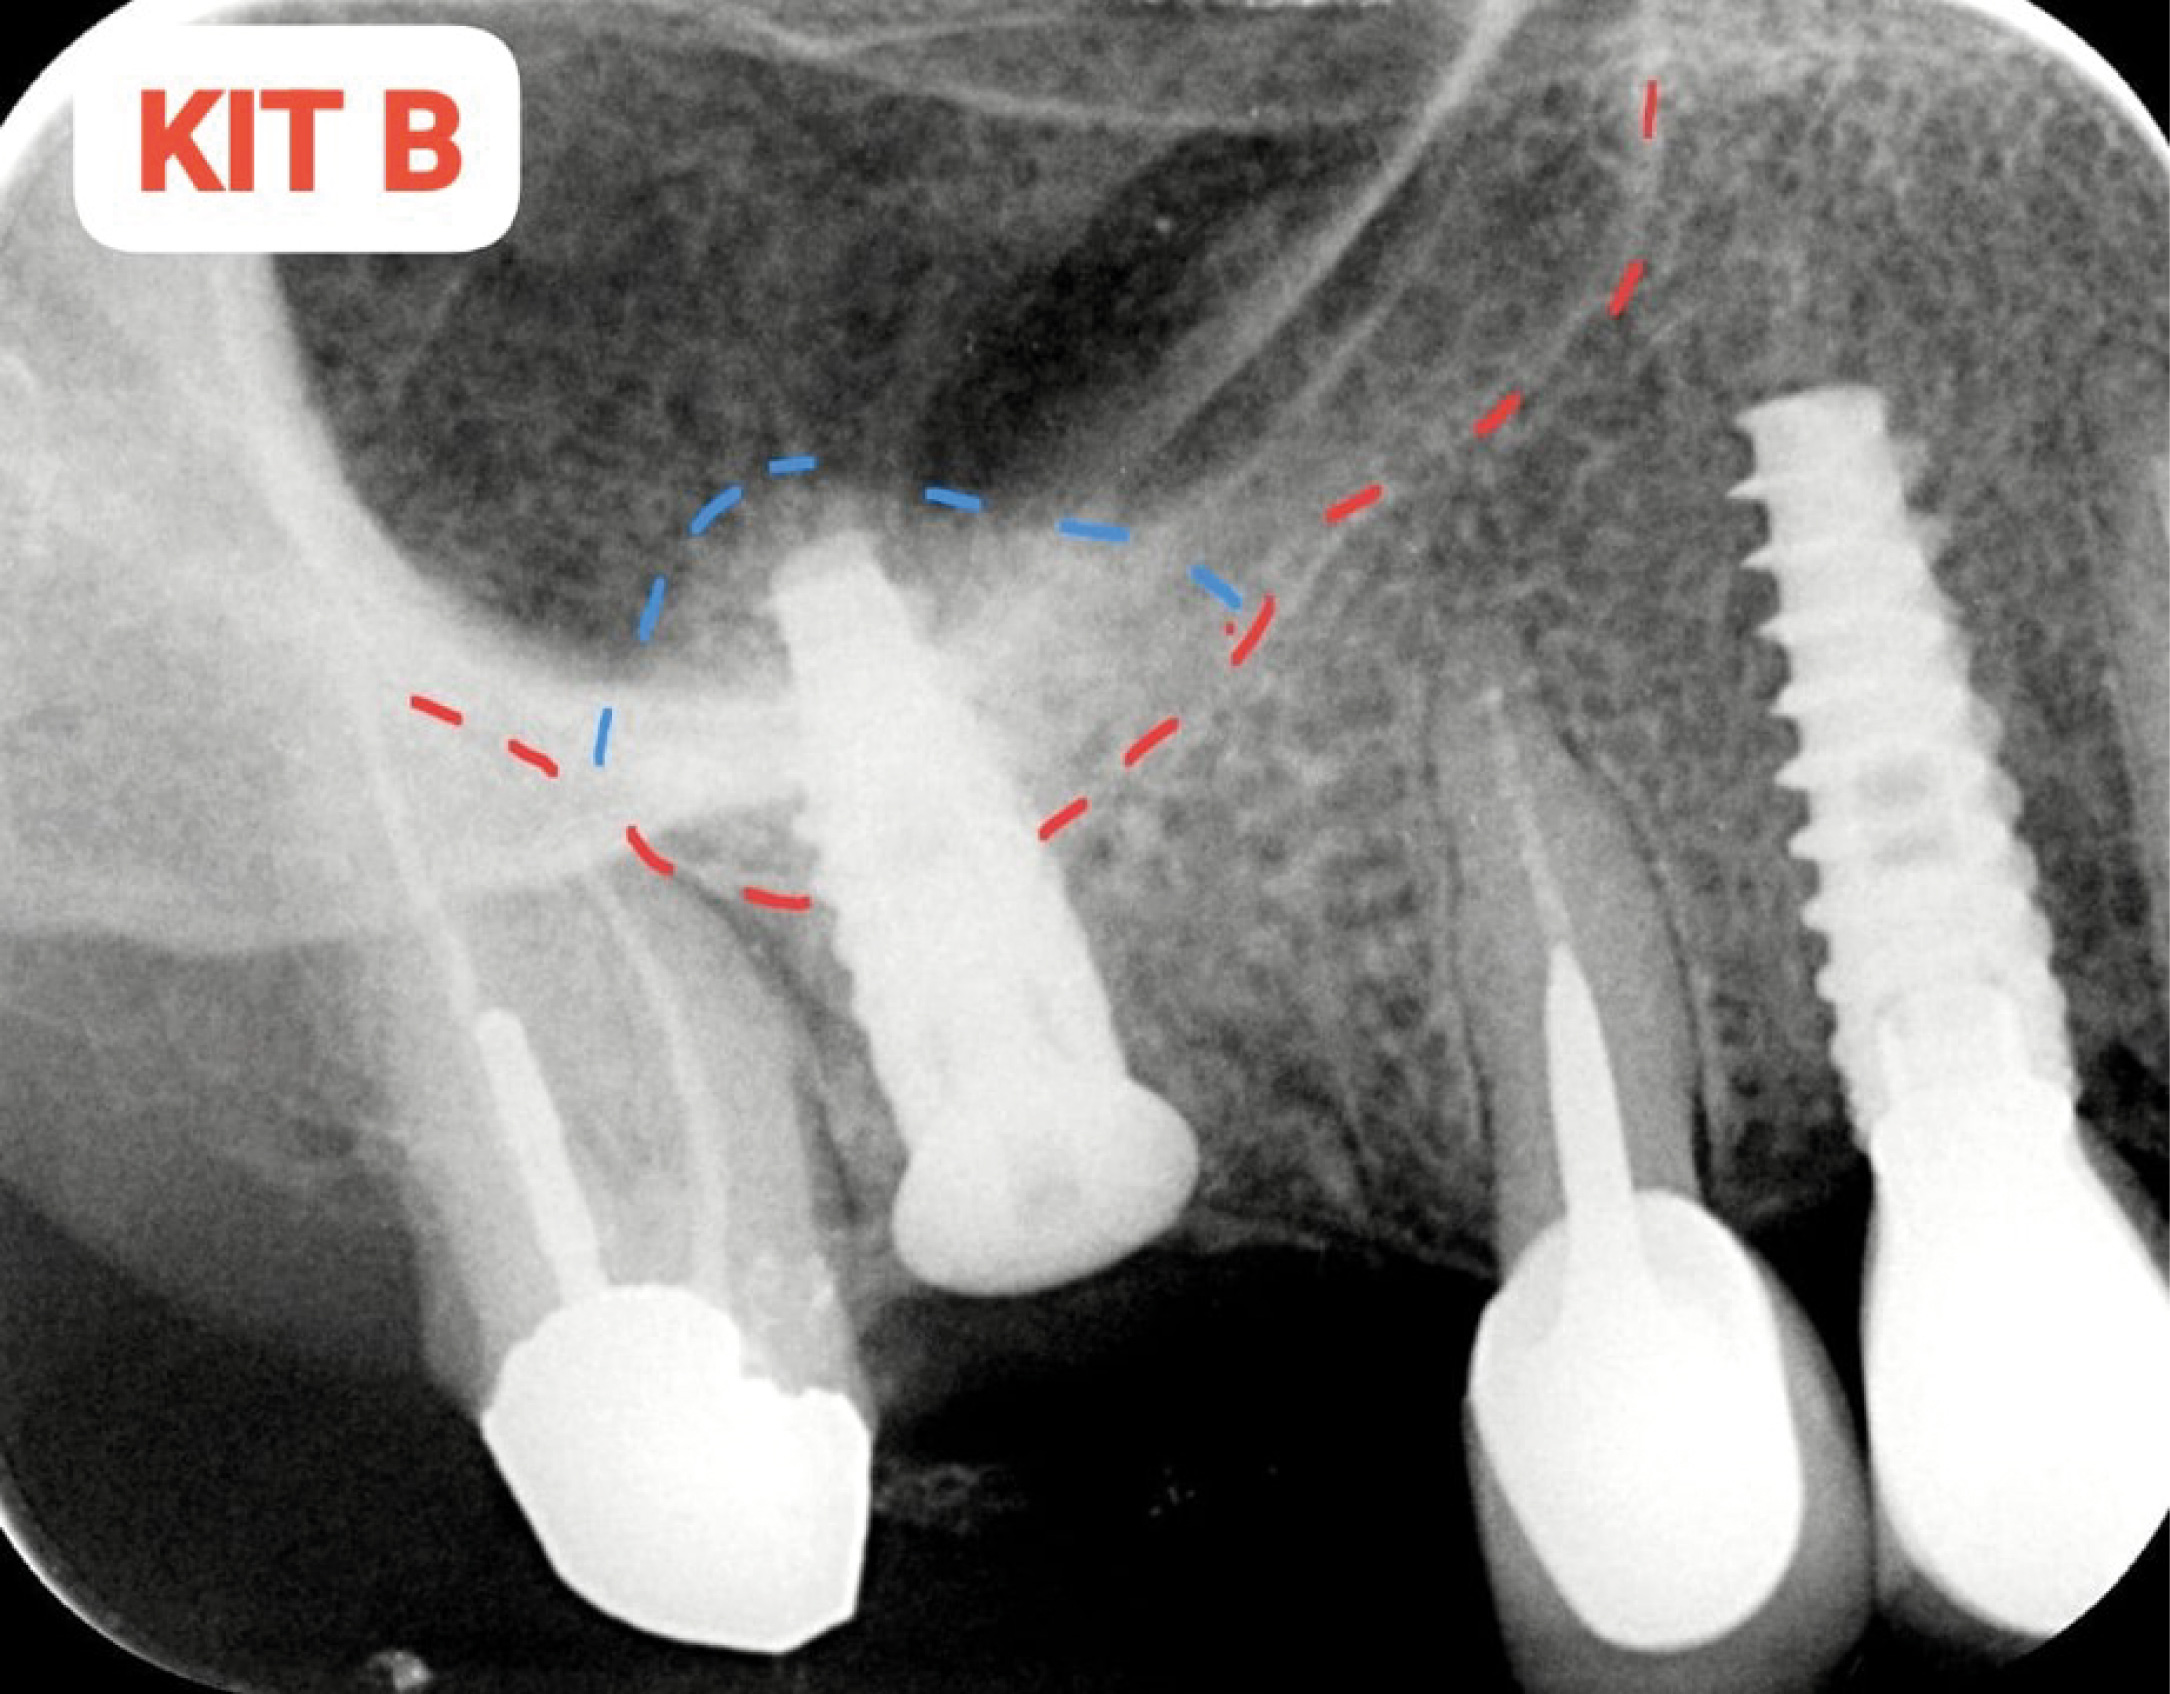
Four months later, you can begin the second stage with KIT B and proceed with implant placement.
EN Warnings! The product must be used only for its intended purpose If the product is damaged or defective do not use it and contact your retailer The product must be stored in a shaded and dry place Before sterilization, the grooves must be cleaned of bone debris and the instruments must be placed in their place in the kit. The kit must be sterilized according to the procedures of the Ministry of Health After 30 to 40 uses the Burs must be replaced
FR Avertissements ! Le produit doit être utilisé uniquement pour l’usage auquel il est destiné Si le produit est endommagé ou défectueux ne l’utilisez pas et contactez votre détaillant Le produit doit être stocké dans un endroit ombragé et sec Avant la stérilisation, les rainures doivent être nettoyées des débris osseux et les instruments doivent être placés à leur place dans le kit. Le kit doit être stérilisé selon les procédures du Ministère de la Santé Après 30 à 40 utilisations les Fraises doivent être remplacés
ES ¡Advertencias! El producto debe usarse únicamente para el propósito previsto. Si el producto está dañado o defectuoso no lo utilice y póngase en contacto con su distribuidor. El producto debe almacenarse en un lugar sombreado y seco. Antes de la esterilización, se deben limpiar las ranuras de restos óseos y colocar los instrumentos en su lugar en el kit. El kit debe esterilizarse según los procedimientos del Ministerio de Salud. Después de 30 a 40 usos, se deben reemplazar los cortadores.
IT Avvertenze! Il prodotto deve essere utilizzato solo per lo scopo previsto Se il prodotto è danneggiato o difettoso non utilizzarlo e contattare il proprio rivenditore Il prodotto deve essere conservato in un luogo ombreggia to e asciutto Prima della sterilizzazione, le scanalature devono essere pulite dai detriti ossei e gli strumenti devono essere riposti al loro posto nel kit. Il kit deve essere sterilizzato secondo le procedure del Ministero della Salute. Dopo 30-40 utilizzi le lame dovrebbero essere sostituite
PT Avisos! O produto deve ser utilizado apenas para o m a que se destina Se o produto estiver dani cado ou com defeito, não o utilize e contacte o seu revendedor O produto deve ser armazenado em local sombreado e seco Antes da esterilização, as ranhuras devem ser limpas de restos ósseos e os instrumentos devem ser colocados nos seus devidos lugares no kit. O kit deve ser esterilizado de acordo com os procedimentos do Ministério da Saúde. Após 30 a 40 utilizações os cortadores devem ser substituídos
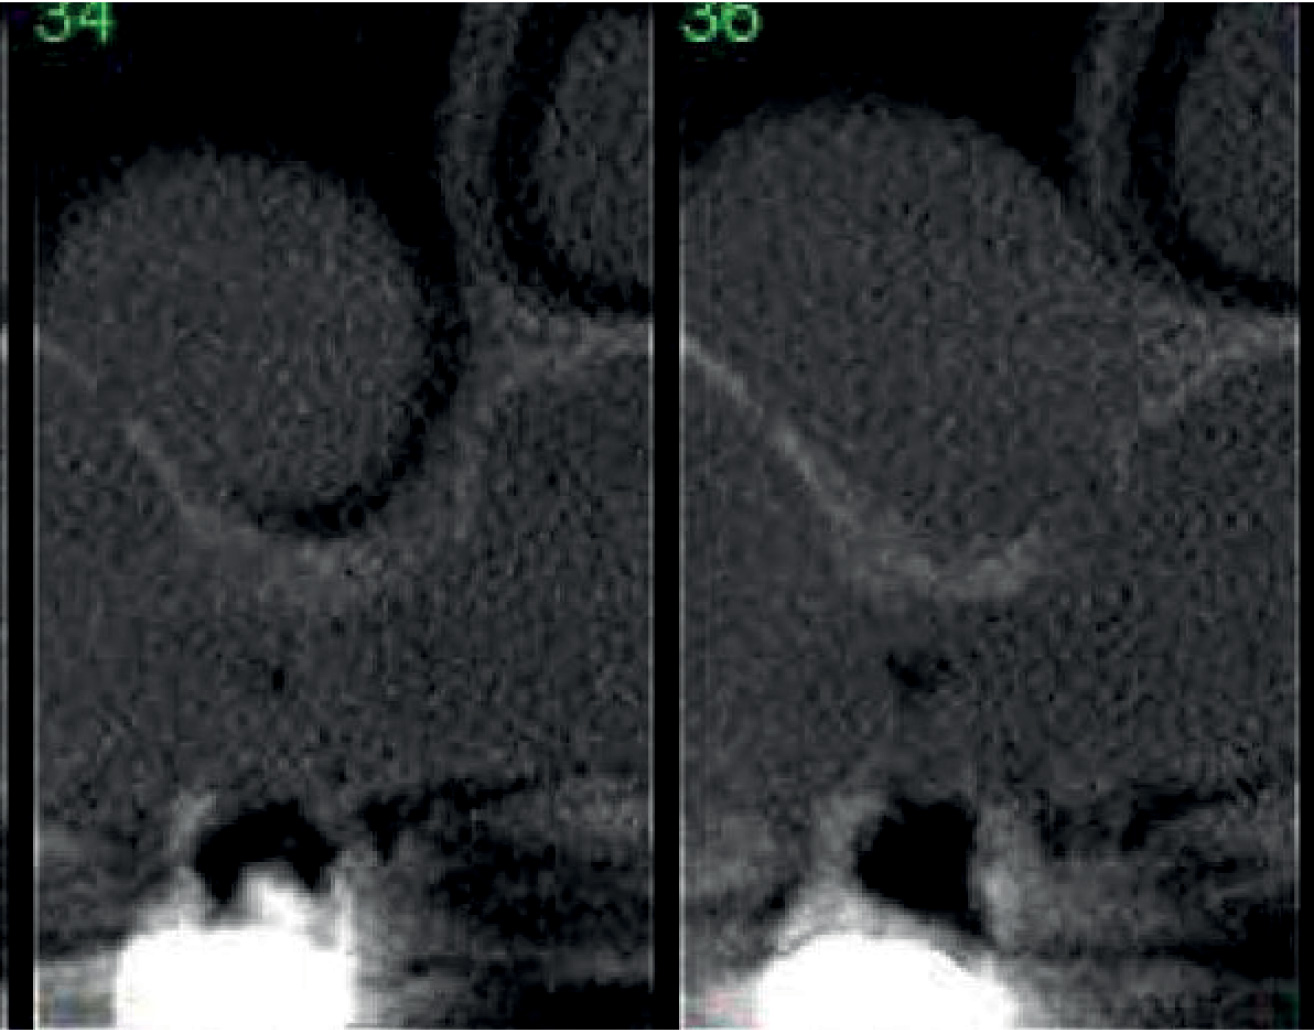
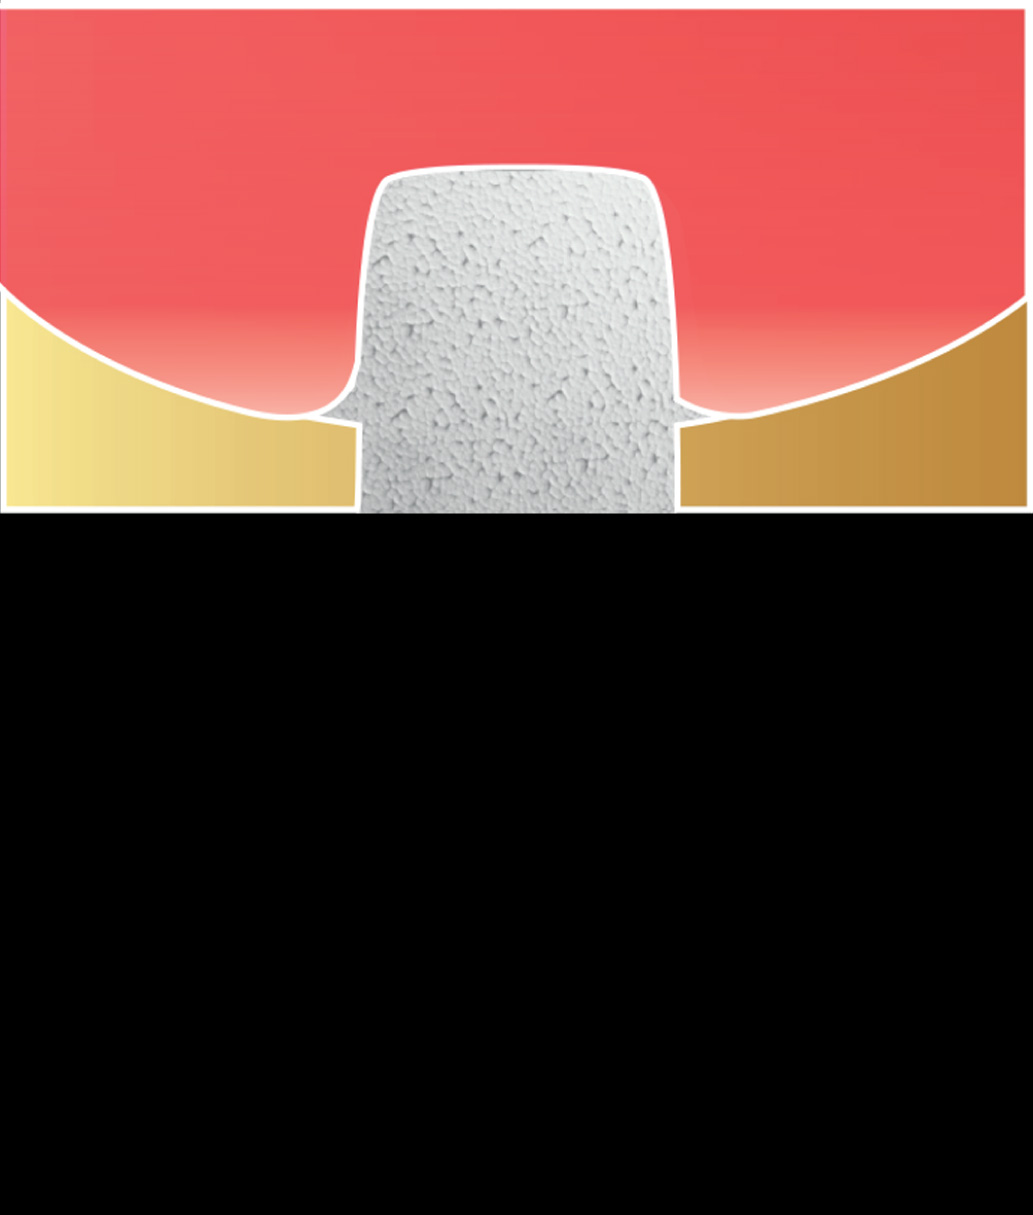
Elevation of the sinus oor when the initial height of the sub-sinus bone is greater than or equal to 4 mm. Creation of a ap of total thickness using a crestal incision slightly displaced in Palatine
It is necessary to visualize the vestibular bony wall.
Mount a 4 mm B.Y.S bur on contrangle for micro late of implantology. Working speed from 600 to 1000 rpm with external irrigation. Drill a 4 mm long hole. If the bone is type D1 or D2, drill with a classic drill of 2.8mm diameter and 3 mm in length. Then nish the hole with the B.Y.S 4
Take a 3.2 mm osteotome diameter adjust the stopper to 5 mm, If the stopper is in contact with the ridge you already have, pushed the membrane back, adjust your osteotome at 6 mm then 7 mm then 8,9 and 10 mm
If the stopper of your osteotome remains away from the ridge, take the diamond bur B.Y.S 5, and drill a 5 mm hole length, take an osteotome of 3.2 mm in diameter and 6 mm in length, etc…
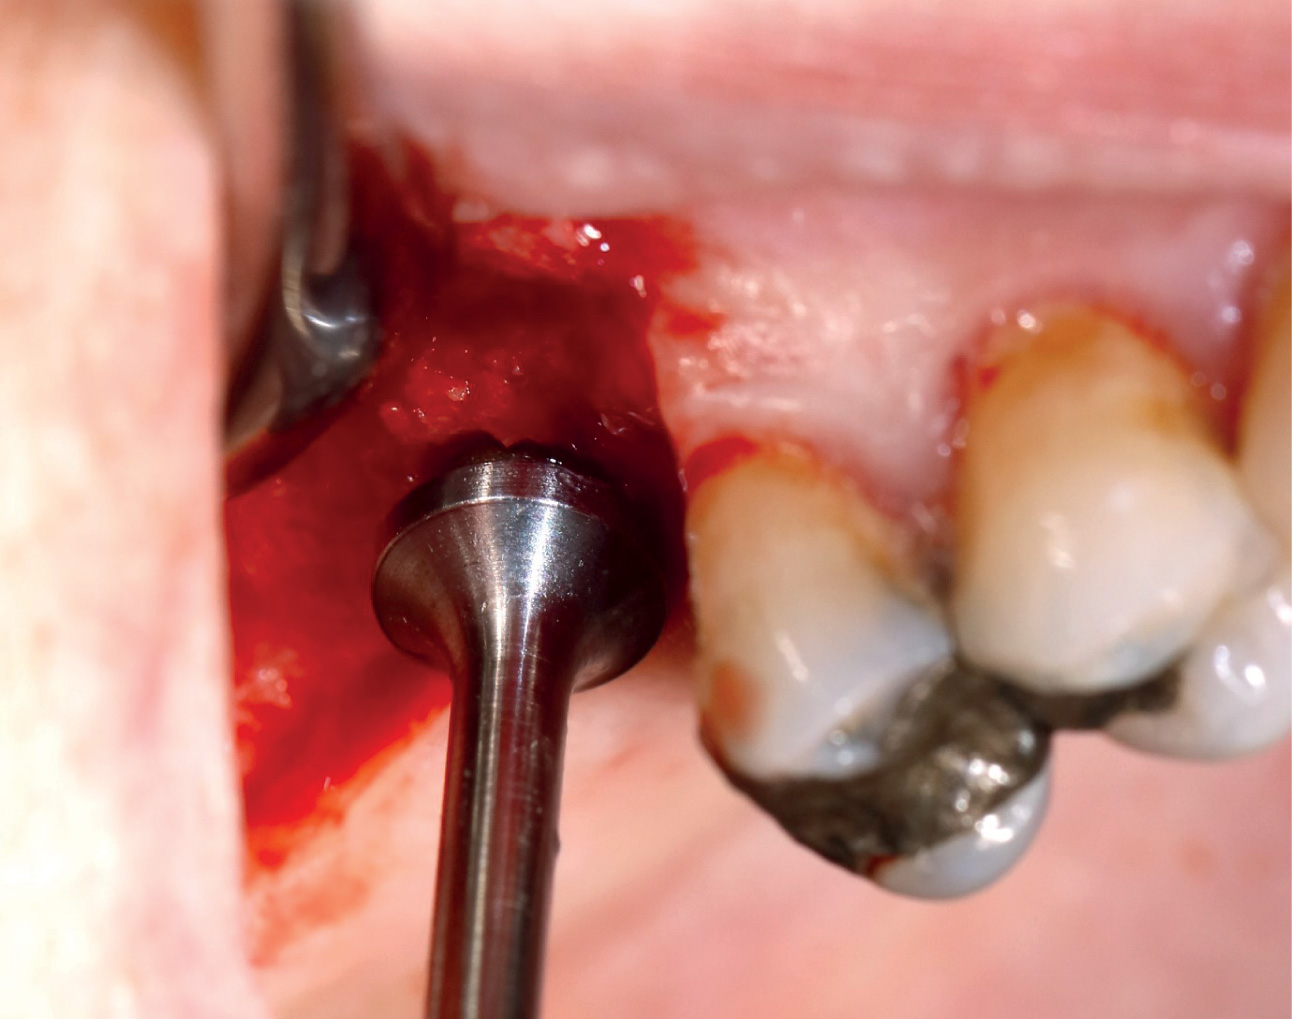
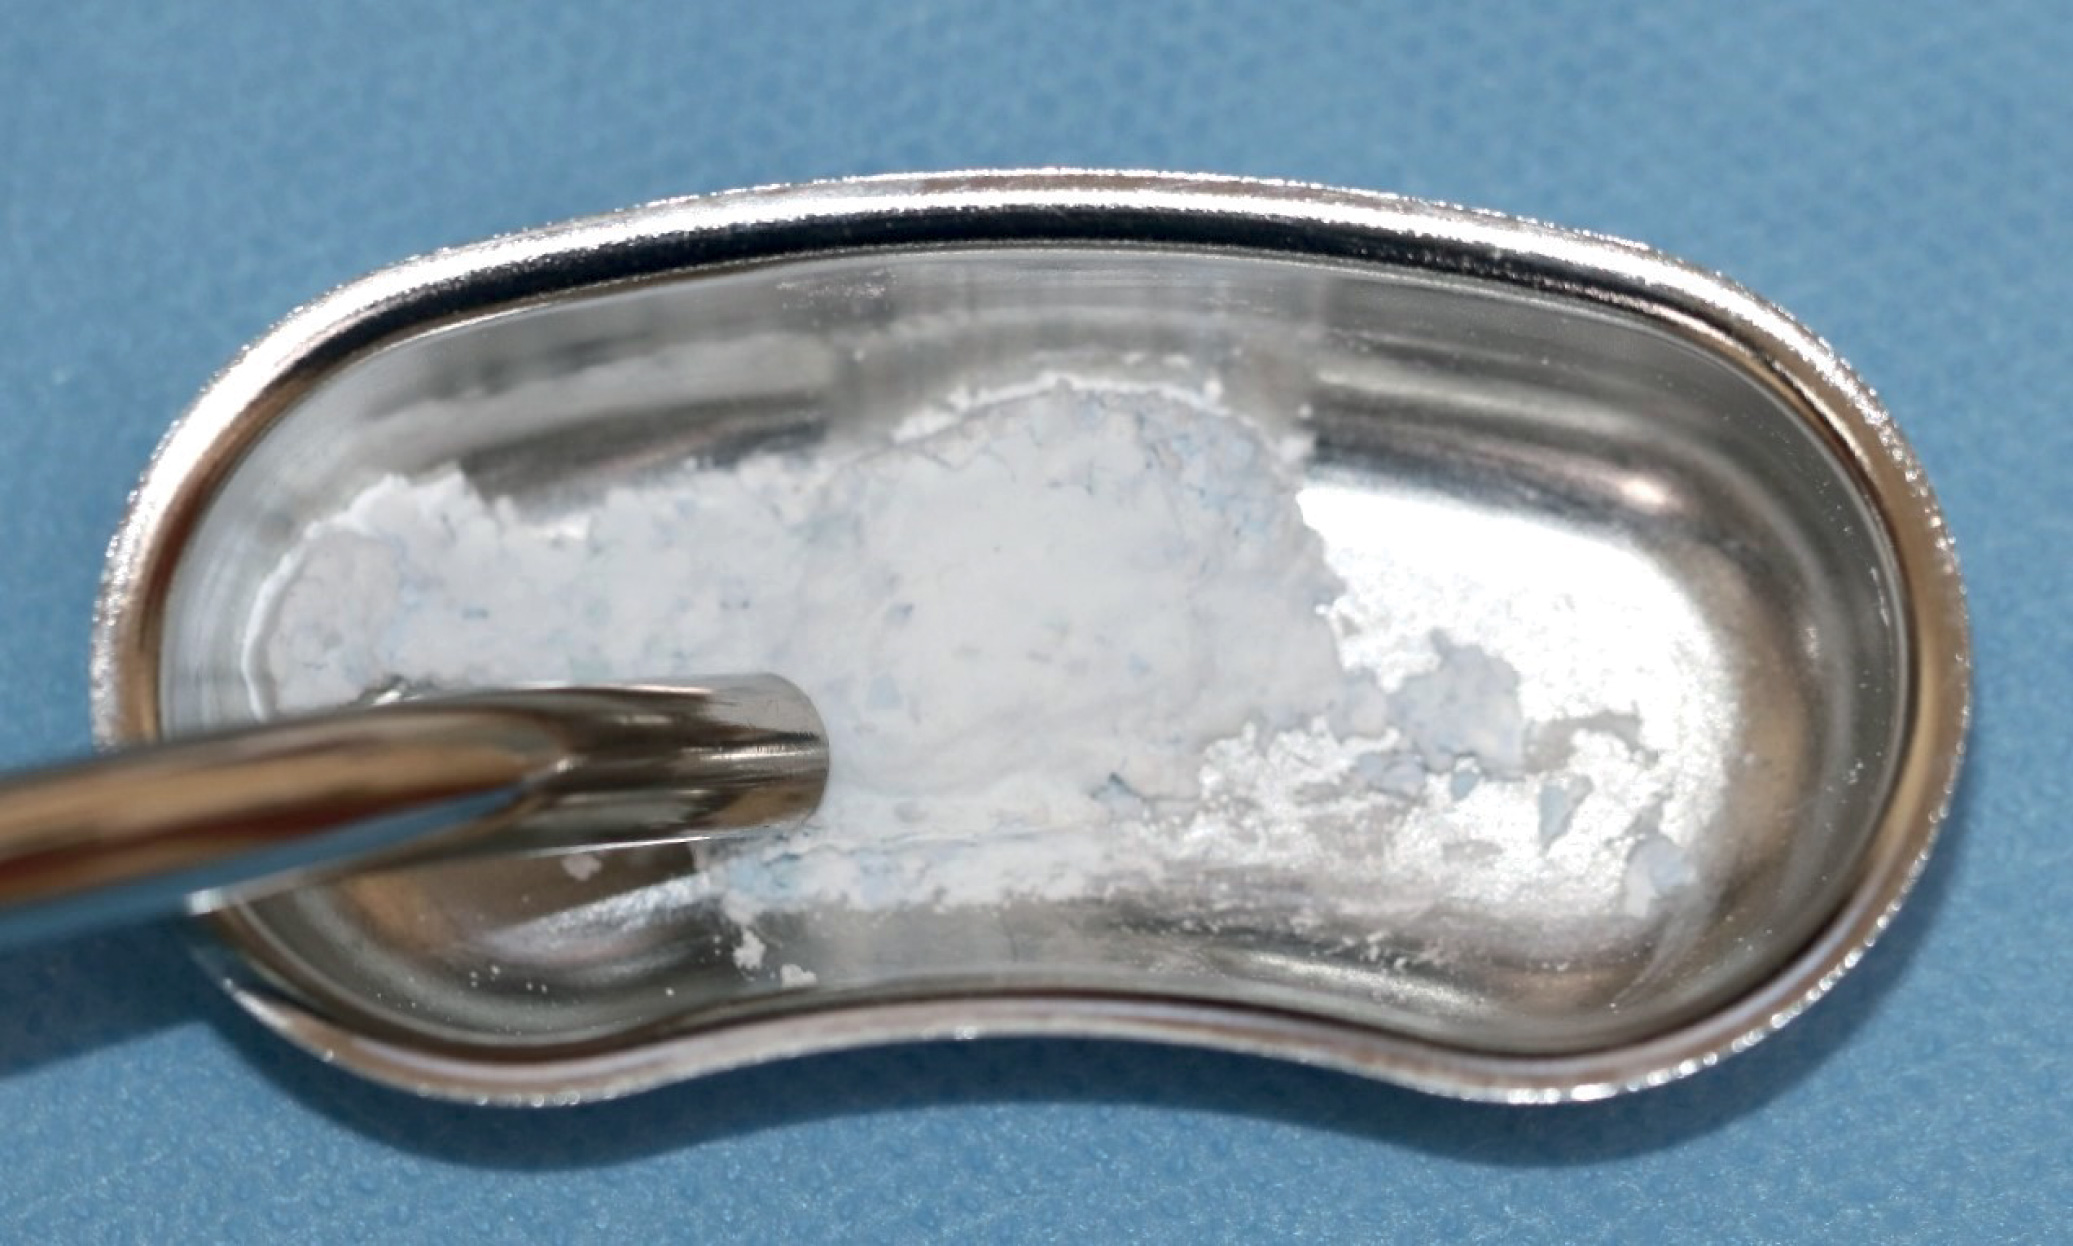
Graft the Bond Apatite. Activate the Bond Apatite syringe and place the material in a sterile cup. Press with a dry compress on the material to absorb liquid residual.
Fill the bone-carrying syringe, and place the Bond Apatite at the mouth of hole
Graft the Bond Apatite by pushing it to using a 3.2 mm osteotome whose stop is set to the height of the last osteotome used to push back the membrane minus 1 mm. Then repeat the operation three to four times taking care to always remove 1 mm of your osteotome before pushing the new graft of Bond Apatite, then put in your implant